How to Create an HDR Image
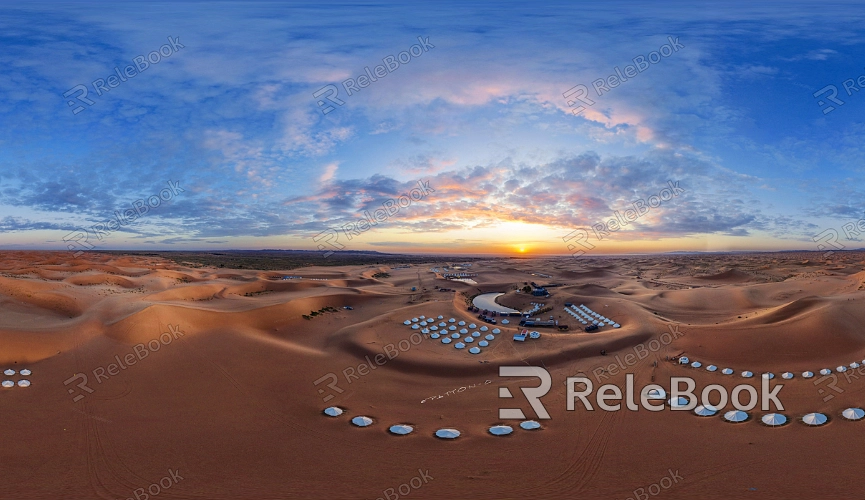
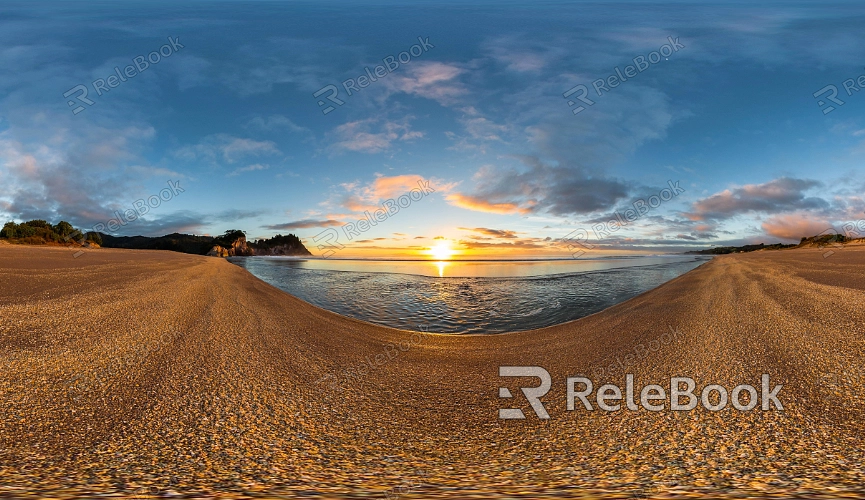
HDR images capture a broad range of lighting information, providing richer details in both light and shadow during rendering. Widely used in software like Blender, 3ds Max, and Maya, HDR images are essential for creating environment lighting and reflection maps. This guide will explain how to create HDR images, helping 3D modeling and rendering designers enhance the visual quality of their work.

1. Use Cases for HDR Images
Enhancing Scene Lighting Quality
HDR images capture the full spectrum of light, from dark shadows to bright highlights, delivering more natural and realistic lighting effects during rendering. This is particularly crucial for projects that need to simulate complex lighting environments, such as sunrise, sunset, or high-contrast indoor settings.
Improving Reflection and Refraction Effects
In 3D design, reflection and refraction effects often rely on environment maps. HDR images offer finer details and more realistic outcomes for these effects. When creating materials like metal or glass, the high dynamic range of HDR images significantly improves the visual appeal of the material.
Supported 3D Software
Major 3D software like Blender, 3ds Max, and Maya support the import and use of HDR images. In these programs, HDR images are commonly used for environment lighting setups and panoramic backgrounds, enhancing the overall lighting in the scene.
2. Steps to Create an HDR Image
Collecting Images with Different Exposures
The first step in creating an HDR image is to take several shots of the same scene with different exposure settings. Typically, three to seven images are needed to cover the entire dynamic range from low to high exposure. Use a tripod to avoid misalignment issues caused by camera shake.
Choosing the Right Software for Merging
After capturing the images, use HDR merging software to combine them into a single HDR image. Popular tools include Photoshop, Photomatix Pro, and HDR Efex Pro. These programs automatically align the images and merge the different exposures to produce an HDR image with a complete dynamic range.
Processing and Optimizing the HDR Image
Once the HDR image is generated, some post-processing may be required to optimize its appearance. By adjusting tone mapping, you can compress the high dynamic range information into a visible image while preserving lighting details. Additionally, you can tweak brightness, contrast, and color saturation as needed to achieve the desired effect.

3. Applying HDR Images to 3D Scenes
Importing HDR Images
In Blender, 3ds Max, or Maya, you can import the newly created HDR image through the environment lighting settings panel. Once imported, it can be used as an environment map or directly as a background image to provide more natural lighting effects.
Adjusting Lighting Parameters
After importing the HDR image, you’ll need to adjust the lighting intensity and direction to match your scene's requirements. In the environment lighting settings, you can control the brightness by tweaking the intensity value, ensuring it aligns with other light sources in the scene.
Rendering Tests with HDR Images
It's crucial to conduct rendering tests after applying the HDR image to observe its impact. Previewing the render allows you to identify and address issues like lighting imbalance or color distortion, ensuring the final output is optimized.
4. Optimizing the Use of HDR Images
The Importance of Image Resolution
In 3D rendering, the resolution of the HDR image directly impacts the clarity and detail of the scene. Selecting a high-resolution HDR image can prevent blurry backgrounds or unclear reflections, improving the overall quality of the scene.
Adjusting the Dynamic Range
Depending on the scene's needs, you might have to adjust the dynamic range of the HDR image. By increasing or decreasing the exposure range, you can alter the lighting effect to better suit the project's visual requirements.
Real-Time Preview and Adjustment
Switching to real-time rendering view in 3D software allows you to see the impact of the HDR image on the scene as you work. This feature helps you quickly adjust lighting parameters, ensuring the final render meets your expectations.
By following these steps, you can create and apply HDR images in various 3D software, enhancing the realism and lighting quality of your scenes. Mastering these techniques will not only elevate the professionalism of your projects but also make your designs more vibrant and engaging. If you're looking for high-quality HDR image resources or other 3D design assets, consider visiting Relebook to take your design journey even further.

