How to Make a 3D Model of a Glacier?
Understanding Glacier Structure
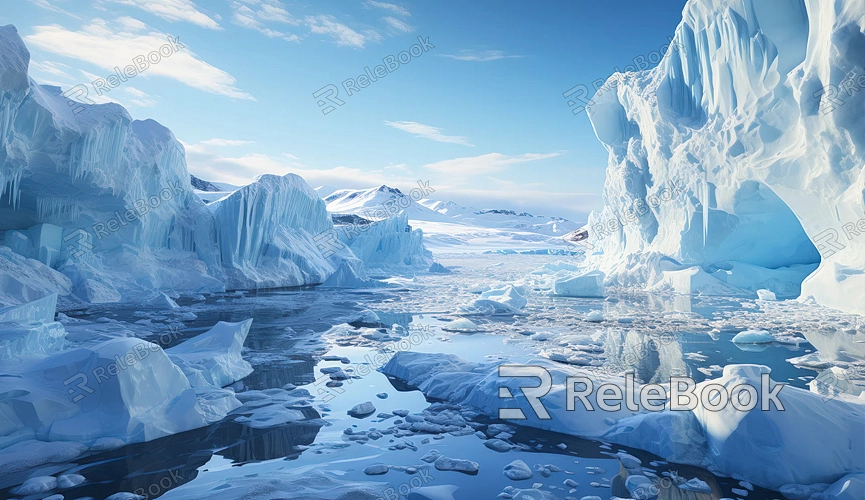
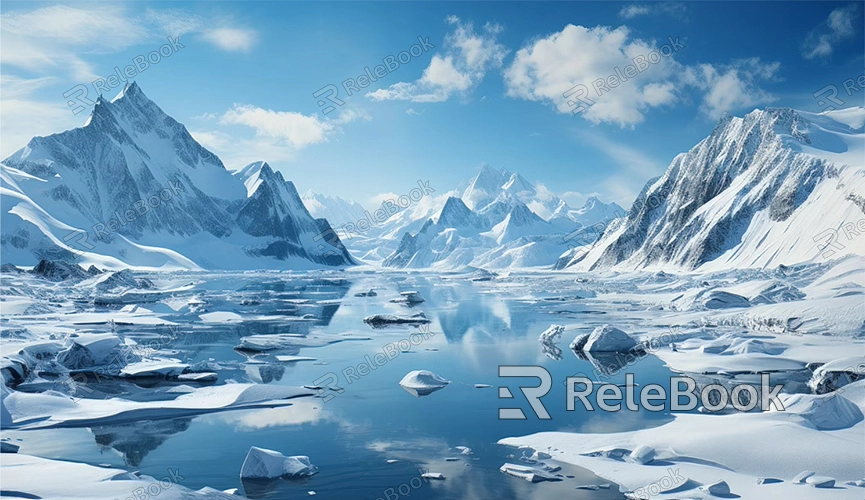
Before diving into the modeling process, it’s crucial to understand the structure and characteristics of glaciers. Glaciers are massive, persistent bodies of ice that flow slowly over land. They consist of various elements including crevasses, icefalls, and moraines. Studying real-life glaciers through photographs, documentaries, and scientific data will help you grasp their features. Pay attention to the ice’s texture, the interplay of light and shadow on the surface, and the way glaciers interact with their environment.
Choosing the Right Software
To create a 3D glacier model, you need the right tools. Several 3D modeling software options are available, each with its strengths. Popular choices include Blender, Autodesk Maya, and 3ds Max. Blender is a versatile and free option, while Maya and 3ds Max offer advanced features but come with a price tag. Choose software that aligns with your budget and skill level. For beginners, Blender’s comprehensive tools and supportive community make it an excellent starting point.
Setting Up the Project
Once you’ve selected your software, start by setting up your project. Create a new scene and configure the dimensions according to the scale of your glacier. It’s beneficial to use reference images or a base mesh to guide your modeling process. Import any reference images you have, or use real-world data to ensure accuracy. Establishing a solid foundation early on will save you time and effort in the later stages.
Creating the Glacier Base
Begin by modeling the basic shape of the glacier. Start with a simple geometric shape, such as a plane or a cube, and gradually sculpt it to resemble the glacier’s overall form. Use tools like extrusion, scaling, and smoothing to refine the shape. The goal is to create a rough approximation of the glacier’s mass before adding detailed features. Focus on capturing the general flow and contours of the ice.
Adding Details and Texture
Once you have the basic shape, it’s time to add details. Glaciers are known for their crevasses and uneven surfaces, so use sculpting tools to create these features. Pay attention to how the ice fractures and how the surface texture varies. Texturing is also crucial for realism. Apply a displacement map to simulate the intricate ice patterns and use bump maps to enhance surface detail. You may need to adjust the UV mapping to ensure textures align correctly with your model.
Applying Shading and Lighting
Realistic shading and lighting are key to making your glacier model look lifelike. Set up your scene’s lighting to mimic natural light conditions. Typically, a combination of sunlight and ambient light works well. Experiment with different lighting setups to see how they affect the appearance of your glacier. Use shaders that replicate the translucency and reflectivity of ice. The right shaders will enhance the model’s realism by accurately simulating how light interacts with the glacier’s surface.
Rendering the Model
With your glacier modeled, detailed, and textured, you’re ready to render. Choose appropriate render settings to achieve high-quality images. Depending on your software, you might use ray tracing or other rendering techniques to capture the glacier’s details. Pay attention to render settings like resolution, anti-aliasing, and lighting to ensure the final output meets your standards. Test render your model to make adjustments as needed before producing the final render.
Post-Processing and Final Touches
After rendering, you might need to perform some post-processing to enhance the final image. Use image editing software like Adobe Photoshop to adjust colors, contrast, and sharpness. This step allows you to refine the details and correct any issues that may have appeared during rendering. Adding subtle effects like glows or additional textures can also improve the realism of your glacier model.
Exporting and Sharing
Finally, export your 3D glacier model in a format that suits your needs, whether it’s for a game engine, an animation, or a static image. Ensure that all textures and maps are correctly linked and that the model is optimized for performance. If you plan to share your model, consider uploading it to a platform where others can view or download it, such as 3D model repositories or community forums.
creating a 3D model of a glacier involves a thorough understanding of glacier features, choosing the right software, and meticulously modeling and texturing the glacier. By following these steps, you can produce a realistic and visually striking model. To further enhance your glacier modeling projects, consider downloading high-quality 3D models and textures from the Relebook website.
FAQ
What software is best for beginners to create a 3D glacier model?
A: Blender is an excellent choice for beginners due to its comprehensive tools and free availability. It offers a range of features that can help you create detailed 3D models.
How can I get accurate reference images for my glacier model?
You can find reference images through online searches, scientific publications, or by visiting glacier-specific databases. High-quality photographs and scientific data are valuable resources.
What are displacement maps, and why are they important for modeling glaciers?
Displacement maps are textures that add surface detail to a model by modifying its geometry based on grayscale values. They are crucial for creating realistic ice textures and features on your glacier model.
How can I ensure my 3D glacier model looks realistic in different lighting conditions?
Test different lighting setups and adjust shaders and textures accordingly. Using HDRI images for environmental lighting can also help achieve more realistic effects.
