How to Make a Seamless 3D Texture?
Understanding Seamless Textures
Before diving into the process, it’s important to understand what makes a texture seamless. A seamless texture is a pattern that can be repeated without visible borders or interruptions. This is achieved by carefully aligning the edges of the texture so that they match up perfectly when tiled. The main challenge is to ensure that the transition between the edges is smooth and unnoticeable. Achieving this requires a combination of artistic skill and technical knowledge.
Choosing the Right Software
To create seamless textures, you need software that supports advanced image editing and manipulation. Popular choices include Adobe Photoshop, GIMP, and various 3D modeling tools like Blender or Substance Painter. Each software has its own strengths, but the fundamental techniques for creating seamless textures are similar. Ensure that you are comfortable with the software’s interface and tools before beginning your project.
Preparing Your Source Image
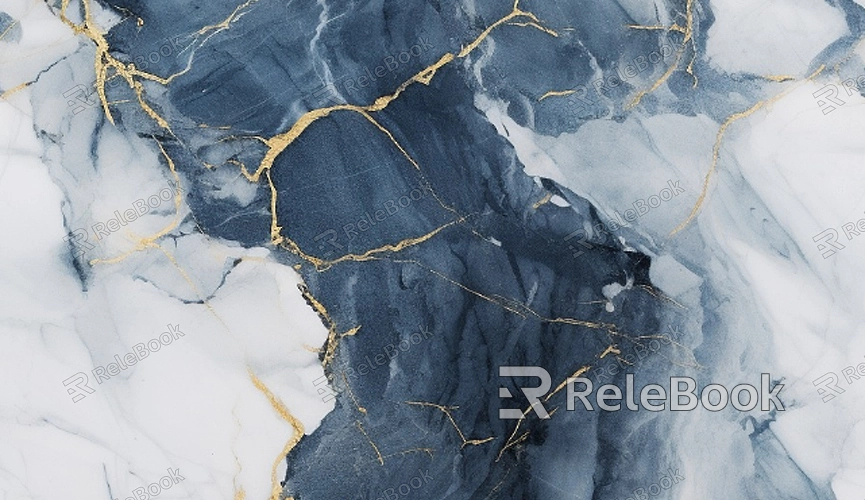
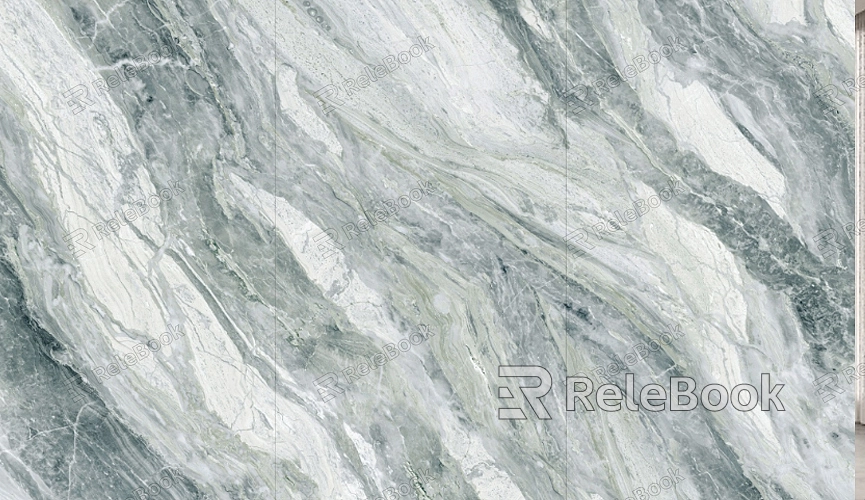
Start by selecting or creating a high-quality source image for your texture. This could be a photograph of a real-world surface, a painted pattern, or a combination of both. The key is to ensure that the image has enough detail and is of high resolution to avoid pixelation when applied to your 3D model.
1. Capture or Create the Image:
Use a high-resolution camera if photographing real-world surfaces or design a pattern with a painting tool. Ensure that the image is free from artifacts and has consistent lighting.
2. Crop and Resize
Crop your image to focus on the relevant texture details and resize it to match the dimensions you need for your 3D model.
Creating the Seamless Effect
Once you have your source image ready, the next step is to make it seamless. This involves removing any visible edges and ensuring that the pattern repeats naturally.
1. Use the Offset Filter
In Adobe Photoshop, use the Offset filter (Filter > Other > Offset) to shift the image and reveal any seams. Adjust the horizontal and vertical offsets to ensure that the edges of the image align perfectly.
2. Blend the Edges
Use the Clone Stamp tool or Healing Brush to blend any visible seams. Carefully paint over the transitions to create a smooth, continuous pattern.
3. Check for Repetition
Apply the texture to a large surface in your 3D software to check for any noticeable seams. Adjust and retouch as necessary to ensure a flawless repeat.
Applying the Texture to a 3D Model
With your seamless texture ready, it’s time to apply it to your 3D model. This step involves mapping the texture onto the model and adjusting it to fit perfectly.
1. UV Mapping
Ensure your 3D model has proper UV mapping, which involves unwrapping the 3D surface into a 2D plane. This allows the texture to be applied accurately.
2. Apply the Texture
In your 3D software, apply the texture to the model. Adjust the mapping coordinates to align the texture seamlessly across the surface.
3. Test and Adjust
Render your model to check how the texture looks in different lighting conditions and viewpoints. Make any necessary adjustments to ensure that the texture appears natural and consistent.
Refining and Finalizing
After applying the texture, there may be additional refinements needed to perfect the final look.
1. Detail Work
Add any additional details or tweaks to the texture to enhance realism. This could include adding dirt, wear, or other surface imperfections.
2. Testing in Different Scenarios
Test your textured model in various environments and lighting setups to ensure that it performs well across different scenarios.
3. Final Touches
Make final adjustments to the texture and model based on your testing results.
Creating seamless 3D textures is a fundamental skill in the world of 3D modeling. By understanding the principles of seamless texturing, choosing the right software, preparing your source image, and applying the texture to your model, you can achieve professional and visually appealing results. Remember to refine your texture and test it thoroughly to ensure it meets your needs. For high-quality 3D models and textures that you can use in your projects, visit the Relebook website to explore a wide range of resources.
FAQ
What is the difference between a seamless texture and a regular texture?
A seamless texture can be tiled or repeated without showing any visible seams or borders, making it ideal for covering large surfaces. Regular textures may show edges or disruptions when repeated.
Can I create seamless textures with free software?
Yes, free software like GIMP can be used to create seamless textures. The process is similar to that of paid software, though some advanced features may be limited.
How do I know if my texture is truly seamless?
Apply your texture to a large surface in your 3D software and check for any visible seams or inconsistencies. Additionally, use tools in your image editing software to verify that the edges blend seamlessly.
What resolution should I use for my textures?
The resolution depends on the needs of your project. Higher resolutions provide more detail but require more memory and processing power. Common resolutions include 1024x1024, 2048x2048, or 4096x4096 pixels.
