How to Create Leather Texture in Illustrator?
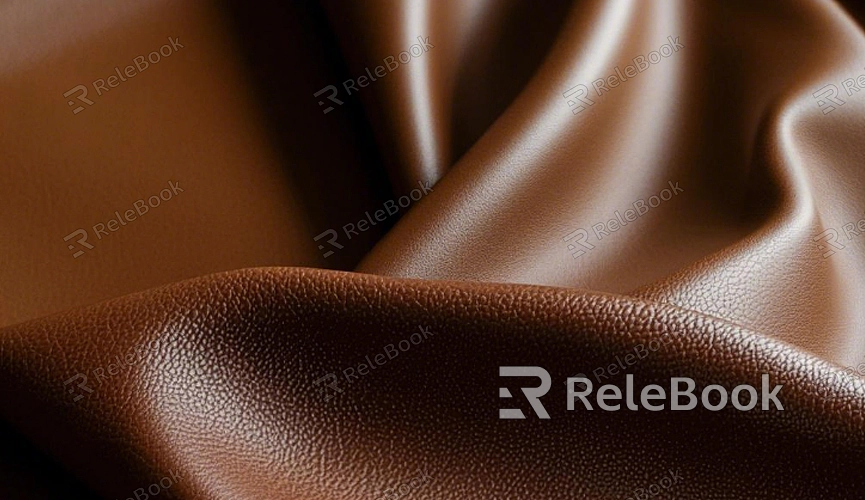
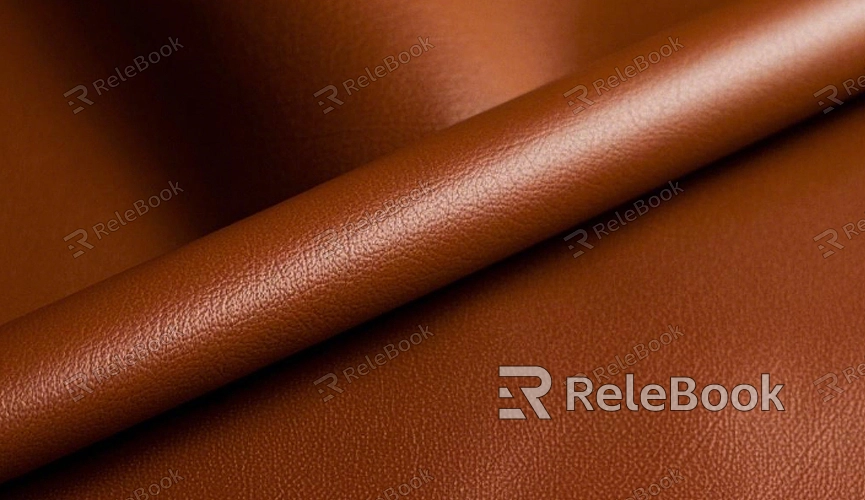
Illustrator, though primarily known for vector art, offers numerous tools that can help simulate the tactile qualities of leather, making it a great choice for digital rendering. In this article, we'll walk you through the essential steps and techniques to create a leather texture in Illustrator, giving you the ability to generate convincing leather effects without having to rely on external textures.

Setting Up Your Document
The first step in creating a leather texture in Illustrator is to set up your document. You can start by opening a new file in Illustrator, ensuring it matches the dimensions of your project. Whether you're working on a larger canvas or a specific design like a logo or a detailed illustration, adjusting your document size beforehand will make your workflow more efficient. Next, decide whether you want to create the texture on a single layer or across multiple layers. Creating the texture on a separate layer will make it easier to modify later on, especially if you want to apply effects to different parts of the texture.
Creating the Base Shape
To begin crafting your leather texture, it's helpful to start with a solid base shape. A simple rectangular or oval shape is often enough to serve as the foundation. Select the Rectangle Tool or the Ellipse Tool from the toolbar, and draw a shape that will act as the background for your texture. You can use the color picker to choose a base leather color such as brown or tan. Leather is often characterized by its uneven surface and deep, warm tones, so pick a color that is slightly varied to mimic this characteristic.
Adding Texture with the Grain Effect
Leather surfaces are often uneven and feature subtle grain patterns. To achieve this effect in Illustrator, you can use the "Grain" texture effect. First, select your base shape and go to the "Effect" menu, then navigate to "Texture" and choose "Grain." The grain effect simulates the random, subtle variations of texture found in leather. You can adjust the intensity of the grain by changing the "Intensity" and "Contrast" sliders to create the desired level of detail. The more contrast you add, the more pronounced the texture will appear.

Simulating the Leather Surface Using Brush Strokes
After applying the grain texture, you can enhance the leather effect by adding more detailed surface features. Use the Paintbrush Tool to draw smooth, curved lines over the base shape to simulate the natural creases and folds of leather. Adjust the brush settings to create varied thicknesses in your strokes. A slightly rough or uneven line can mimic the creases found in leather. Vary the stroke opacity and color to create depth and a more dynamic appearance. Layering strokes of different opacities can make the leather look more authentic, giving it a three-dimensional quality.
Adding Highlights and Shadows for Depth
Realistic leather textures depend on the play of light and shadow. To achieve this, you'll need to add highlights and shadows to your texture. You can do this by creating subtle gradients or using the "Gradient Tool" to adjust the light and dark areas. Apply a linear gradient with a slightly lighter tone at the top to simulate light hitting the leather, and use darker shades toward the bottom to create shadow effects. Adding some opacity variations will also help to soften the transition between light and dark areas. Use the "Opacity Mask" to control which parts of the leather are highlighted and which parts are shaded, giving your design more depth and realism.
Using the Distort and Transform Tools
To further enhance the leather texture, Illustrator’s "Distort and Transform" tools can be used. One of the most effective tools is the "Pucker & Bloat" effect, which allows you to manipulate the texture by pulling and pushing the edges inward or outward. This can give your leather texture an organic, hand-made feel. To apply this effect, select your shape and navigate to "Effect" > "Distort & Transform" > "Pucker & Bloat." Adjust the slider to fine-tune the amount of distortion you want to apply. A slight amount of distortion will create the natural irregularities found in leather surfaces.
Adding Stitches and Details
Stitches are a prominent feature of many leather goods, such as bags, wallets, and shoes. To simulate stitched leather, you can use Illustrator’s "Pen Tool" or "Line Segment Tool" to create straight lines along the edges of your leather shape. Add small dashed lines or use a rounded stroke to simulate stitching. To give the stitches a more realistic effect, consider adding a small drop shadow or a subtle highlight next to them. This will help the stitches stand out against the leather texture and make them appear as though they are embedded in the surface.
Fine-Tuning and Customization
Once you have added the basic leather texture, you may want to fine-tune the design. You can adjust the color of the base leather, tweak the opacity of the grain texture, or apply additional effects to enhance the realism. It is important to consider how the leather texture will interact with other design elements in your project. Whether it's part of a logo, a background, or an icon, ensure that your leather texture complements the rest of your composition. You may want to experiment with different blending modes to see how the leather texture interacts with the colors and shapes beneath it.
Exporting Your Leather Texture
When you're satisfied with your leather texture, it's time to export your design. Illustrator allows you to save your project in various file formats, including AI, SVG, and PNG. If you plan to use the leather texture in another software or share it with a client, consider exporting it as a high-resolution PNG file with a transparent background. This will preserve the texture while allowing you to easily incorporate it into other projects. If you want to keep the flexibility of working in Illustrator, you can save the file as an AI document, which will allow you to make future edits as needed.
By using the right tools and techniques, you can simulate the rich, tactile qualities of leather in a digital format. From adding grain effects to simulating highlights and shadows, each step helps to refine the texture and bring it closer to reality. Whether you’re working on a logo, a background, or any other design project, mastering the art of creating leather textures in Illustrator is a valuable skill. To take your designs to the next level, consider exploring 3D models and textures available on the Relebook website, where you can find resources that complement your new skills.
FAQ
Can I use real leather textures in Illustrator?
Yes, you can import high-quality leather textures into Illustrator. However, this article focuses on creating a leather texture entirely within Illustrator, which can give you more control over the design and scaling without sacrificing quality.
How can I make my leather texture look more realistic?
To achieve a more realistic look, pay close attention to the gradients and shadows. Simulating the light reflections and surface imperfections found in real leather can make a huge difference. You can also experiment with multiple layers of texture effects and varied brush strokes to add richness and depth.
How do I make the leather texture more aged or worn?
You can simulate wear and tear by applying subtle distortions, using the "Pucker & Bloat" effect, and adjusting the texture with the "Grain" effect. Adding darker spots or roughening up the edges of your leather can give it an aged appearance.
Can I use this technique for other materials?
Yes, the techniques used to create leather textures in Illustrator can be adapted to other materials like wood, fabric, or stone. The key is adjusting the texture effects, gradients, and strokes to suit the characteristics of the material you're aiming to replicate.
Do I need advanced Illustrator skills to create leather textures?
While some familiarity with Illustrator tools is beneficial, this process is beginner-friendly as long as you take your time and experiment with different effects. Most of the techniques described here are based on basic Illustrator tools and can be learned with practice.

