How to Make a 3D Minecraft Skin Model
The world of Minecraft is full of infinite creativity and possibilities, and creating 3D models offers players a richer gaming experience. Making a 3D Minecraft skin model not only makes your character more unique but also adds personalized elements to your game world. This guide will walk you through the process of creating a 3D Minecraft skin model so you can shine in the game.
Preparation
Before you start, some preparation is required. Make sure you have the necessary software installed, such as Blender and MCEdit. These tools will help you create and edit 3D models. Blender is a powerful 3D modeling software, while MCEdit helps you import models into Minecraft.
Steps to Create a 3D Minecraft Skin Model
1. Obtain a Basic Skin Template
Before making a 3D Minecraft skin model, you need a basic skin template. You can download a standard 2D skin template from the official Minecraft website or other related sites. This template is a cube unfold map that helps you define each face of the 3D model.
2. Create the Basic Model
Open Blender and create a new project. In Blender, you can start with a cube as the base model since Minecraft characters are composed of cubes. Use Blender’s editing tools to adjust the cube’s size and proportions to match the dimensions of the skin template.
3. Paint the Texture
Import the downloaded skin template into Blender and map it onto the cube model. This involves UV unwrapping and texture mapping. UV unwrapping is the process of unfolding a 3D model’s surface into a 2D plane so that textures fit correctly on the model. Ensure accurate texture mapping so the skin displays correctly on the model.
4. Refine Details
In Blender, you can refine the model’s details as needed. This includes adding subtle facial features, clothing textures, and other decorative elements. Use Blender’s sculpting and painting tools to fine-tune the model, ensuring every detail meets your design requirements.
5. Test and Optimize
After completing the model, test it to ensure everything works properly. Export the model as an OBJ or other compatible format and test it in Minecraft. Use MCEdit to import the model into Minecraft and check its performance and appearance in the game. If any issues arise, return to Blender for adjustments and optimization.
Exporting and Importing the Model
1. Export the Model
Once the model is complete in Blender, export it in a format supported by Minecraft. The OBJ format is commonly used, but the specific export options may vary depending on the tools you use. Make sure to select the correct export settings to ensure compatibility and quality.
2. Import into Minecraft
Use MCEdit or other relevant tools to import the exported 3D model into Minecraft. In MCEdit, you can choose the “Import” option to add the model to your game world. Adjust the model’s position and size to ensure it fits well with the other elements in the game environment.
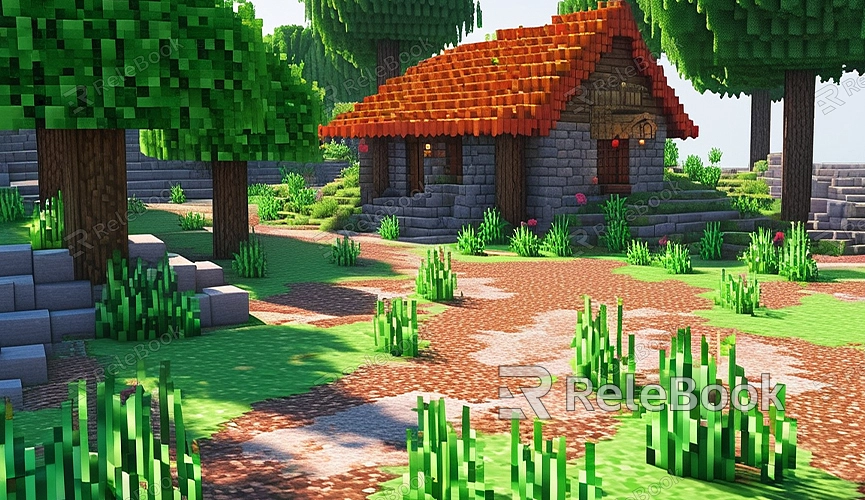
Creating a 3D Minecraft skin model enhances your gaming experience and showcases your creativity and design skills. By following these steps, you can create a unique 3D model that makes your character stand out in Minecraft. If you need high-quality 3D textures, HDRIs, or model downloads for creating models and virtual scenes, you can find them on Relebook. Download the textures and 3D models and import them directly into your project. These resources will help you improve the quality and detail of your models, making your work even more impressive.
