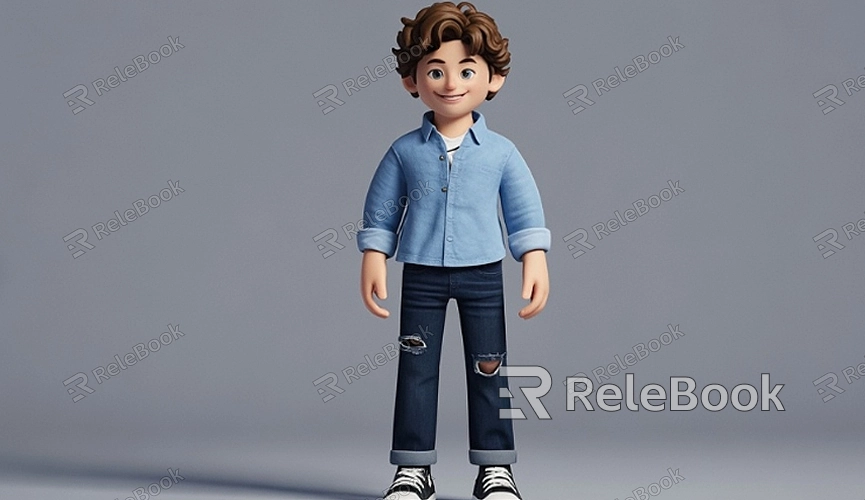
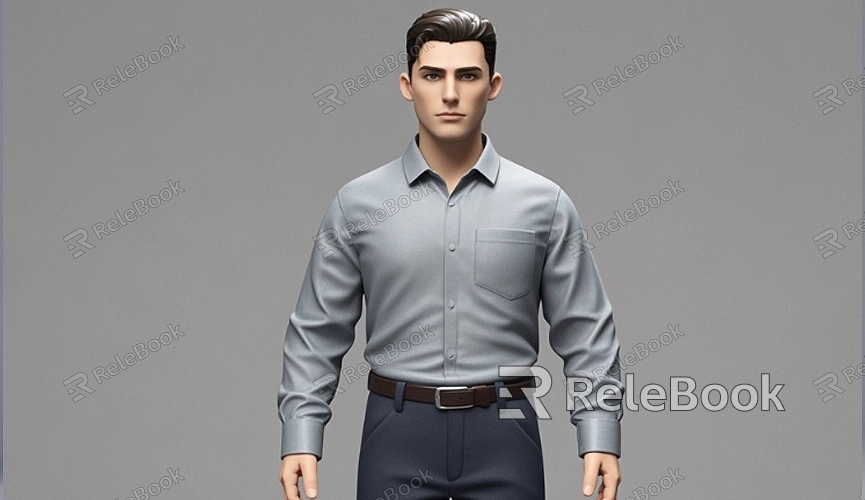
How to Model a 3D Character in Maya?
Concept and Reference Gathering
Before diving into Maya, it’s crucial to start with a solid concept for your character. This involves sketching your character or finding reference images that capture the look and feel you want to achieve. Gathering references from different angles—front, side, and back—will help you create a more accurate and proportionate model. These references serve as a visual guide throughout the modeling process, ensuring consistency and helping you avoid common pitfalls.
Setting Up Your Workspace
Once you have your references, the next step is to set up your workspace in Maya. Begin by creating a new project and importing your reference images. These images can be placed in the background of your modeling viewport to act as a guide. To set up your images, go to the “View” menu in your viewport and select “Image Plane,” then import your reference images. This will allow you to model directly in alignment with your concept.
Blocking Out the Basic Shape
With your references in place, you can start blocking out the basic shape of your character. This involves creating a simple, rough version of your character to establish its overall proportions and silhouette. Use basic geometric shapes like cubes, spheres, and cylinders to build the general form. Focus on getting the major proportions right rather than detailing at this stage. This is often referred to as "blocking" and provides a foundation for further refinement.
Refining the Model
After blocking out the basic shape, the next step is to refine the model. This involves adding more detail to the character and shaping it closer to your final vision. Use Maya’s modeling tools such as the Extrude tool, Sculpting tools, and the Edit Mesh menu to add detail and adjust the shape. Pay attention to anatomy and proportions, and use your reference images to guide your adjustments. This stage requires careful attention to detail to ensure that the model is both accurate and aesthetically pleasing.
Adding Details and Features
With the refined model in place, you can now focus on adding finer details and features to your character. This includes defining facial features, clothing, and any additional elements such as accessories or props. Use tools like the Insert Edge Loop, Mesh Smooth, and various sculpting brushes to enhance details. For clothing, you may need to create separate meshes and ensure proper integration with the character’s body.
UV Mapping and Texturing
Once your model is detailed, it’s time to unwrap UVs and create textures. UV mapping is the process of projecting a 2D image onto your 3D model, which allows you to apply textures accurately. In Maya, you can use the UV Editor to unwrap your model and create UV layouts. After unwrapping, create textures in an external program like Adobe Photoshop or Substance Painter. Apply these textures to your model in Maya, and make sure to check for any texture stretching or seams.
Rigging and Skinning
Rigging and skinning are essential steps for animating your character. Rigging involves creating a skeleton or “rig” that defines the character’s movement. This includes adding joints, controls, and constraints. Skinning, on the other hand, is the process of binding the character’s mesh to the rig so that it deforms correctly when the rig is moved. Use Maya’s Rigging tools and Skin Cluster to set up your rig and skin your model. Ensure that the deformations are smooth and natural, and make any necessary adjustments.
Finalizing and Exporting
After rigging and skinning, review your character model to ensure everything is functioning as expected. Make any final adjustments to the mesh, textures, and rig. Once you’re satisfied with the result, it’s time to export your model for use in other applications or for rendering. Export your model in the desired format (e.g., FBX or OBJ), and make sure to include textures and rigging data if needed.
FAQ
How do I get started with Maya if I’m a beginner?
Start by familiarizing yourself with Maya’s interface and basic tools. Tutorials and online courses can provide a structured learning path. Practice basic modeling techniques and gradually work your way up to more complex projects.
What are some common mistakes to avoid when modeling a character in Maya?
Common mistakes include neglecting proper reference images, skipping the blocking stage, and rushing through UV mapping. Ensure that you pay attention to each stage of the process and make use of feedback and revisions.
How can I improve the realism of my character model?
To improve realism, focus on accurate anatomy, detailed texturing, and realistic rigging. Use high-quality reference images and consider studying real-life anatomy or other professional character models for inspiration.
What resources are available for learning more about character modeling in Maya?
There are numerous resources available, including online tutorials, courses, and forums. Websites like Udemy, LinkedIn Learning, and YouTube offer valuable insights and instructional videos. Additionally, joining Maya user communities can provide support and feedback.
