How to Create an HDR Image
HDR images are essential in capturing and presenting more realistic lighting and material effects, making them highly valuable in fields like architectural visualization, product design, and game development. By mastering HDR imaging, designers can significantly enhance the visual impact of their work. This article will guide you through the process of creating HDR images, detailing the steps within commonly used 3D software and sharing tips for optimizing these images to maximize their effectiveness in your projects.

1. Understanding the Basics of HDR Imaging
Before diving into the creation process, it’s crucial to grasp the basic concepts and benefits of HDR images. An HDR image captures the full range of light in a scene, from the brightest highlights to the darkest shadows, allowing for a more realistic rendering of light and shadow in the final output.
The Significance of High Dynamic Range: HDR images excel in handling high-contrast scenes, avoiding the common pitfalls of traditional images, such as overexposure or underexposure. This capability ensures that even in complex lighting conditions, all details in a scene are preserved.
Application Scenarios: HDR images are widely used in architectural visualization to accurately depict indoor and outdoor lighting transitions. In product design, they can showcase material reflections and fine details with stunning realism. Meanwhile, in game development, HDR images contribute to dynamic lighting effects that bring virtual worlds to life.
2. Steps to Capture HDR Images
The first step in creating an HDR image is capturing multiple photos at different exposure levels. This can be done manually by adjusting the camera’s exposure settings or using a camera with automatic exposure bracketing.
Multiple Exposure Shooting: Take several photos at different exposure levels, typically ranging from 3 to 7 shots. These images should cover the entire dynamic range, from the darkest to the brightest details in the scene, ensuring comprehensive data for the subsequent HDR composition.
Importance of Stability: To avoid image blur, keep the camera stable during the shoot. Using a tripod can help maintain consistent angles across all shots, minimizing alignment errors during image composition.
3. Compositing HDR Images in 3D Software
After capturing multiple exposure images, the next step is to composite them into a single HDR image using 3D software. Here’s how you can create HDR images in some popular 3D applications:
Blender: In Blender, use the "Compositing" feature to import your images at different exposures. Employ the node system to merge these images, adjusting the nodes’ parameters to fine-tune the final HDR effect.
Photoshop: Although primarily known for 2D image editing, Photoshop also has powerful HDR compositing capabilities. By selecting "File > Automate > Merge to HDR Pro," you can easily combine multiple images into one high dynamic range image and further adjust the brightness, contrast, and color.

4. Adjusting and Optimizing HDR Images
Once the HDR image is composited, it’s crucial to fine-tune it to ensure it meets your rendering expectations. These adjustments typically involve tone mapping, lighting balance, and detail enhancement.
Tone Mapping: This process maps the HDR image to a lower dynamic range suitable for display on standard screens. Adjusting tone mapping parameters helps retain the details and contrast of the HDR image.
Lighting Balance: Depending on your scene's lighting needs, adjust the brightness and contrast of the HDR image during rendering to achieve the best visual effect.
Detail Enhancement: Use image processing tools within your 3D software to enhance the details of the HDR image, such as sharpening or noise reduction, to improve the clarity and texture of the image.
5. Applying HDR Images in Rendering
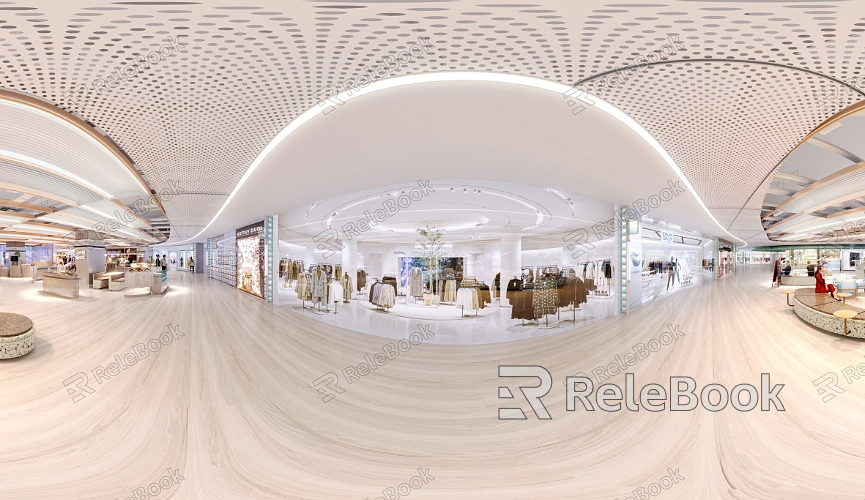
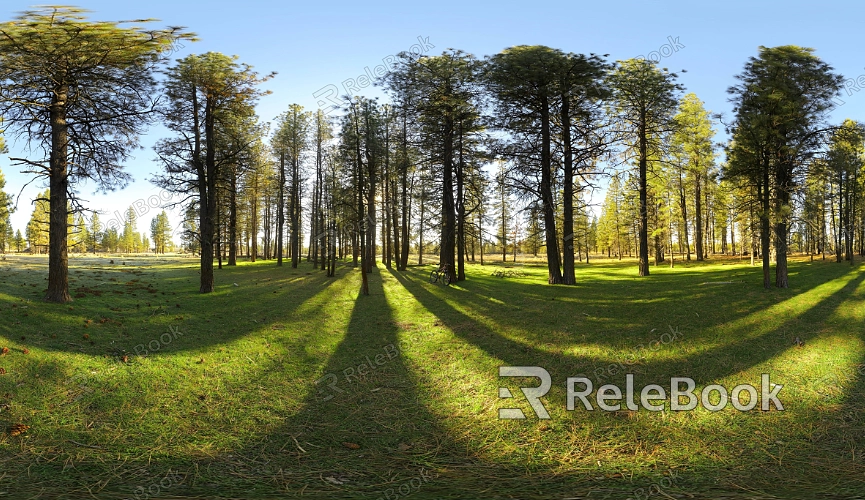
The ultimate goal of creating HDR images is often to use them in 3D rendering, either as environment lighting or reflection maps to enhance the realism of a scene. Designers must adjust HDR image parameters according to specific rendering requirements.
As Environment Lighting: In 3D rendering, HDR images are frequently used as environment lights, providing comprehensive illumination to a scene and realistically simulating natural light changes.
As Reflection Maps: By using HDR images as reflection maps, designers can add realistic environmental reflections to reflective materials (like metal or glass) in a scene, enhancing the material's texture and depth.
6. Exporting and Saving HDR Images
After creating and fine-tuning an HDR image, the final step is to export and save it in the appropriate format. Common HDR image formats include OpenEXR (.exr) and Radiance (.hdr), both of which preserve high dynamic range data, ensuring no loss of detail in future use.
Choosing the Right File Format: Select the appropriate HDR file format based on your final usage. For instance, OpenEXR is ideal for high-end film and game production, while Radiance is more suitable for architectural visualization.
Optimizing File Size: When saving HDR images, you can adjust the resolution and compression options as needed to balance image quality and file size, making them easier to manage in your projects.
By following these steps, designers can effectively create high-quality HDR images, enhancing the overall impact of their 3D rendering projects. If you're looking for high-quality HDR images, 3D textures, or models, Relebook is an excellent resource. By downloading assets from Relebook and integrating them into your 3D software, you can significantly elevate the quality of your projects.

