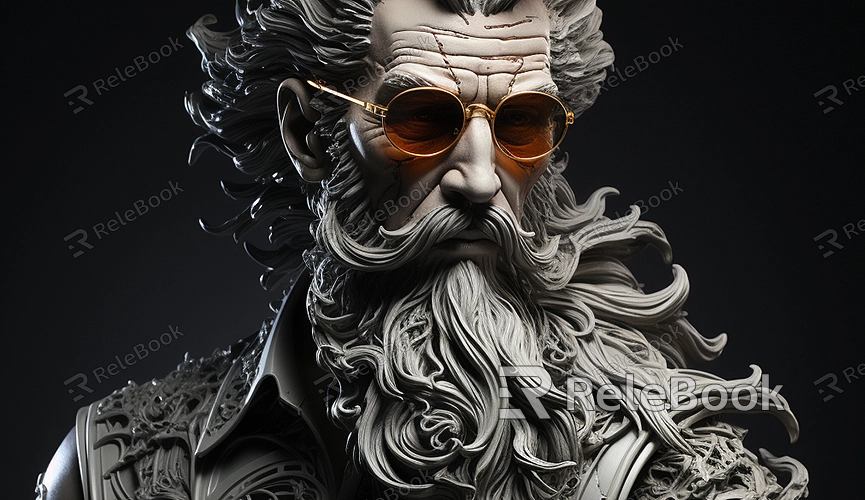
How to Make a 3D Character Model in Blender
Blender is a powerful open-source 3D modeling software widely used in animation, gaming, and film industries. Creating a high-quality 3D character model is a complex yet rewarding process. This guide will walk you through the steps of creating a 3D character model in Blender, from setting up your project to rendering the final output.
Preparation
Before you start, ensure you have the latest version of Blender installed. If you don’t have Blender, you can download and install it from the official Blender website.

Creating the Base Model
First, open Blender and create a new project. In the default startup scene, Blender typically provides a cube, a light source, and a camera. You can add or remove these objects as needed.
- Add Base Geometry: Press Shift+A to open the Add menu, and choose “Mesh” then select “Cube” or “Sphere” as your base geometry. A sphere is often used for the character's head.
- Adjust Geometry: Select the geometry and use the G (move), S (scale), and R (rotate) keys to adjust its position and size to roughly fit the character's proportions.
Building the Character Framework
Next, you need to establish a basic framework for the character. This framework will help you sculpt and refine the character's details more accurately.
- Switch to Edit Mode: Select the geometry and press Tab to switch to Edit Mode.
- Subdivide the Mesh: In Edit Mode, press A to select all vertices, then choose “Subdivide” from the left toolbar. This will add more vertices and edges to the mesh, making it easier to sculpt and adjust the shape.
- Adjust Vertices: Use the B (box select) and C (circle select) tools to select vertices, and move them with the G key to roughly shape the character’s outline.
Sculpting and Refining
Once you have the basic framework, you can start refining the character’s shape and details. Blender offers powerful sculpting tools to help you fine-tune your model.
- Switch to Sculpt Mode: From the top menu, select “Sculpt” to switch to Sculpt Mode.
- Choose Sculpting Tools: Blender provides various sculpting tools, such as Grab, Smooth, and Stretch. Select the appropriate tool based on your needs to refine the character's shape.
- Refine Details: Continuously sculpt and adjust to add facial features, body details, and other elements to make the character more realistic.
Adding Materials and Textures
After completing the character’s shape, you need to add materials and textures to enhance realism and visual appeal.
- Open Material Panel: In the Properties panel on the right, select the Material icon, and click “New” to create a new material for the character.
- Set Base Color: In the material settings, choose and adjust the base color. You can set different colors based on your character design.
- Add Textures: For more complex texture effects, you can add image textures in the Material panel. Click “Open” to import your texture image and adjust the texture coordinates to apply it correctly to the character model.
Rigging and Animation
If you want to animate the character, you need to rig it with a skeleton. Rigging allows the character model to perform various poses and movements.
- Add Armature: In Object Mode, press Shift+A to open the Add menu, and select “Armature” to add a skeleton.
- Adjust Armature Position: Select the armature and use the G, S, and R keys to adjust the position and size of the bones to match the character’s structure.
- Bind Armature to Model: Select the character model, then Shift+select the armature. Press Ctrl+P to open the Parent menu and choose “Armature Deform” to bind the armature to the model.
Rendering and Output
Once your character model is complete, you can render it to generate high-quality images or animations.
- Set Render Parameters: In the Properties panel on the right, select the Render icon to set the render engine, resolution, and output format. Cycles is recommended for higher quality rendering.
- Start Rendering: After settings are configured, click “Render” in the top menu, then select “Render Image” or “Render Animation.” Blender will generate the final image or animation based on your settings.
If you need high-quality 3D textures and HDRIs for your models and virtual scenes, you can download them for free from [Relebook Textures](https://textures.relebook.com/). For beautiful 3D models, visit [Relebook 3D Models](https://3dmodels.relebook.com/), where you’ll find a wide range of premium 3D resources. These resources will not only enhance the quality of your work but also save you time, allowing you to focus more on creative execution.
By following these steps, you can successfully create a complete 3D character model in Blender. Start with basic geometry, refine and perfect the model, add materials and textures, rig the model, and finally, render your work. With practice and exploration, you’ll soon master these techniques and create impressive 3D models.

