How to Set Up an HDR Texture in Blender?
In the realm of 3D modeling and rendering, HDR (High Dynamic Range) textures are a powerful tool that can greatly enhance the quality of your renders by providing realistic lighting effects. Whether you're working on indoor scenes or outdoor environments, HDR textures can dramatically improve the visual fidelity of your projects. Software like Blender, 3ds Max, and Maya widely support the use of HDR textures, making them essential for achieving photorealistic results and reducing the need for extensive post-processing. This article will guide you through the process of setting up HDR textures in Blender, offering practical tips to help you get the most out of this technique.
1. Understanding HDR Textures and Their Role
HDR textures are image files that contain high dynamic range data, capturing a greater range of brightness and color detail than standard images. By using HDR textures in Blender, you can create more natural lighting effects that simulate real-world environmental lighting. These textures not only enhance the realism of your renders but also allow for subtle variations in lighting and shadows within a scene. This is crucial for outdoor scenes, interior environments, and even product visualization projects.
2. Importing HDR Textures into Blender
To utilize HDR lighting in Blender, the first step is to import your HDR file into the software. Here’s how to do it:
Access the World Properties Panel: After opening Blender, navigate to the “World” properties panel, which is where you’ll set up the global lighting for your scene.
Enable “Use Nodes”: Under the “Surface” option, select “Use Nodes.” This allows you to use the node editor for more detailed control.
Choose “Environment Texture”: Click the small circle next to the “Color” option and select “Environment Texture” from the menu that appears.
Import the HDR File: Use the “Open” button to import the HDR file of your choice. This file will serve as the lighting source for your scene.
3. Optimizing HDR Texture Settings
Once the HDR texture is imported, you can further refine the lighting effects by tweaking the following settings:
Adjusting Intensity: In the “Strength” option, you can control the intensity of the HDR light source. Increasing the strength enhances the lighting effect but be mindful of maintaining a balanced light-shadow relationship in the scene.
Controlling Exposure: By adjusting the “Exposure” parameter, you can fine-tune the lighting to better showcase the highlights and shadows in the HDR texture. This is particularly important for achieving a realistic look, especially in scenes with high contrast between light and dark areas.
Mixing Light Sources: While HDR textures provide global lighting, combining them with traditional light sources like point lights or spotlights can add depth and complexity to your scene. For example, in an interior scene, you might use an HDR texture for window lighting and supplement it with artificial light sources to create more nuanced lighting effects.
4. Addressing Challenges with HDR Textures
While HDR textures can significantly enhance your renders, they may also present some challenges:
File Size and Render Time: HDR files tend to be large, which can increase render times and consume more system resources. To mitigate this, consider using lower-resolution HDR files or reducing the texture quality without compromising the visual outcome.
Render Noise: HDR lighting can sometimes introduce noise in certain scenes. Utilizing Blender’s denoising features or increasing the render samples can effectively reduce noise and improve image quality.
5. Applications in Different Scenarios
HDR textures are versatile and can be applied across various types of scenes. Here are some common examples:
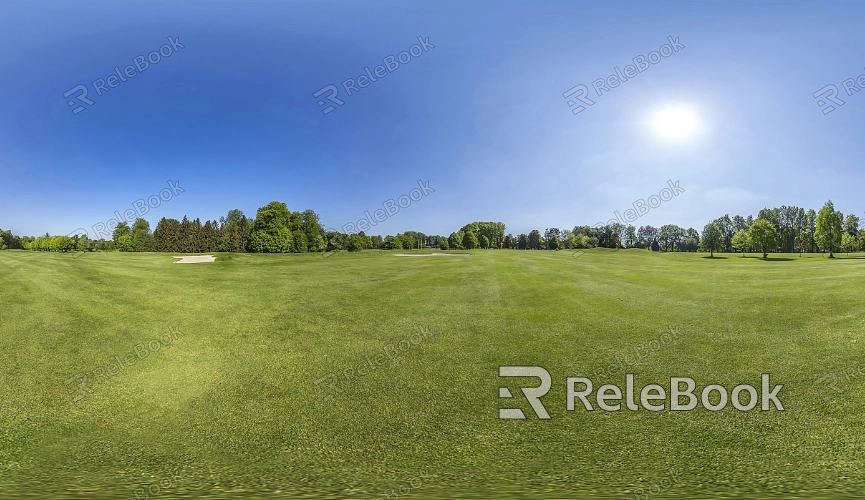
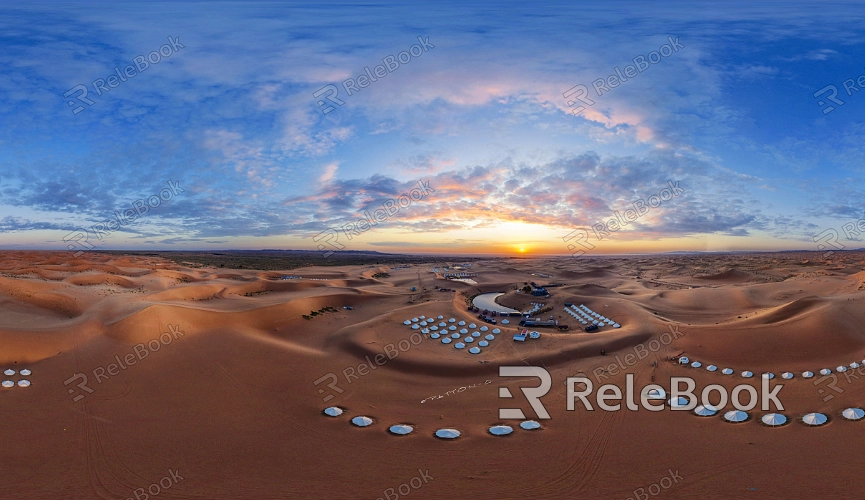
Outdoor Scenes: HDR textures are ideal for simulating natural light, particularly when replicating the lighting conditions of dawn or dusk, adding a lifelike environmental lighting effect to your scene.
Indoor Scenes: In interior renders, using HDR textures can effectively mimic natural light streaming through windows, making the indoor environment appear more realistic. Additionally, combining HDR textures with artificial light sources can create more layered and dynamic lighting effects.
Product Visualization: For product rendering, HDR lighting helps to highlight the texture and detail of materials, especially for reflective surfaces like metal and glass. By carefully selecting and setting up HDR textures, you can emphasize the unique features of your product, enhancing its visual appeal.
Conclusion
Setting up HDR textures in Blender not only enhances the realism of your renders but also expands your creative possibilities as a designer. By mastering the import and optimization of HDR textures, you can achieve ideal lighting effects across various scenes, minimizing the need for extensive post-processing. If you're looking for high-quality HDR images, Relebook is a great resource. Their texture library offers a wide range of HDR textures, along with other 3D design assets like 3D textures, SketchUp models, and 3ds Max models, to help you elevate the quality of your design projects.
