How to 3D Texture Plants?
Gathering Reference Materials
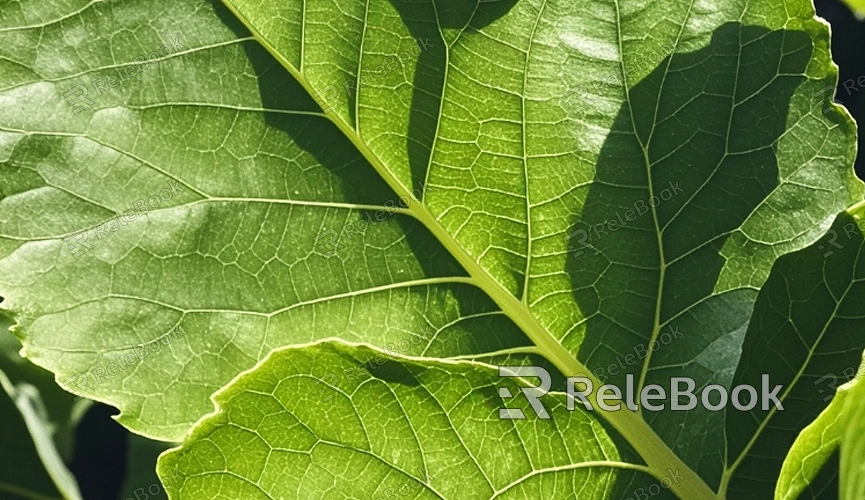
Before you begin texturing, it's essential to gather reference materials. Accurate references are the foundation of any realistic texture. When texturing plants, you'll need high-quality images of the specific plant species you are working on. These images should include close-ups of leaves, stems, and flowers, as well as wider shots that capture the overall structure and color patterns.
1. Collecting Photos
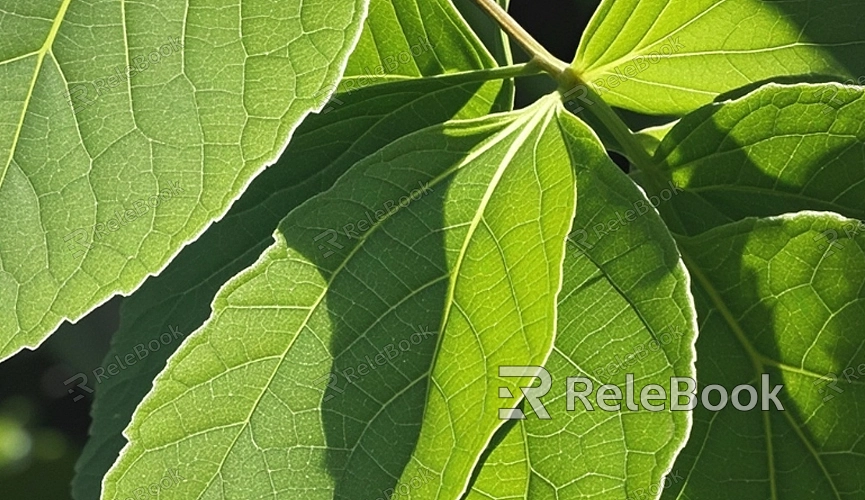
Take or find high-resolution photos of the plant from various angles. Focus on capturing the fine details of the leaves veins, textures of the bark, or subtle color variations in the petals. These details will be crucial when creating your textures.
2. Studying Real-Life Examples
If possible, study real-life examples of the plants you are texturing. Observing plants in natural light will help you understand how light interacts with their surfaces, which is critical when creating realistic textures.
Creating and Preparing Textures
With reference materials in hand, the next step is to create the textures themselves. This involves creating detailed 2D images that will be wrapped around your 3D models.
1. Photogrammetry for Realism
Photogrammetry is a technique that uses multiple photographs of an object to generate a 3D model and textures. For plants, you can take multiple photos of leaves, stems, and flowers from different angles and use software like Agisoft Metashape or RealityCapture to create highly realistic textures. This method captures the intricate details and natural variations of real plants, providing a strong foundation for your textures.
2. Using Texture Painting Software
If photogrammetry isn’t feasible, texture painting software like Adobe Photoshop, Substance Painter, or GIMP can be used to create textures from scratch. Start by creating base color textures, then add details like veins, blemishes, and color variations. These can be painted directly onto UV maps or overlaid on top of photos to enhance realism.
3. Creating Normal and Bump Maps
To add depth and detail to your plant textures, create normal and bump maps. These maps simulate the small bumps and grooves on the surface of leaves or bark without adding more polygons to your model. Use tools like Photoshop, Substance Painter, or xNormal to generate these maps from your base textures.
Applying Textures to 3D Models
Once your textures are ready, the next step is to apply them to your 3D models. This process involves UV mapping, which is the method of projecting a 2D texture onto a 3D object.
1. UV Mapping
UV mapping is crucial for ensuring that your textures fit your 3D models accurately. The UV map represents the 3D model in 2D space, allowing the texture to be applied correctly. In software like Blender, Maya, or 3ds Max, unwrap your 3D model to create a UV map. Ensure that the UVs are laid out efficiently, minimizing stretching or compression of the texture.
2. Applying Base Color Texture
Import your base color texture into your 3D software and apply it to the model. Check the texture on the model to ensure it wraps correctly, with no visible seams or distortions. Adjust the UV map if necessary to improve the fit.
3. Adding Normal, Bump, and Specular Maps
After applying the base color texture, add the normal and bump maps to enhance the surface details. These maps should be connected to the appropriate channels in your material editor, such as the normal map channel and bump map slot. If your plant model requires it, add a specular or roughness map to control the shininess of the leaves or the rough texture of the bark.
Fine-tuning and Rendering
Once your textures are applied, the final step is to fine-tune the material settings and render the scene to ensure your plants look as realistic as possible.
1. Adjusting Material Properties
In the material editor of your 3D software, adjust properties like roughness, reflectivity, and translucency. Plants often have a slight translucency, especially in leaves, where light partially passes through. This effect, known as subsurface scattering, can be simulated using translucency settings or a subsurface scattering shader.
2. Lighting and Environment
Proper lighting is essential for showing off your textured plants. Set up your lighting to mimic natural conditions, using soft, diffused light to replicate daylight. You might also want to use an environment map to create realistic reflections and ambient light.
3. Final Render and Post-Processing
After setting up the materials and lighting, render your scene. Use high-quality settings to capture all the details of your textured plants. In post-processing, you can adjust the color balance, contrast, and other image properties to further enhance the realism of your plants.
FAQ
What is the best software for texturing plants in 3D?
Some of the most popular software for texturing plants include Substance Painter, Blender, Maya, and Adobe Photoshop. Each offers unique tools that can help create realistic plant textures.
How can I ensure my plant textures look realistic?
To achieve realistic plant textures, use high-quality reference images, create detailed normal and bump maps, and carefully adjust material properties like translucency and roughness.
What is UV mapping, and why is it important?
UV mapping is the process of projecting a 2D texture onto a 3D model. It’s important because it ensures that textures fit correctly on the model without stretching or distortion.
How do normal maps improve plant textures?
Normal maps add depth and detail to the surface of a 3D model by simulating the small bumps and grooves on leaves or bark, making the texture look more realistic without increasing the polygon count.
Can I use photogrammetry for texturing plants?
Yes, photogrammetry is an excellent method for capturing realistic plant textures, as it creates highly detailed textures based on real-world photographs.
