Blender how to make a 3d model of a dog
Creating a 3D animal model in Blender is a challenging but highly rewarding task. Specifically, modeling a dog involves understanding its structure and mastering Blender's modeling, sculpting, and material tools. If you're new to 3D modeling and want to create a dog model in Blender, this detailed guide will help you from start to finish.
1. Gather Reference Materials
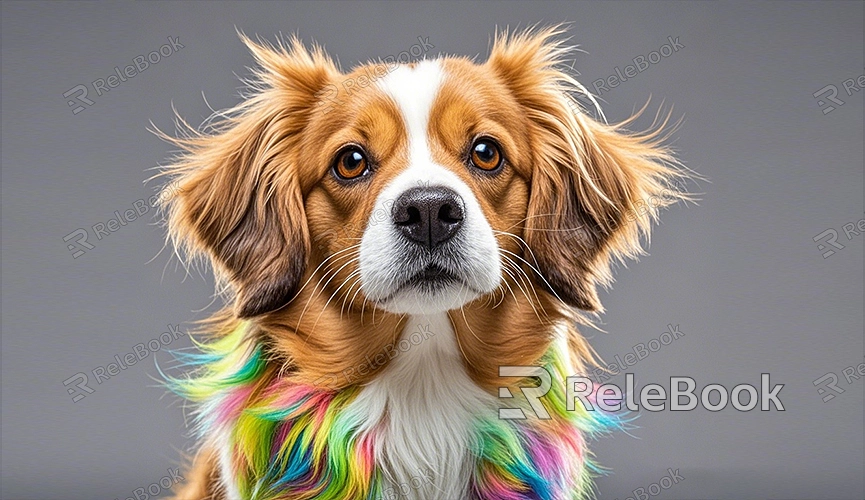
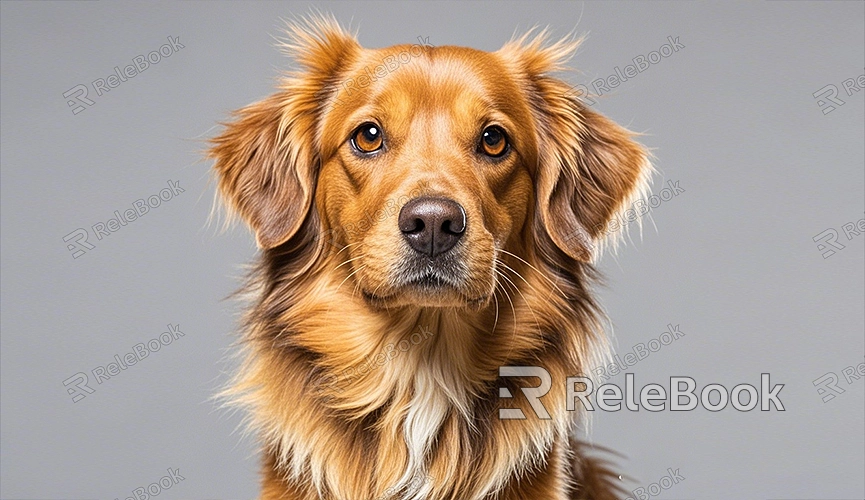
Before you start modeling, collect reference images of dogs. These should include photos from multiple angles such as front, side, back, and top views. Observing the structure of real dogs will help you understand their body proportions, bone structure, and the details of each part. You can also look at existing dog models or sculptures for inspiration.

2. Create Basic Shapes Using Primitive Meshes
3D modeling in Blender begins with basic meshes. Use spheres, cubes, or cylinders to build the dog's basic body structure. For example:
- Use spheres and cubes to create the head and body of the dog.
- Use cylinders as the base shapes for the legs.
- Add a small cube for the tail.
At this stage, don’t focus too much on details—just adjust the proportions to form a rough outline of the dog.
3. Sculpt and Refine the Model
Once the basic shapes are in place, the next step is to refine and sculpt the model. Blender's sculpting tools are powerful and allow you to add details in a clay-like manner. While sculpting the dog's body, progressively add layers of detail to sculpt muscles, fur, and facial features.

Pay special attention to the following details for a more realistic dog model:
- Head: Sculpt the details of the ears, nose, and mouth, with particular focus on capturing the expression in the dog’s eyes.
- Legs: Refine the structure of the legs and paws to convey a sense of strength.
- Fur: While you can use materials and textures to represent fur, sculpting larger sections of fur can enhance the model's realism.
4. Apply Materials and Textures
Once the model is complete, apply materials and textures to it. In Blender, materials determine the appearance of your model. Assign different materials to the dog's fur, eyes, nose, and other parts.
To make the fur look more realistic, use high-quality 3D textures and maps. For high-quality 3D textures and HDRI, you can download free resources from [Relebook](https://textures.relebook.com/). Choosing the right textures will enhance the model’s surface quality and add realism to the scene.
Additionally, Relebook offers a wide range of exquisite 3D model resources. If you need ready-made models for modification or reference, you can download them from [Relebook](https://3dmodels.relebook.com/).
5. Set Up Lighting and Rendering
To showcase your dog model, you need to set up an appropriate lighting scheme. Lighting helps highlight details and gives the model a three-dimensional feel. In Blender, using a combination of environment light and point light sources can simulate natural lighting effects.
For rendering, it’s recommended to use Blender's Cycles rendering engine. It provides realistic ray tracing effects, particularly in terms of reflections, refractions, and shadows. Increase the sampling rate to reduce noise and produce a clearer final image.
Creating a 3D dog model in Blender—from the initial basic shapes to the final detailing and rendering—requires patience and skill. This process not only improves your modeling skills but also helps you understand the creative aspects of 3D art. With the guidance provided in this article, you can create a realistic dog model in Blender.
If you need additional high-quality 3D resources, whether textures or models, visit [Relebook](https://textures.relebook.com/) and [Relebook 3D Models](https://3dmodels.relebook.com/) for the materials you need. We hope this article provides valuable assistance and inspiration for your modeling journey in Blender.

