How to Create a 3D Red Blood Cell Model
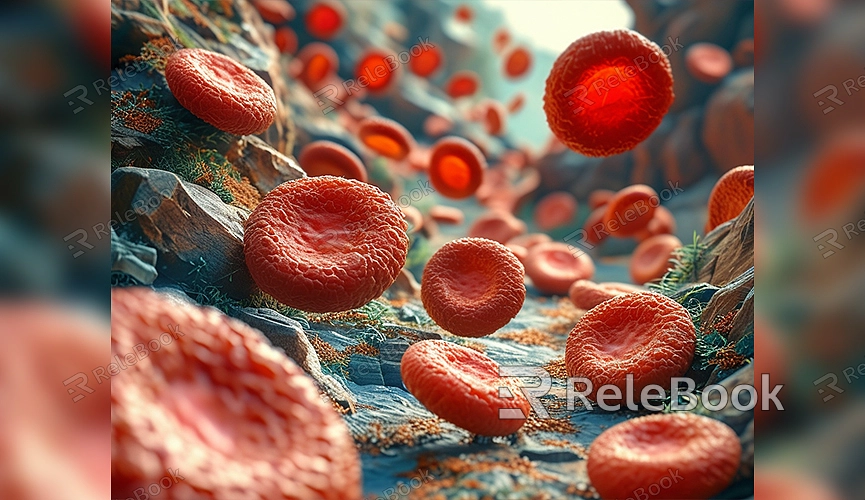
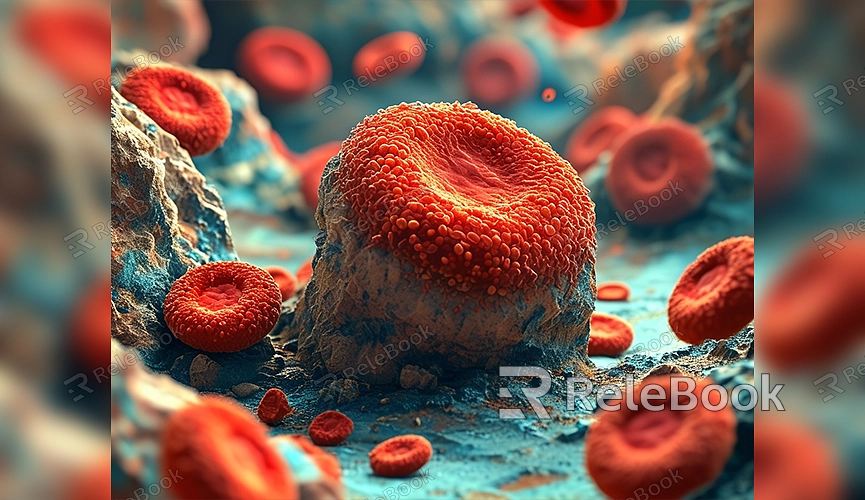
Creating a 3D model of a red blood cell is not only a great opportunity to learn about 3D modeling but also helps deepen your understanding of biological concepts. Making a realistic and visually appealing red blood cell model in Blender or other 3D modeling software involves several steps. This guide will walk you through creating a high-quality red blood cell model in Blender, from basic modeling to applying materials and enhancing the final result with existing resources.
Preparation and Basic Modeling
Before you start creating the red blood cell model, get familiar with Blender’s basic operations, such as moving, scaling, and rotating models. The shape of a red blood cell is relatively simple—it’s a flattened, centrally indented, double-concave disc. You can start with a basic cylinder or sphere and then modify it.

1. Create the Base Shape
Open Blender and create a new project. In the default scene, delete the cube and add a UV sphere or cylinder as the base shape. Scale and edit the vertices to approximate the basic shape of the red blood cell.
2. Adjust Shape Details
Use the Proportional Editing tool to adjust the concave areas of the red blood cell. Select the top or bottom faces and move them inward gently to create the double-concave shape. You can also stretch the surrounding faces slightly to make the model look more natural.
3. Refine the Model
Detail is crucial. Use the Subdivision Surface modifier to smooth the model, making its surface more even. Adjust the subdivision levels to achieve the desired smoothness while maintaining the natural shape of the red blood cell.
Applying Materials and Textures
Materials and textures are key to making the red blood cell model look realistic. In Blender, you can use the Shader Editor to add materials to the model.
1. Add Basic Material
In the Material Properties panel, create a new material for the model. Since red blood cells are typically red, choose a red color for the base and slightly darken it to get closer to the real color of a red blood cell.

2. Apply Textures and Details
To give the red blood cell more depth, add a subtle bump map to the material. Adjust the bump strength to create subtle surface texture variations, enhancing realism.
3. Lighting and HDRI
After setting up the materials, adjusting the lighting is crucial. Use HDRI (High Dynamic Range Imaging) as an environmental light source to provide more natural lighting effects. For high-quality 3D textures and HDRIs, you can download them for free from [Relebook](https://textures.relebook.com/).
Rendering and Exporting
Once the model and materials are set, you can start rendering. To achieve high-quality render results, keep the following points in mind:
1. Set Up the Camera and Lights
Position the camera to focus on the red blood cell model, and adjust the light sources' positions and intensities to ensure that the model’s details are well displayed.
2. Choose the Render Engine
Select either the Cycles or Eevee engine in the render settings. For higher image quality, choose Cycles, which handles light and shadows better.
3. Adjust Render Settings
Set the image resolution, sampling rate, and render output format to ensure the final image meets your expectations. Press F12 to render, and once the rendering is complete, save the image to your computer.
By following these steps, you should be able to create a high-quality 3D red blood cell model in Blender. This process not only helps you master basic 3D modeling techniques but also provides a deeper understanding of material application and lighting. If you need exquisite 3D models, you can download them from [Relebook](https://3dmodels.relebook.com/), where a wide range of premium 3D resources is available. These resources will help you achieve better results in your creative projects.

