How to Create a 3D Model of an Airplane?
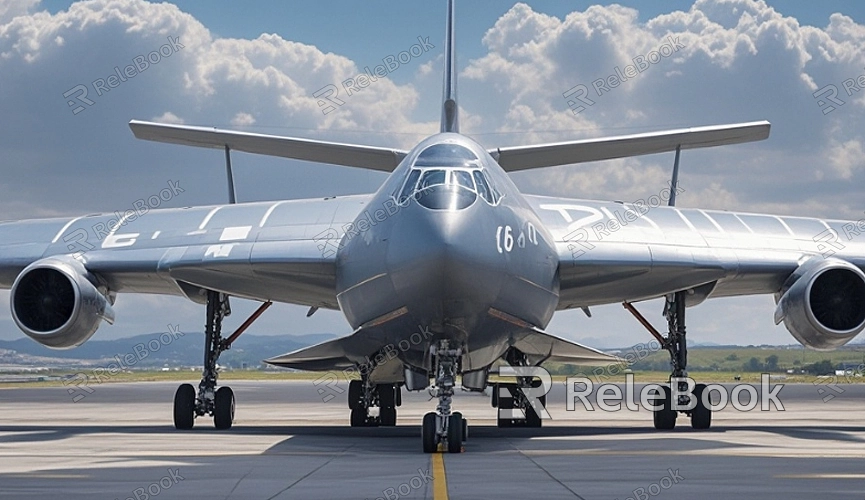
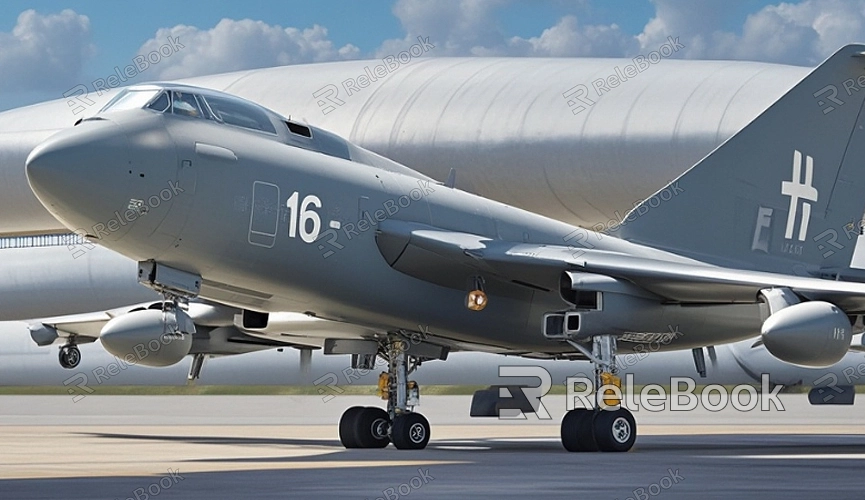
Airplanes are complex mechanical objects with unique shapes and intricate details, making the 3D modeling process both challenging and enjoyable. For designers and modelers, 3D modeling technology not only allows for the precise presentation of an airplane’s exterior but also showcases its internal structure, deepening our understanding of aircraft. Whether it’s for game development, film production, or industrial design, 3D airplane models play a vital role. This article will guide you through the steps to create a 3D airplane model, helping you master the process from basic shapes to fine details.

Preparation
Before diving into 3D modeling, thorough preparation is essential. First, you need to decide what type of airplane you want to model, such as a modern jet, a classic propeller plane, or a sci-fi aircraft. Depending on the model's purpose, you can choose different levels of detail. For example, if the model is only for distant shots, it can be relatively simple. However, if it's for close-up views or animation, higher detail will be necessary.
Next, finding the right reference materials is a crucial step. You'll need photos, design drawings, or blueprints of the airplane from multiple angles, such as top, front, and side views, to ensure every part of the model is proportionally accurate. You can find many free airplane blueprints online or in aviation magazines and technical manuals. To ensure model accuracy, gather as much information as possible and import it into your modeling software as background references.
Choosing the Right Software
There are many 3D modeling software options available, each with its strengths. Popular choices include Blender, Maya, and 3ds Max. Blender is a free, open-source tool with powerful features, making it suitable for both beginners and professionals. Maya and 3ds Max are industry standards, widely used in film, gaming, and industrial design. If you're new to 3D modeling, Blender is a great starting point due to its comprehensive online tutorials and strong user community.
Regardless of which software you choose, the core principles of modeling remain the same: start with simple geometric shapes and gradually add details and complexity. Learning shortcuts and features within the software will greatly enhance your workflow and efficiency.

Creating the Base Shape
3D airplane modeling typically begins with the fuselage, as it's the central part of the plane. You can start by creating a cylinder or rectangular shape, then adjust its size and proportions according to your reference material to match the airplane’s body. Most modeling software includes a scale lock tool to help you maintain accurate proportions.
Next, add the wings, tail, and engines. The wings can be created by starting with a simple plane and gradually adjusting its thickness and curvature. Engines are usually cylinders that can be extruded and scaled to achieve the desired shape.
The key to this process is consistently referencing your collected materials to ensure each part of the model aligns with the real airplane’s structure and proportions. As the model takes shape, you can start refining the connection points between different components to ensure a smooth, natural transition. Pay special attention to how the fuselage, wings, and engines connect, ensuring both a visual and structural match.
Adding Details
Once the base shape is complete, you can start adding finer details. Airplanes feature many intricate parts, such as doors, windows, air intakes, exhausts, and antennas. These small elements make the model more realistic. When adding details, it's best to work from large to small—first tackle bigger parts like the cockpit and landing gear bays and then move on to smaller elements.
For windows and doors, you can use the cutting tool to carve into the fuselage, ensuring these components are placed and shaped accurately. Don’t forget to add thickness to these parts, particularly the edges of doors and the window frames in the cockpit. Although these details may seem simple, they significantly affect the overall quality of the model.
To further enhance the model’s realism, you can use sculpting tools to add surface textures, such as rivets, panel lines, and other intricate surface treatments. Many modeling programs offer advanced sculpting features that allow you to create high-quality surface details without significantly increasing the polygon count.
Optimizing the Model
Once the base shape and details are done, you’ll need to optimize the model. Optimization is about reducing the polygon count while maintaining the appearance of the model. This is particularly important for games and real-time rendering, where the number of polygons directly impacts performance. Keep an eye on the polygon count throughout the modeling process.
You can use the simplification tools within the software to reduce the polygon count, or manually adjust parts of the model, eliminating unnecessary faces or vertices. During optimization, it’s important to find a balance between preserving the model’s detail and ensuring efficient rendering.
Texturing and Materials
After completing the 3D model, the next step is to apply materials and textures. Materials determine the surface properties of the model, such as smoothness, reflectivity, and transparency, while textures add color and details, making the model appear more realistic. For airplane models, common textures include body paint, reflective windows, and metallic engine surfaces.
UV mapping is a crucial step in texturing, as it unrolls the 3D surface of the model into a 2D image, allowing you to accurately apply textures to it. Typically, UVs need to be manually unwrapped, ensuring that no parts of the texture are stretched or distorted. After completing the UV mapping, you can use image editing software (like Photoshop or GIMP) to paint the textures or use specialized texturing tools to create more complex effects.
Rendering and Presentation
Once the model and textures are finalized, the last step is rendering and presentation. Rendering is the process of turning a 3D model into a 2D image, and good rendering can make the model look more realistic by highlighting its detailed materials and lighting effects. During rendering, you can adjust light sources, camera angles, and background settings to achieve the desired result.
Most 3D modeling software includes built-in render engines or supports external plugins. By adjusting rendering parameters, such as global illumination and ambient occlusion, you can enhance the visual quality of your model. To make the model even more realistic, consider using high dynamic range images (HDRIs) as a background light source, simulating real-world lighting environments.
By following the steps outlined above, you can gradually master the process of creating a 3D airplane model. From basic shapes to adding details, materials, and textures, the process requires patience and attention to detail. Although airplane modeling may seem complex at first, you’ll find it highly rewarding as your skills improve. For high-quality 3D models and textures, visit Relebook to download a wide range of resources to help you streamline your modeling process.
FAQ
Can beginners easily model an airplane in 3D?
Modeling an airplane can be challenging for beginners due to its complex shape and detailed components. However, with time and practice, anyone can create a basic airplane model. It’s recommended to start with simpler models and gradually increase complexity.
How do I choose the right reference images for modeling?
The best references are detailed airplane blueprints, including top, front, and side views, as they help you accurately capture the proportions and shapes of the aircraft. You can find many resources online or in technical documents and airplane manuals.
What’s the most important step in 3D airplane modeling?
The most crucial step is creating the base shape. A well-constructed base shape determines the model’s overall structure and proportions. Adding details is important, but only after the base shape is correctly established.
How can I make my airplane model look more realistic?
Realistic airplane models rely on detailed elements and the correct application of materials. Adding small details like rivets and panel lines, combined with high-quality textures and lighting setups, can significantly enhance the realism of the model.
How do I manage the polygon count in an airplane model?
Managing polygon count is key to optimizing the model. You can reduce unnecessary details, use simplification tools, and remove excess faces and vertices without affecting the model’s visual appeal.

