How to Adjust HDR Sky Texture Brightness in 3ds Max
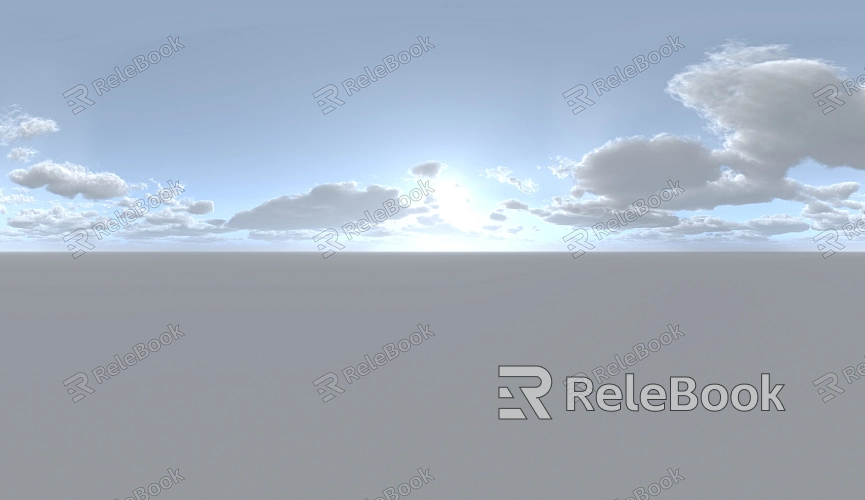
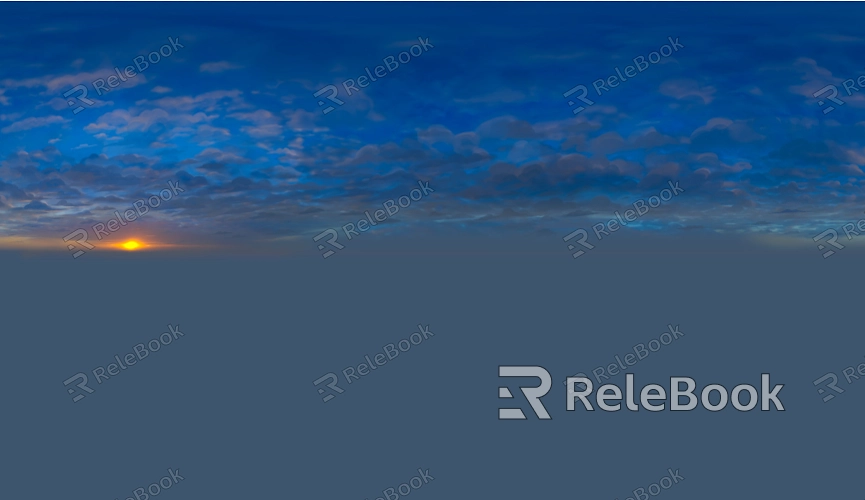
HDR sky textures are widely used to simulate environmental lighting and reflection effects, adding a natural look to scenes. However, sometimes the default brightness of an HDR file might not suit the project’s needs, leading to overly bright or dark environments. This issue is common across many 3D applications, especially in professional tools like 3ds Max. In this article, we’ll explore how to effectively adjust HDR sky texture brightness in 3ds Max to achieve more accurate visual results and optimize your rendering workflow.
1. Adjusting the HDR Exposure Settings
One of the primary methods for controlling the brightness of an HDR file is by modifying the exposure settings. Exposure control allows you to easily increase or decrease the overall brightness of the image without the need to re-import or edit the HDR file itself.
Basic exposure adjustment: In 3ds Max, you can access exposure settings through the Environment and Effects panel. Look for the Exposure Control section and enable the option to adjust exposure.
Linear vs. logarithmic exposure: Depending on your scene, you may need to select the appropriate exposure mode. Linear exposure works well for evenly lit environments, while logarithmic exposure can handle highlights and shadows more effectively.
Real-time preview: While adjusting exposure, you can use the real-time preview feature in 3ds Max to observe the changes immediately, ensuring that the HDR brightness meets your expectations.
2. Modifying HDRI Map Parameters
The HDRI (High Dynamic Range Image) map itself offers parameters that allow for flexible brightness control directly within the material editor.
Using the multiplier: After importing your HDR map into the material editor, you can adjust the overall brightness via the Multiplier option. A multiplier of 1 represents the default brightness, while increasing this value will brighten the texture, and decreasing it will darken it.
Gamma correction: The gamma value also influences the image’s brightness and contrast. In the HDRI map parameters, adjusting the gamma setting between 2.2 and 1.0 can balance the brightness effectively.
3. Controlling HDR Brightness via Lighting Effects
Aside from tweaking HDR map parameters, you can control brightness indirectly by adjusting lighting settings, especially when HDR is used for environmental lighting.
Global illumination: Global Illumination (GI) not only affects the overall lighting but also modulates how strongly HDR lighting impacts the scene. By increasing or decreasing the intensity of GI, you can control the brightness of the HDR sky more naturally.
Balancing ambient light: Fine-tuning the interaction between ambient light and HDR brightness ensures that your scene remains balanced, preventing the environment from being overly bright or dim.
4. HDR Brightness in Rendering Settings
Another key factor in how HDR sky textures appear is the renderer you’re using. Tools like V-Ray, Arnold, or Corona may handle HDR brightness differently, so it’s essential to tailor your approach to the specific renderer.
V-Ray: If using V-Ray, you can import your HDR via the V-Ray Dome Light and adjust the light’s intensity to control the brightness. Additionally, you can fine-tune the final result with exposure settings.
Arnold Renderer: Arnold provides built-in exposure and intensity controls when importing HDRs, allowing you to quickly adjust brightness based on the scene’s requirements.
Tone mapping: Tone mapping helps balance overly bright or dark HDR effects during the rendering process by adjusting brightness curves to achieve optimal exposure.
5. Scene Scale and HDR Brightness Relationship
The physical size and scale of your scene can affect how HDR lighting is perceived. Thus, it’s important to ensure the scene’s scale is accurate when adjusting HDR brightness.
Adjusting brightness based on scene size: For larger scenes, the HDR brightness may appear insufficient, in which case you can increase the HDR map's intensity. Conversely, if the scene is smaller, reducing the intensity may be necessary.
Unit setup: The unit scale in 3ds Max (e.g., centimeters, meters) influences how the HDR lighting behaves. Ensuring that the scene units are correctly set before importing an HDR is a crucial step in achieving accurate lighting.
6. Post-Rendering HDR Brightness Adjustments
If you find that the HDR brightness still isn’t quite right after rendering, you can make further adjustments in post-production software like Photoshop or After Effects.
Exposure adjustments in post: During post-processing, you can fine-tune the brightness by adjusting the image’s exposure and contrast, helping to align the HDR brightness with your project’s needs.
Layer adjustments for selective changes: If only certain areas of the HDR need brightness adjustments, you can use layers and masks in post-production to target specific regions without the need for a full re-render.
7. Fine-Tuning for Visual Needs
Aside from the technical adjustments, it’s important to consider the aesthetic needs of your project. Different scenes may require different lighting effects, so designers need to experiment and test multiple settings to find the ideal brightness.
By adjusting HDR sky texture brightness in 3ds Max, you can significantly improve the realism of your scene and enhance creative control. Whether you're modifying exposure settings, HDRI map parameters, or using lighting and rendering techniques, mastering these methods will help you meet the unique demands of each project. If you're looking for high-quality HDR images, 3D textures, SketchUp models, or 3ds Max models to create stunning virtual scenes, Relebook offers a rich selection to help you achieve top-notch visual results.
