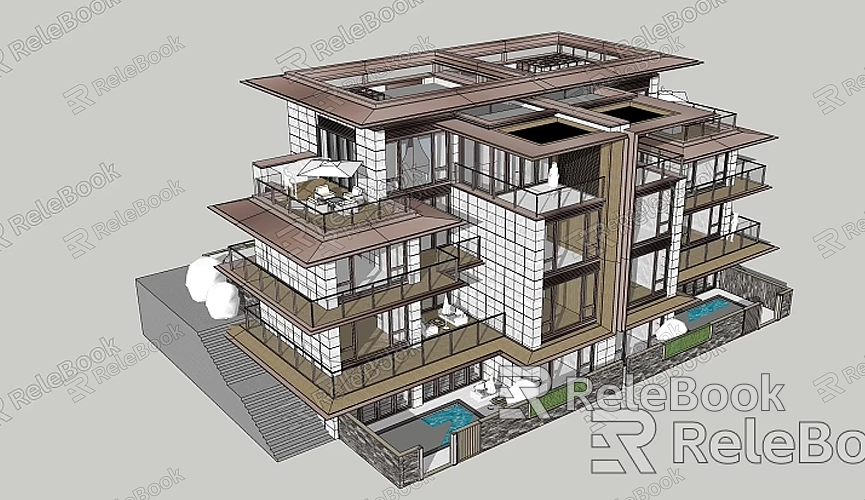
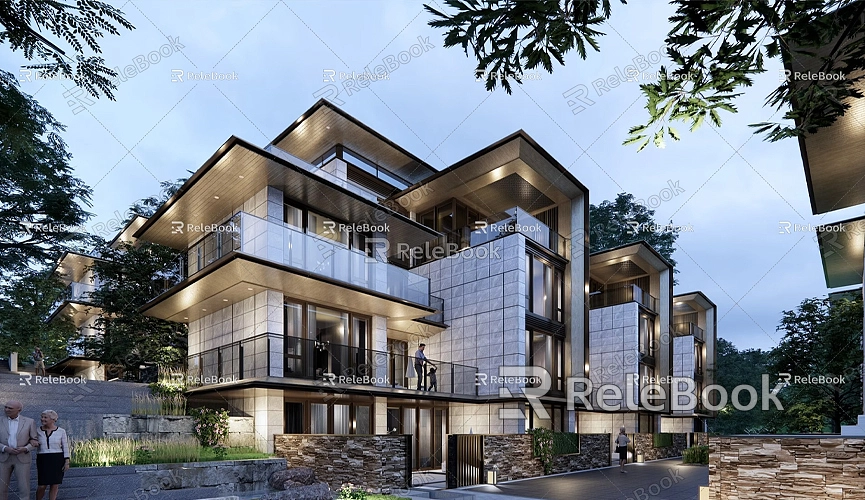
How to Model a House in SketchUp
SketchUp is a powerful and user-friendly 3D modeling software, particularly suited for architects, designers, and beginners. Modeling a house in SketchUp allows you to quickly realize your design ideas, whether it’s the building’s exterior or interior details, through simple operations. If you want to model a house in SketchUp, this article will provide you with a detailed step-by-step guide.
Creating the Basic Structure of the House
To start modeling a house in SketchUp, you first need to establish the foundation. After opening SketchUp, it’s advisable to begin with a ground floor plan. You can use the "Rectangle Tool" to draw the house's foundation. Click and drag your mouse to create a rectangle that represents the bottom outline of the house. This step is crucial as it will determine the size proportions of the entire structure.
Next, use the "Push/Pull Tool" to extrude the rectangle into a three-dimensional cube, forming the main body of the house. During this process, you can input precise height dimensions based on your design needs, ensuring the house looks as intended.

Adding Doors and Windows
The second step in modeling a house is adding doors and windows. Use the "Line Tool" or "Rectangle Tool" to outline the doors and windows on the front of the house. Once you’ve completed the outlines, use the "Push/Pull Tool" again to push these outlines into the walls at a certain depth, creating realistic door and window effects.
You can design the size and position of the doors and windows according to your needs. To give the house a more layered appearance, try adding window sills or frames. Similarly, you can adjust the design of the doors according to the architectural style, ranging from simple rectangles to more intricate door frame details, all achievable within SketchUp.
Creating the Roof Structure
Next, you’ll need to create a roof for the house. In SketchUp, modeling the roof is relatively simple. Start by drawing a centerline at the top of the house, which will serve as the peak of the roof. Then, use the "Push/Pull Tool" or "Rotate Tool" to create the roof's slopes. Different roof styles have various design methods, such as flat roofs, pitched roofs, or gabled roofs.
You can achieve the desired roof effect by adjusting the lines and the slope angles. If you want a more complex roof, consider adding details such as eaves or materials for roof tiles, which can all be accomplished with SketchUp’s simple tools.
Designing the Interior Layout
After completing the exterior of the house, you can begin designing the interior layout. Use the "Rectangle Tool" or "Line Tool" to divide the interior into rooms, creating walls and partitions. Then, use the "Push/Pull Tool" to raise these walls to an appropriate height, forming the separations between rooms.

When designing the interior layout, you can determine the size, shape, and layout of the rooms based on actual needs. For example, design the spatial distribution of bedrooms, living rooms, kitchens, and bathrooms, adding corresponding doors, windows, and details for each room.
Choosing Appropriate Materials and Textures
The appearance of both the exterior and interior of the house relies heavily on the application of materials and textures. SketchUp offers a rich material library, allowing you to choose suitable materials for walls, roofs, and floors. For instance, you can use a brick texture for walls, tile textures for the roof, and wood or tile effects for the flooring.
If you’re not satisfied with the default material library, you can download high-quality 3D textures and HDRI from external sources to further enhance your model’s effect. If you need high-quality 3D textures and HDRI while creating models and virtual scenes, you can download them for free from [Relebook](https://textures.relebook.com/). For exquisite 3D models, visit [Relebook](https://3dmodels.relebook.com/), where you’ll find a wealth of premium 3D resources. These high-quality assets will make your house model look more realistic and professional.
Finalizing Details and Exporting the Model
Once the main structure and interior layout of the house are complete, don’t forget to add finer details like furniture, lighting fixtures, and decorations. These details will enrich the model and help better showcase the practical use of space within the house.
Finally, when all design work is finished, you can export the model in various formats for further rendering, presentation, or printing. SketchUp supports multiple file formats, such as .dwg, .3ds, .obj, etc., ensuring your model can be used or rendered in other software.
Modeling a house in SketchUp is a fun and creative task. Whether you are a beginner or a professional designer, mastering the basic tools and processes allows you to easily create a 3D house model that matches your vision. From the foundation to the walls, roof, and interior layout, each step can be flexibly adjusted and designed based on actual needs.
If you wish to further enhance the model's detail and realism, remember to utilize high-quality 3D textures and model resources, as they can significantly improve the visual impact and expressiveness of your work. The modeling process requires not only a grasp of the tools but also creativity and attention to detail in design.

