How to Model a Room in SketchUp
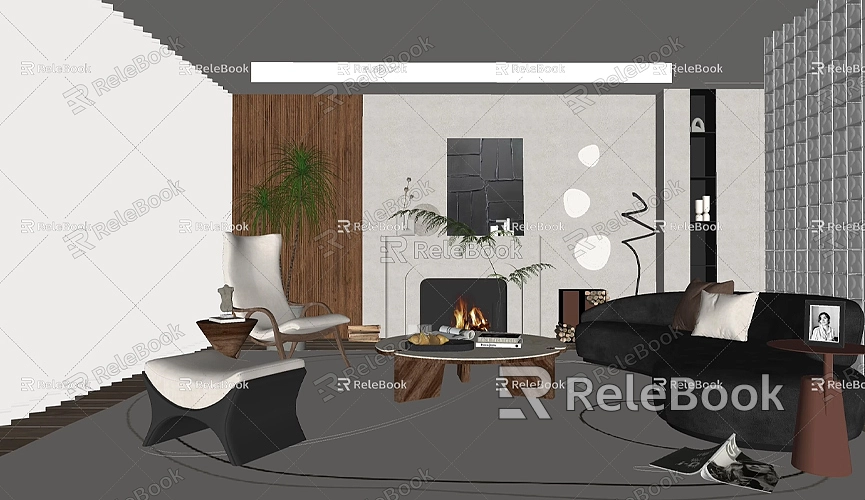
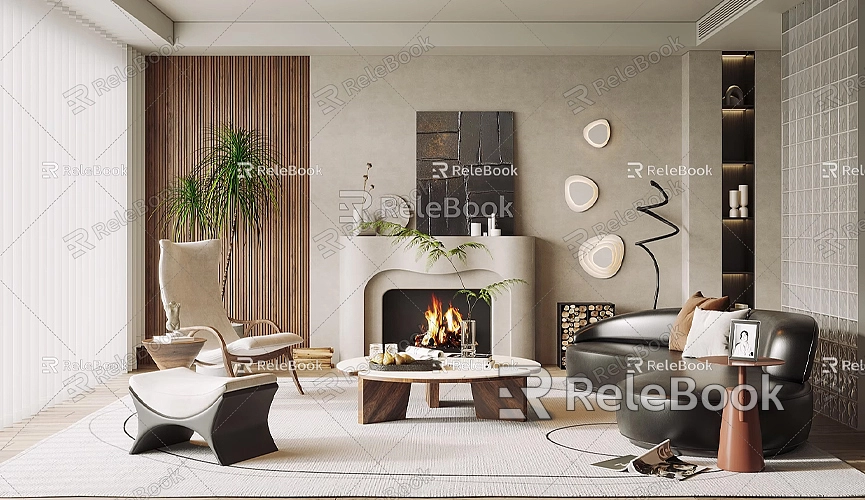
SketchUp is a popular 3D modeling software, particularly well-suited for architecture, interior design, and product design. Its simple and intuitive interface makes it ideal for quickly creating 3D models of interior spaces. Whether you're looking to showcase interior design or prepare for a virtual scene, this article will provide you with practical tips and steps for modeling a room in SketchUp.
Preparation and Planning
Before you start modeling, having a clear design plan is essential. To model a room, you first need to understand the room's dimensions, layout, and specific elements you wish to showcase. The accuracy of your room modeling depends on the details you require, so it’s helpful to use a floor plan as a reference.
You can begin with a 2D floor plan or create one directly in SketchUp. A floor plan helps you better control the overall proportions and layout of the room while ensuring you don't miss important elements, such as the locations of doors and windows or wall thickness.
Drawing the Room's Floor and Walls
To start modeling the room in SketchUp, begin with the floor. Use the "Rectangle Tool" to draw the room's floor. You can directly input the exact dimensions, such as the room's length and width, to ensure the model is proportionate to reality. After drawing the floor, move on to the walls.
Use the "Push/Pull Tool" to pull up the edges of the floor to create the walls of the room. Wall heights typically range from about 8 to 10 feet, but you can adjust according to your specific needs. The Push/Pull Tool is one of SketchUp's core tools, easily transforming a 2D floor plan into 3D walls.
When drawing the walls, remember to leave space for doors and windows. You can use the "Line Tool" to mark the specific locations of doors and windows, then use the "Push/Pull Tool" to hollow out these sections, forming doorways and windows.
Adding Doors and Windows
After completing the basic wall structure, the next step is creating doors and windows. Use SketchUp's "Rectangle Tool" to outline the doors and windows on the walls, then use the "Push/Pull Tool" to push these outlines into the wall to create the openings. To make the model look more realistic, consider adding details like door frames and window sills.
SketchUp’s 3D model library contains many ready-made door and window models that you can download and insert into your room model. If you’re not satisfied with these models or want more options, you can download high-quality door and window models from third-party resources.
Setting Room Materials and Textures
A key step in room modeling is applying suitable materials and textures to the walls, floor, and ceiling. SketchUp’s built-in material library offers some basic textures for walls, floors, and ceilings that you can directly apply to your model.
To enhance the realism of your model, consider using high-quality textures. You can download various material types online, such as hardwood floors, tiles, and wallpaper, to improve the room's visual appeal. If you need high-quality 3D textures and HDRI while creating models and virtual scenes, you can download them for free from [Relebook](https://textures.relebook.com/). For exquisite 3D models, visit [Relebook](https://3dmodels.relebook.com/), where you’ll find a wealth of premium 3D resources that can greatly enhance your design.
Adding Furniture and Details
To make your room model more complete, you can start adding furniture and other decorative items. This not only makes the model look more realistic but also helps you showcase the practical use of the room. SketchUp comes with a 3D model library where you can find many furniture, lighting, and decorative items that can be directly inserted into your model.
Additionally, good lighting design is an important factor in making the room model more realistic. Although SketchUp isn't particularly strong in light rendering, you can export the model to rendering software (like V-Ray or Lumion) to achieve more realistic lighting effects.
Optimizing the Model
When modeling in SketchUp, maintaining the simplicity and efficiency of your model is crucial. Excessive detail can lead to large file sizes and hinder performance. To address this, you can delete unnecessary details or use lower-polygon models instead of complex ones.
SketchUp offers plugins that can help you quickly simplify models and enhance work efficiency. You can also utilize SketchUp's "Layers" and "Scenes" features to manage different parts of the model separately, making future modifications and presentations easier.
Exporting and Sharing the Model
Once the room model is complete, you can export it in various file formats for use in other software or for rendering. SketchUp supports multiple file formats, such as .dwg, .3ds, .obj, etc., ensuring that you can import the model into other design software for further processing.
You can also export the model as images or videos for easy presentation to clients or inclusion in design proposals. For real-time rendering displays, software like Lumion or Unreal Engine can help you quickly generate high-quality rendering effects.
Modeling a room in SketchUp is not complicated; the key is mastering the basic tools and techniques. From drawing the floor and walls to adding doors, windows, furniture, and textures, each step can be accomplished through SketchUp’s intuitive operations. To make the model appear more realistic, it’s essential to effectively utilize high-quality materials and model resources. If you want to further enhance the design, consider adding more details through external resources.
If you need high-quality 3D textures and HDRI for your models and virtual scenes, you can download them for free from [Relebook](https://textures.relebook.com/). For beautiful 3D models, visit [Relebook](https://3dmodels.relebook.com/), where you’ll find a vast array of premium 3D resources that will greatly enhance the visual impact of your work.
