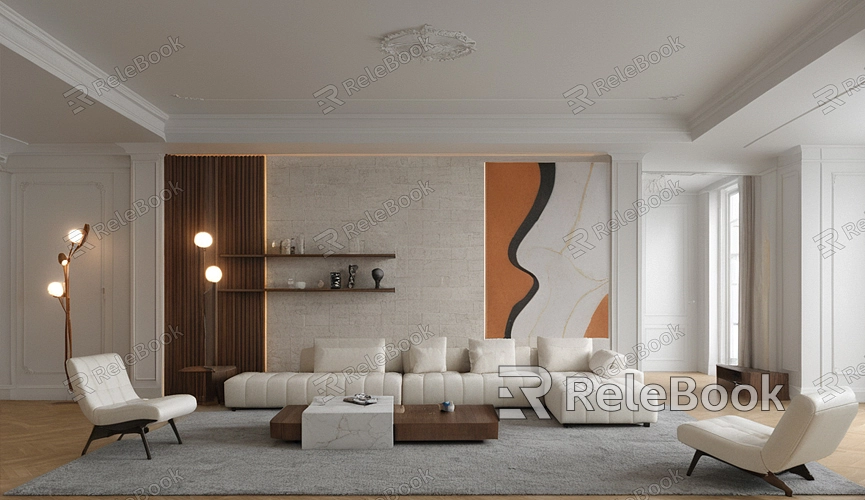
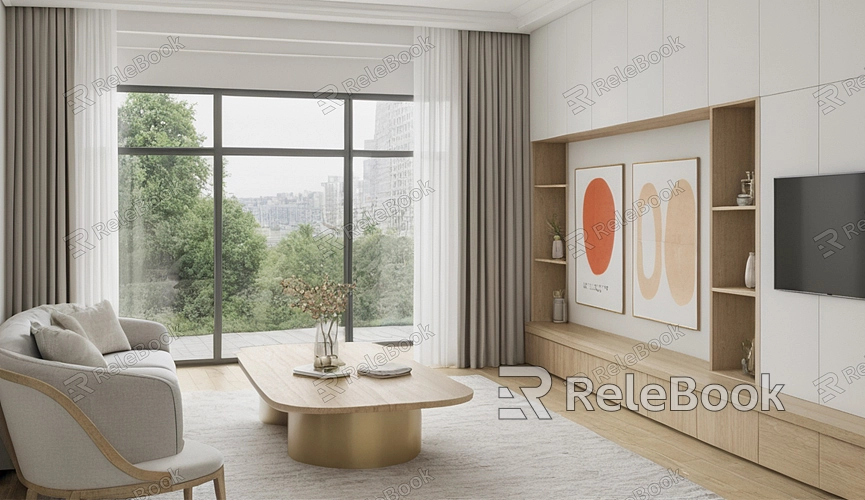
How to Create a 3D Model of a Living Room?
With 3D models, designers can clearly express their design ideas, and clients can better understand the layout and décor style. Creating a 3D model of a living room not only helps designers quickly bring their concepts to life but also provides more flexibility for adjustments in later stages. This article will guide you through the entire process of creating a 3D model of a living room, including selecting the right software, modeling steps, applying textures, setting up lighting, and rendering techniques to help you master this skill.

Choosing the Right 3D Modeling Software
Choosing the right 3D modeling software is the first step in creating a living room model. There are many software options available, each with its own features and use cases. Below are some commonly used modeling software and their pros and cons:
1. SketchUp: Known for its simple and intuitive interface, this is a great tool for beginners and for quickly creating models. It also comes with a built-in component library that can help streamline the design process.
2. Blender: A powerful open-source software that supports modeling, rendering, and animation. Although it has a steeper learning curve, it offers a wide range of features, making it suitable for users with some prior experience.
3. 3ds Max: Widely used in architecture and interior design, especially for creating high-quality renderings. It has a strong rendering engine and can produce highly realistic results.
4. AutoCAD: Primarily used for 2D drafting but also supports basic 3D modeling. It’s ideal for projects that require precise measurements and details.
When selecting software, consider your skill level, project requirements, and budget. Beginners can start with more user-friendly software and gradually transition to more advanced tools.

Preparing the Design Sketch
Before you start modeling, it’s crucial to prepare a detailed design sketch. This sketch will help clarify your ideas and ensure that no important details are missed during the modeling process. A design sketch typically includes:
1. Space Layout: A clear layout of the living room, including the placement of major furniture pieces like sofas, coffee tables, and TVs.
2. Dimensions: The size of each piece of furniture should be clearly labeled to ensure accurate scaling in the 3D model.
3. Style: Decide on the style of the living room, such as modern, classic, or Scandinavian, as this will influence the choice of materials and colors later on.
You can create sketches either by hand or with design tools. The key is to ensure the sketch is clear and easy to follow.
Building the Basic Model
Once the design sketch is ready, you can start creating the basic model in your chosen software. The modeling process generally involves the following steps:
1. Creating Walls: Use the drawing tools in your software to build the four walls of the room, making sure to set the appropriate thickness and height based on your design.
2. Adding Doors and Windows: Cut out openings for doors and windows in the walls, ensuring that the sizes and locations match your design.
3. Placing Basic Furniture: Gradually add the main furniture pieces like sofas, coffee tables, and TV cabinets according to the layout in your sketch, adjusting their position and scale as needed.
Once the basic model is built, it’s a good idea to thoroughly check the dimensions and layout to make sure everything aligns with the original design.
Adding Details and Materials
After completing the basic model, the next step is to add details and materials, which will make your model look more realistic. Here’s how to proceed:
1. Applying Materials: Assign appropriate materials and textures to each element in the model, such as wooden furniture, fabric sofas, etc. You can download textures from online resources or create your own.
2. Adding Decorative Elements: Enhance the living room model with small decorative items like wall art, plants, and rugs to make the space feel more realistic and lived-in.
3. Lighting Setup: Proper lighting will greatly improve the appearance of the model. You can add both natural light sources and artificial ones to enhance the depth and atmosphere of the space.
When adding details, it’s important to maintain consistency in the overall style, ensuring that all elements complement each other.
Rendering and Output
Once the model and details are finalized, the last step is rendering. This process converts your 3D model into a realistic 2D image. The typical rendering process includes the following steps:
1. Choosing a Rendering Engine: Depending on your software, select an appropriate rendering engine, such as V-Ray, Cycles, or Corona, which can deliver high-quality rendering results.
2. Adjusting Rendering Settings: Set the resolution, lighting, and shadow effects to achieve the best visual outcome.
3. Exporting the Final Image: After rendering, export the final image in a common format such as JPEG or PNG for easy sharing and presentation.
Rendered images can be used to showcase the design to clients, in portfolios, or shared on social media to enhance your brand.
From selecting the right software and preparing sketches to building the model, adding materials, and final rendering. Mastering these steps will not only enhance your design efficiency but also help you create visually stunning interior spaces. We hope this guide helps you better understand how to create 3D models of living rooms. Finally, feel free to visit the Relebook website, where you can download a variety of 3D models and textures to elevate your design projects even further.
FAQ
How do I choose the best software for creating a 3D model of a living room?
Choosing software depends on your skill level and project requirements. Beginners may find SketchUp easier to learn, while more experienced users may prefer Blender or 3ds Max for their advanced capabilities and higher-quality results.
How long does it take to create a 3D model of a living room?
The time required varies depending on the complexity of the project. Simple living room models can take a few hours, while more detailed designs may take several days. Beginners might take longer to familiarize themselves with the software.
Do I need to purchase materials and textures?
Not necessarily. There are many free online resources where you can download high-quality texture maps. For unique designs, you can also create your textures to suit specific project needs.
What should I consider when setting up lighting?
Lighting setup should take into account the type, direction, and intensity of light sources. Avoid adding too many light sources, which can create visual clutter. It’s recommended to use a combination of light sources to create depth and ensure natural-looking shadows.
How can I speed up rendering time?
To speed up rendering, you can reduce the number of light sources, lower the resolution, or simplify the model. Additionally, running test renders at lower quality before producing the final high-quality render can save time.

