How to Create a 3D Model of a Bakery?
Building a 3D model of a bakery not only provides a realistic environment for games but also enhances the overall quality of animated works. This article will delve into the process of creating a 3D model of a bakery, covering everything from conceptualization to modeling, texture application, and rendering, helping readers master this skill.
Setting the Concept and Sketching
Before starting any modeling work, it’s crucial to clarify the design concept of the model. This phase can be accomplished through several steps:
1. Defining the Style
There are many styles to choose from for a bakery, such as modern minimalist, rustic, or vintage. Selecting an appropriate style will help guide the subsequent modeling work.
2. Designing Sketches
Sketching on paper or using digital drawing tools is an important step. Sketches not only help clarify your ideas but also serve as references for later modeling. You can draw the bakery’s exterior, interior layout, counter placement, and more from different angles.
3. Collecting Reference Materials
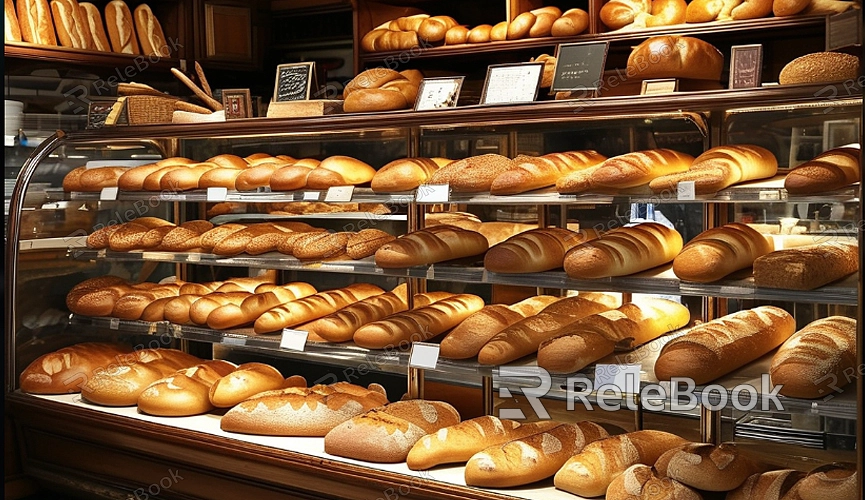
To enhance the accuracy of your modeling, gather photographs and design drawings of real bakeries. These materials will help you better understand the structure and details of a bakery.

Choosing Modeling Tools
Once the design is established, the next step is to select suitable modeling tools. There are many software options available for 3D modeling, including:
1. Blender
Blender is a powerful free open-source modeling software suitable for both beginners and professionals. It supports various modeling techniques, such as polygon modeling and surface modeling, making it ideal for creating complex models.
2. Autodesk Maya
Maya is a professional modeling software widely used in the film and gaming industries. Its comprehensive features excel particularly in character modeling and animation, making it suitable for projects that require high precision.
3. 3D Max
3ds Max is mainly used for architectural visualization and game development, with a user-friendly interface that is easy to learn. It offers a wealth of plugins and extensions to help users complete modeling tasks more efficiently.
Building the Model
After selecting the tools, you can start the modeling process, which consists of the following steps:
1. Creating Basic Shapes
First, create the basic shape of the bakery in the modeling software. This can be done by drawing simple geometric shapes like cubes and rectangles to form the building's external outline.
2. Adding Details
Based on the basic shape, gradually add details such as windows, doors, and roofs. Use different modeling tools (like extrusion and subdivision) to increase complexity and detail, making the model look more realistic.
3. Creating the Interior Structure
The interior of the bakery also needs modeling, including the counter, display shelves, oven, and more. A reasonable layout not only enhances the model's realism but also adds visual interest in later rendering.
Materials and Textures
Once the model is complete, the next step is to apply materials and textures to enhance its visual appeal.
1. Material Settings
Use the software's built-in material library to select appropriate material types. For example, the bakery's walls can feature brick or wood textures, while the floor can use tile or hardwood material.
2. Texture Mapping
Texture mapping is the process of applying a two-dimensional image to the surface of a three-dimensional model. You can create textures using image editing software like Photoshop, ensuring that the texture matches the shape of the model. For the bakery, detailing the glass in display windows and the wood grain on the counter are crucial parts to handle carefully.
Lighting and Rendering
After finishing the material and texture setup, the final step is to perform lighting and rendering.
1. Setting Up Lighting
Set up appropriate lighting in the bakery model by combining natural light with artificial light sources. The sunlight coming through the windows and the indoor pendant lights can complement each other, creating a warm atmosphere.
2. Rendering Settings
Choose a suitable rendering engine for the final render. You can use Blender's Cycles or Eevee rendering engines, or Maya's Arnold renderer. In the rendering settings, adjust parameters such as resolution, anti-aliasing, and shadows to achieve the best results.
Post-Processing
After rendering is complete, some post-processing may be necessary to enhance the final effect.
1. Image Editing
Use image editing software like Photoshop to adjust the rendered image, such as color correction and increasing contrast, making the final image more vibrant.
2. Overall Effect Adjustments
Consider adding extra effects to the model, such as depth of field and glow, to make the scene more appealing.
Creating a 3D model of a bakery is a systematic and complex process, from concept design to final rendering. By selecting the right tools, applying thoughtful design, precise modeling, and careful post-processing, you can create a lively and realistic bakery model. If you wish to further enhance your modeling skills, consider visiting Relebook to download a wealth of 3D models and texture resources that can help you achieve your creative goals more efficiently.
FAQ
What are the steps to create a 3D model of a bakery?
The main steps to create a 3D model of a bakery include setting the concept, choosing modeling tools, building the model, adding materials and textures, setting up lighting and rendering, and performing post-processing.
Which software can I use to create a bakery's 3D model?
Common software includes Blender, Autodesk Maya, and 3ds Max. Each of these tools has unique features, so you can choose based on your specific needs.
How do I choose the style for the bakery?
When selecting the style for the bakery, consider current market trends, personal preferences, and the target audience's needs. Photos and design drawings of real bakeries can inspire.
What are some tips for making materials and textures look realistic?
Ensure you use high-resolution texture images and adjust details appropriately in the software. Using material editing tools can simulate the properties of real materials, such as glossiness and roughness, making the model more lifelike.
Do I need to perform post-processing on the rendered image?
Yes, post-processing can significantly enhance image quality. You can use image editing software to adjust colors, contrast, or add effects to increase visual appeal.
