How to Add Sky and Grass to Your Model in SketchUp
SketchUp, a powerful 3D modeling tool, is widely used in fields like architectural design, landscape architecture, and interior design. While SketchUp is convenient for creating models, adding environmental elements like sky and grass is essential for making your model look more realistic and natural. This not only livens up your presentation but also enhances the scene's authenticity.
In this article, we will detail how to add sky and grass to your model in SketchUp, helping you improve its visual appeal. Additionally, we will recommend some high-quality 3D resources for textures and models.
Why Add Sky and Grass to Your SketchUp Model?
Before discussing specific steps, let's explore why adding sky and grass is beneficial. Simply put, these elements provide stronger visual impact, enhancing the realism and aesthetic of your model.
Increasing Visual Realism
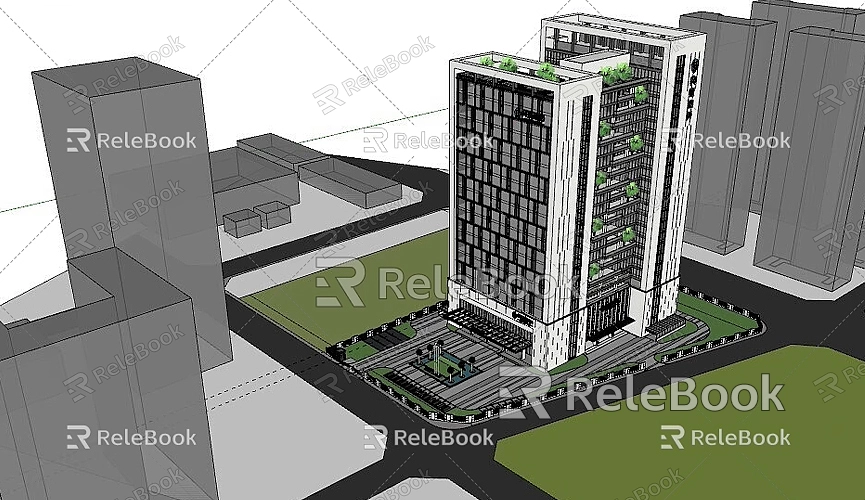
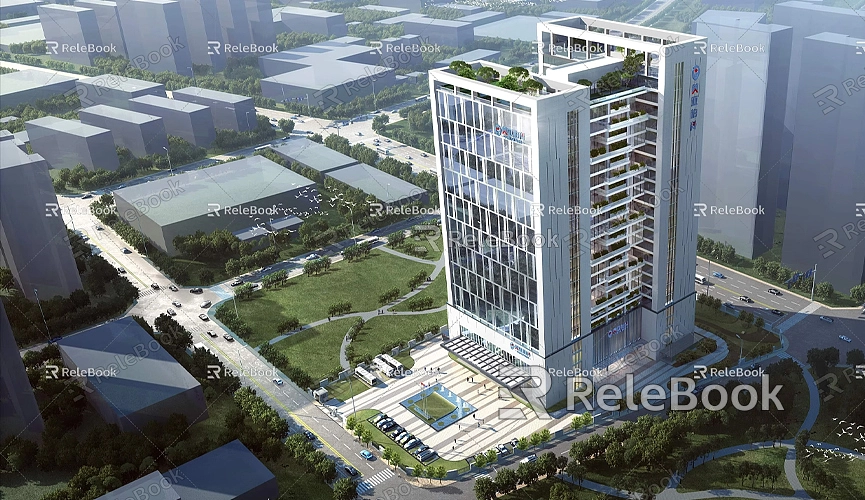
An isolated 3D model, no matter how beautifully designed, can appear monotonous without an appropriate background or environment. By adding a sky, you create a connection between the model and its surroundings, making it seem part of the real world. Grass is a fundamental component of landscape design, especially in architectural projects, helping to create a harmonious and natural scene.
Improving Presentation Quality
In design presentations, visual appeal often determines success. Whether presenting to clients or a team, a model featuring beautiful sky and natural grass is undoubtedly more attractive than one with a plain gray background. These details not only highlight the design's features but also make it easier for viewers to understand the model's context.
Adding Sky in SketchUp
Although SketchUp does not directly provide a "sky" element, you can add beautiful sky effects to your model's background using various methods.
Using SketchUp's "Styles" Feature
SketchUp's built-in "Styles" feature allows you to quickly add a basic sky background to your scene.
1. Open SketchUp and load your model.
2. Click on the "Window" menu, then select "Styles."
3. In the Styles window, choose the "Background Settings" (or "Background" tab). Here, you will find options for modifying the background color.
4. Set the background color to sky blue to create a simple sky effect for your model.
While this method is straightforward, its limitations are evident—you only achieve a solid color background instead of a realistic sky. For a more authentic effect, consider using HDRI sky textures.
Using HDRI Sky Textures
For a realistic sky background in SketchUp, consider using HDRI sky textures. These high dynamic range images capture more light and shadow details, enhancing your scene with realistic lighting and reflections.
1. First, find a suitable HDRI sky image. If you need high-quality 3D textures and HDRI resources while creating models and virtual scenes, you can download them for free from [https://textures.relebook.com/](https://textures.relebook.com/).
2. After downloading the required HDRI file, enter SketchUp and install a plugin called “Skatter.” This plugin will help you easily import and apply HDRI backgrounds.
3. Once the plugin is installed, open Skatter and import the HDRI file you just downloaded. Follow the prompts to apply it to your model's background.
This method will give your model a realistic sky effect, enhancing the overall visual realism with more natural lighting.
Adding Grass in SketchUp
Next, we will explain how to add grass to your model in SketchUp. Grass is an important aspect of landscape design and a common environmental element in architectural projects.
Using SketchUp's Built-in Materials
SketchUp provides a basic materials library that includes a "Grass" material. Adding grass to your model is simple:
1. Open SketchUp and select the area where you want to apply grass (usually the ground).
2. Click on the "Window" menu, then choose "Materials."
3. In the Materials window, find the "Grass" material. If you don't see it, select the "Landscape" category in the materials library, which includes various outdoor scene materials.
4. Apply the grass material to the selected ground area. You can adjust the material's scale to change the density and size of the grass.
While this method quickly adds a grass effect to your scene, the default grass material often lacks realism. For a higher-quality effect, consider using more detailed grass textures or models.
Using High-Quality 3D Grass Textures or Models
If you want the grass to look more realistic and three-dimensional, using high-quality 3D grass textures or models is a great choice. You can download free, high-quality 3D textures from [https://textures.relebook.com/](https://textures.relebook.com/) or obtain beautiful 3D grass models from [https://3dmodels.relebook.com/](https://3dmodels.relebook.com/). Relebook offers a wealth of premium 3D resources to enhance your model's visual quality.
After downloading high-quality grass textures, follow these steps to apply them in SketchUp:
1. Open the "Materials" window and select the "Import" option.
2. Import the grass texture file you downloaded from Relebook and apply it to the ground area of your model.
3. Adjust the scale and tiling to ensure the grass texture properly covers the entire ground area.
If you choose to use 3D grass models, you can insert the downloaded grass models into your scene using the "Components" tool. By strategically distributing these grass models, you can create a more three-dimensional and realistic grass effect.
Enhancing Overall Scene Quality
After adding sky and grass to your model, here are some additional tips to further improve scene quality.
Adjusting Lighting and Shadows
The lighting and shadow settings in SketchUp can significantly impact the overall effect of the scene. To better integrate the sky and grass into your model, adjust the direction and intensity of the lighting. Click on the "Window" menu, select "Shadows," and change the time and date to alter the light angle, making the lighting and shadow effects in the scene more realistic.
Using Post-Processing Tools
Even after constructing the scene in SketchUp, you can enhance the effect further with post-processing software like Photoshop or Lumion. In post-processing, you can adjust colors, contrast, and detail sharpening to make the model appear more lifelike.
By adding sky and grass in SketchUp, you can make your 3D models visually more appealing and realistic. This not only enhances your design presentations but also helps convey your design concepts more effectively. Whether using SketchUp’s built-in tools or leveraging high-quality 3D textures and model resources, the ultimate goal is to make your design work more vibrant and eye-catching.
If you need high-quality 3D textures and HDRI resources while creating models and virtual scenes, you can download them for free from [https://textures.relebook.com/](https://textures.relebook.com/). For beautiful 3D models, visit [https://3dmodels.relebook.com/](https://3dmodels.relebook.com/). Relebook provides a wealth of high-quality 3D resources.
We hope this article helps you better add sky and grass in SketchUp, adding more realism and visual appeal to your 3D models.
