How to Add Texture to a SketchUp Model
Adding textures in SketchUp is a powerful way to enhance the realism and visual appeal of your models. Whether you're working on architectural designs, interior layouts, or landscape projects, applying suitable textures to surfaces is a crucial step. Proper use of textures can make your designs more attractive and allow the project to be presented to viewers in a more intuitive and detailed way.
This article will guide you through the process of adding textures to a SketchUp model. Whether you're a beginner or an experienced designer, this tutorial will help you quickly master how to apply and adjust textures. We’ll also share some practical tips to help you efficiently add detail to your models.
Why Add Textures to a SketchUp Model?
Adding textures to your model is essential for bringing it closer to real-world scenarios. A model without textures might appear too simplistic and rigid, while adding textures significantly enhances its detail. For instance, you can add brick patterns to walls, apply grass textures to the ground, or use wood textures for flooring. These elements make the model appear more vivid and lifelike.
Textures are not just decorative; they also enhance the functionality and expressiveness of your model. In architectural design, for example, using appropriate textures can simulate the look of different materials, helping clients or team members better understand the design. Additionally, textures provide important visual references for 3D printing or post-production rendering.
How to Add Textures to a SketchUp Model
In SketchUp, adding textures is a straightforward process. You can use materials from the built-in library or import custom texture files to apply different looks to your model's surfaces. Below, we'll go through the steps for adding textures to your models.
Using SketchUp's Built-in Materials
SketchUp comes with a rich library of materials that includes common textures like wood, brick, concrete, and glass. These materials can be applied directly to surfaces and meet the needs of most design scenarios.
Steps:
1. Open the Materials Panel: In SketchUp, click the “Materials” icon on the right toolbar, or select “Materials” from the “Window” menu.
2. Choose a Material: In the Materials panel, you’ll see various material categories. Select a suitable category (e.g., "Wood," "Ground," or "Brick") and pick the material you want to apply.
3. Apply the Material: Use the “Select” tool to click on the surface where you want to add the material, then choose and apply it from the Materials panel. The selected texture will automatically appear on the model's surface.
Custom Textures
While the built-in materials are quite useful, there might be times when you need more personalized textures. Custom textures allow you to add more refined effects, especially when specific materials or patterns are required, such as custom stone cladding, carpet textures, or branded logos.
Steps to Add Custom Textures:
1. Prepare the Texture File: Make sure you have the texture image file ready. Common formats like JPG or PNG are compatible with SketchUp.
2. Import the Texture: In the Materials panel, click “Create Material.” In the dialog box that appears, select “Import Texture” and locate the texture file on your computer.
3. Adjust Texture Size: After importing the texture, you can set its scale on the model’s surface. Adjust the “Width” and “Height” parameters to ensure the texture matches the actual size. For example, if you are importing a carpet texture, make sure the pattern is neither too large nor too small when applied.
4. Apply the Custom Texture: Once you have imported and adjusted the texture, apply it to the model’s surface using the same method as applying built-in materials.
Adjusting Texture Orientation and Scale
When you apply a texture to a model, sometimes the direction might not be as you expected. For instance, wood grain may run the wrong way, or brick patterns may not align correctly. You can manually adjust the texture’s orientation and scale to make it look more natural.
1. Adjust Texture Orientation: Right-click on the textured surface and choose “Texture” > “Position.” You’ll see control points on the texture, allowing you to rotate, move, and scale it.
2. Adjust Texture Scale: By right-clicking on the surface and selecting “Materials,” you can manually input scale values to precisely control the texture’s size, ensuring it displays correctly on the surface.
This adjustment is especially important for directional textures like wood, stone, or tiles, as it ensures these patterns are aligned just as they would be in real construction.
How to Make Textures Look More Realistic
Adding textures to a model is just the beginning. Making these textures appear realistic is key to enhancing the quality of your design. Below are some useful tips to optimize texture effects.
Use High-Quality Textures
High-quality textures can significantly improve your model's visual effect. Low-resolution textures may appear blurry or distorted, while high-resolution textures can showcase more details and depth. Therefore, when choosing textures, try to use clear, detail-rich images.
If you need a wide range of high-quality 3D textures and HDRI for your models and virtual scenes, you can download them for free from [https://textures.relebook.com/](https://textures.relebook.com/). If you need premium 3D models, they are available at [https://3dmodels.relebook.com/](https://3dmodels.relebook.com/). Relebook offers a vast collection of quality 3D resources.
By using these high-quality resources, you can find the perfect textures for every detail in your model, greatly enhancing its overall appeal.
Combine Different Materials and Textures
To make your model more realistic, consider combining different materials and textures within a single model. For example, in an architectural model, you can use brick textures for walls, glass materials for windows, and tile textures for roofs. By mixing different textures, the depth and detail of your model will be enhanced.
Additionally, pay attention to transitions between materials. For example, at the junction between walls and floors or where windows meet walls, these details will affect the final presentation.
Add Shadows and Lighting Effects
Lighting effects are essential for enhancing texture realism. SketchUp offers basic shadow settings that allow you to simulate realistic lighting by adjusting the sun’s position and angle. This can add more depth to your textures and make their surfaces appear more tactile.
Shadows are particularly effective for textures with rough or embossed patterns, like bricks, wood, or tiles. With shadows, you can clearly see the texture’s 3D aspects, adding depth to the model.
Applications of Textures in SketchUp
Textures are widely used across various fields. Whether you're designing buildings, interior spaces, or landscapes, textures help convey design intentions more effectively. Here are some common applications:
Applications in Architectural Models
In architectural design, textures can simulate different building materials like concrete, bricks, wood, and glass. Adding suitable textures to walls, floors, and roofs makes models more realistic and helps clients or team members better understand the design concept.
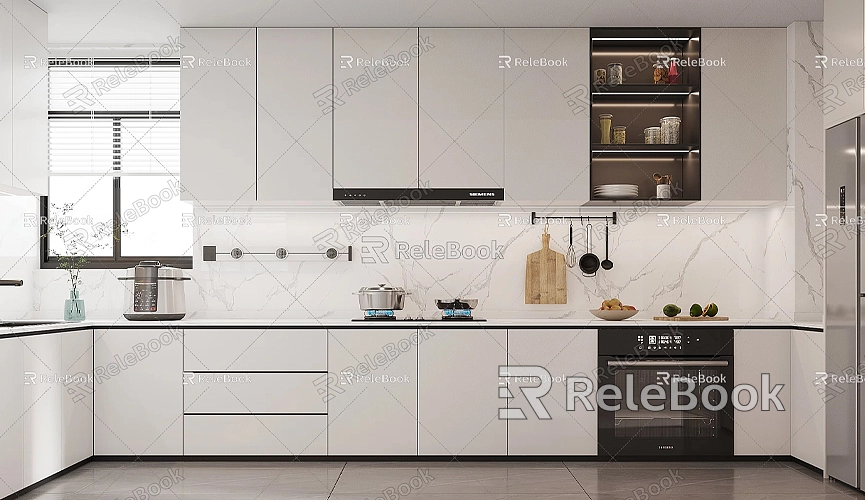
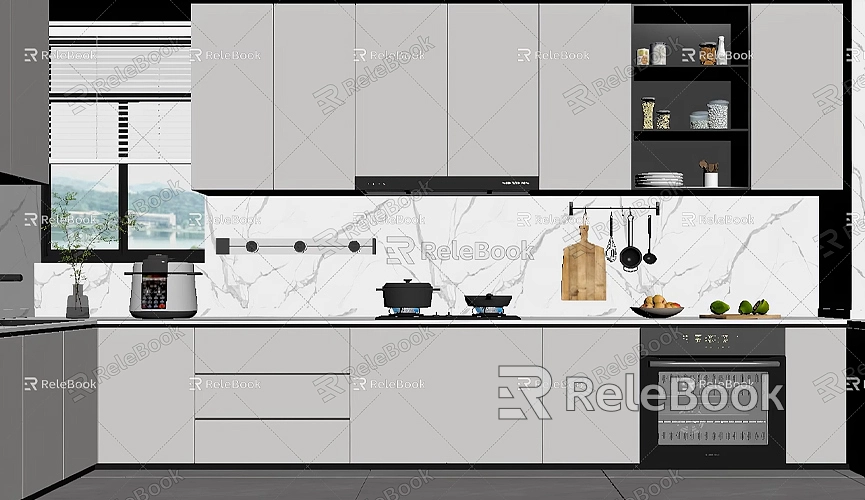
Applications in Interior Design
For interior designers, textures are an indispensable part of the design process. You can apply different textures to floors, wallpaper, curtains, and furniture to mimic real living environments. This not only helps communicate design ideas during the design phase but also provides clear visual references for final presentations.
Applications in Landscape Design
Textures are also crucial in landscape design. You can apply different textures to grass, stone paths, trees, and other elements to create more natural outdoor environments. With high-quality terrain textures, you can even simulate different seasonal effects, like autumn leaves or snowy winter scenes.
Adding textures to SketchUp models is a key step to enhancing the visual impact of your designs. By carefully selecting and applying textures, you can make your models more realistic and detailed, fully showcasing your design concepts. This article has provided detailed instructions on using SketchUp’s built-in materials, importing custom textures, and adjusting texture orientation and scale, aiming to help you improve your texture application skills.
If you need high-quality 3D textures and HDRIs for your models, you can download them from [https://textures.relebook.com/](https://textures.relebook.com/). For more refined 3D models, visit [https://3dmodels.relebook.com/](https://3dmodels.relebook.com/). Relebook offers a wide range of premium 3D resources.
We hope these tips will help you enhance your texture design skills in SketchUp, making your models more informative and artistic. With flexible use of texture features, you can bring your 3D models to life and showcase your design skills at a professional level.
