How do I apply HDR textures in Unity
HDR textures are often used in 3D design and game development to enhance lighting and reflections in complex environments. These textures are especially useful for creating realistic outdoor scenes or high-contrast indoor environments. While tools like 3ds Max, Blender, and Unreal Engine are known for handling HDR textures, it’s equally important to know how to integrate them into Unity. In this guide, we’ll walk through several steps on how to successfully apply HDR textures in Unity, maximizing the visual quality of your final render.
1. Preparing Your HDR Textures
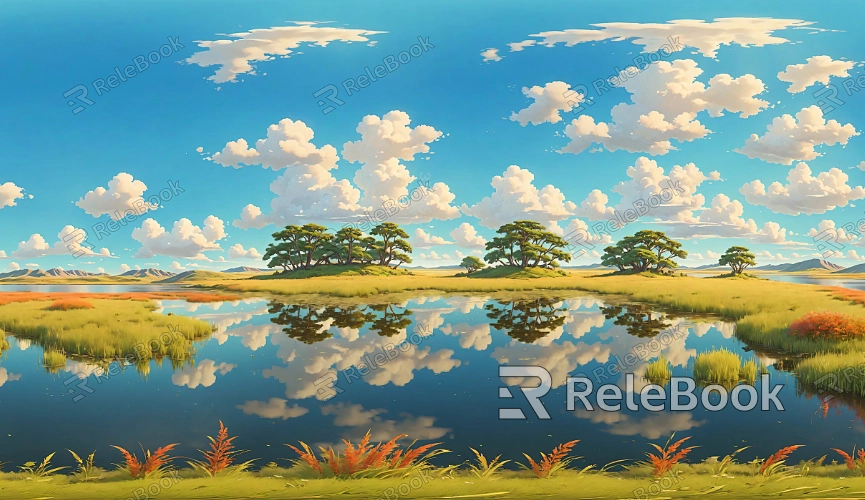
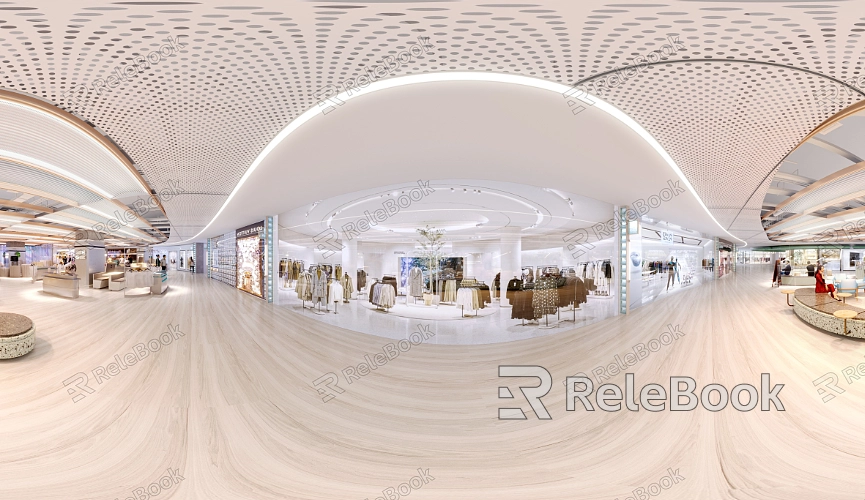
Before you begin, make sure you have suitable HDR textures ready to use. HDR textures typically come in .hdr or .exr file formats. If you're unsure where to find high-quality HDR textures or how to create them, a good resource is Relebook, where you can download premium HDR assets from textures.relebook.com.
Download and import the HDR texture into your Unity project.
Ensure the import settings are configured correctly, especially the texture's color space settings.
2. Setting Up Environment Lighting in Unity
Unity allows you to use HDR images as environmental lighting sources (Skybox). This step is crucial as it determines how light is distributed across the scene, affecting shadows, reflections, and overall brightness.
Open Unity’s Lighting settings.
In the Skybox Material option, select the HDR texture you imported.
Adjust lighting parameters like Intensity Multiplier to match the needs of your scene.
3. Configuring the Camera for HDR Rendering
To fully display the effects of HDR lighting, the camera in Unity needs to support HDR rendering. By default, this option isn’t enabled, so you’ll have to activate it manually.
Select the main camera in your scene and open the Inspector panel.
In the Rendering section, check the HDR option to enable high dynamic range rendering.
4. Using Reflection Probes for Enhanced Realism
In addition to providing ambient lighting, HDR textures can create realistic surface reflections. To capture these reflections, use Unity’s Reflection Probes.
Add a Reflection Probe to the scene.
Position and scale the probe to cover key objects within your scene.
Set the probe's Type to Baked or Realtime, depending on the project’s requirements.
Make sure the Cubemap Resolution is high enough to deliver detailed reflections.
5. Adjusting Material Reflection Properties
To properly utilize HDR textures, the materials in your scene need to respond to environmental lighting and reflections. Unity’s Standard Shader, which supports physically based rendering (PBR), is an ideal choice for working with HDR textures.
Select objects in your scene and open their material properties in the Inspector.
Ensure you are using the Standard Shader.
Adjust the Metallic and Smoothness settings based on the desired look, as these directly impact reflection quality and intensity.
6. Enhancing the Look with Post-Processing
Post-processing effects can further enhance the look of HDR textures, particularly through tonemapping, which helps balance highlights and shadows. Unity’s Post-Processing Stack offers a variety of options for fine-tuning HDR effects.
Install and enable Unity’s Post-Processing Stack.
Add a Post-Processing Layer to your camera.
Create a Post-Processing Volume and enable effects like tonemapping and global illumination to ensure a smoother and more natural HDR rendering.
7. Combining Dynamic Lighting with HDR Textures
In some cases, HDR textures alone may not provide enough dynamic lighting for the scene. You can complement HDR environmental lighting with dynamic light sources, such as directional, point, or spotlights, to create more defined contrast and enhance the visual quality.
Add dynamic light sources to the scene and adjust their brightness and color.
Balance these lights with the ambient light from the HDR texture to ensure the scene is well-lit without being overpowering.
8. Optimizing for Performance
While HDR textures improve visual quality, they can also consume a lot of memory due to their high resolution. To prevent performance issues, optimize the texture size and compression settings.
In the HDR texture’s import settings, choose a suitable compression format, such as BC6H, which is designed for high dynamic range images.
Adjust the resolution of the texture to balance between visual quality and performance needs.
9. Testing and Tweaking
After applying HDR textures, it’s essential to test the scene multiple times to ensure the lighting looks as expected. If the scene appears too bright or too dark, you can fine-tune the camera’s exposure settings or adjust the intensity of the HDRI lighting.
10. Dynamically Updating HDR Textures
If your project requires dynamic lighting changes (such as different times of the day), you can switch HDR textures in real-time using Unity scripts.
Use Unity’s scripting capabilities to load different HDR textures at runtime and replace the current Skybox.
Make sure the process of loading and swapping textures doesn’t introduce performance bottlenecks.
In this guide, we covered a step-by-step process on how to apply HDR textures in Unity, from setting up the basics to optimizing performance. We hope these insights help you make the most of HDR textures in Unity, creating scenes with heightened realism and visual impact. If you're in need of high-quality HDR images, 3D textures, or models for SketchUp and 3ds Max to enrich your scenes, be sure to check out Relebook for a wide range of resources to enhance your projects.
