How to Make a Brushed Metal Texture in Photoshop?
Creating a brushed metal texture in Photoshop can transform a simple image into something sleek, modern, and highly versatile for various design projects. Whether you're designing a website, a product mockup, or even a graphic for a corporate brand, having the ability to replicate the look of brushed metal can add a sense of sophistication and depth. The subtle lines and reflective qualities of brushed metal create an elegant yet industrial aesthetic, which is why it’s often used in high-end products and design materials. In this article, we will explore how to effectively create a brushed metal texture using Photoshop, covering the necessary tools, techniques, and tips to achieve a realistic and convincing result.

Getting Started with a New Project
Before diving into creating the brushed metal texture, it’s essential to set up your workspace. Open Photoshop and create a new file. The size of the file will depend on your specific project needs, but for most purposes, starting with a resolution of 72 or 300 pixels per inch (depending on whether the texture will be used for print) is ideal. The dimensions of your canvas will vary depending on your needs, but an 8-inch by 8-inch square canvas works well for most texture creation tasks.
With your canvas ready, it’s time to choose a background color. For a brushed metal texture, a neutral, medium gray will act as the foundation, as metal surfaces often have a subtle gray undertone. To apply this background, simply select the Paint Bucket tool and fill the canvas with your chosen color.
Creating the Brushed Metal Effect
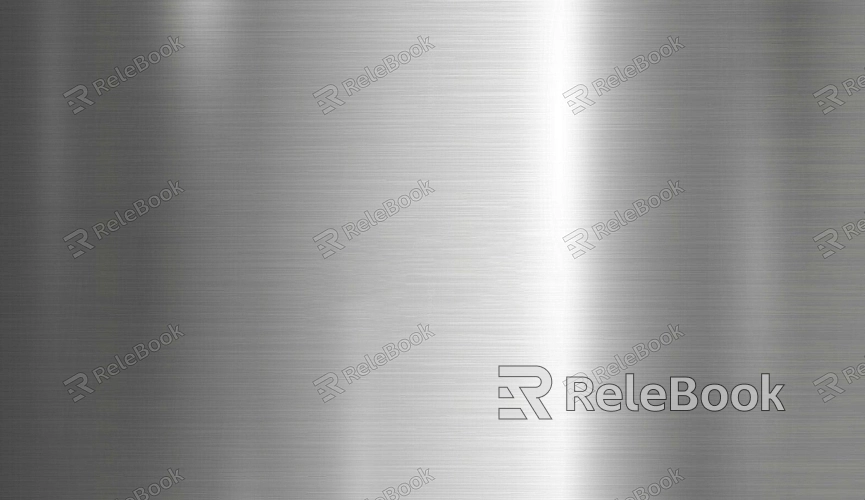
To create the brushed metal look, we’ll use a combination of gradients and textures. The key to simulating brushed metal is replicating the smooth, linear patterns that are characteristic of metal surfaces. One effective way to do this is by using a gradient.
Adding a Linear Gradient
Start by creating a new layer above your background layer. Select the Gradient Tool from the toolbar, and in the gradient editor, choose a gradient that fades from a light gray to a darker gray. You’ll want the gradient to run horizontally across the canvas. Hold down the Shift key while dragging the gradient tool from left to right across the canvas to ensure that the gradient remains straight.
Once the gradient is applied, you may want to adjust the opacity of the layer. Lowering the opacity slightly allows the gray background to show through, giving the texture a more subtle, realistic look. Additionally, you can experiment with blending modes, such as Soft Light or Overlay, to create various effects.

Adding Brush Strokes
The next step is to create the brushed effect that gives the metal texture its signature appearance. To do this, select a soft, round brush with a low opacity and set the brush to a low flow rate to achieve a natural, streaked look. Choose a gray color slightly lighter or darker than your background and begin applying short, horizontal strokes over the gradient.
Make sure the strokes are consistent in direction and spacing. To replicate the smooth yet textured surface of brushed metal, you can adjust the opacity and flow of the brush for variation in the intensity of the strokes. The key is to achieve a seamless, continuous effect that mimics the real-life brushed metal finish.
Enhancing the Texture with Noise
While the gradient and brush strokes lay the foundation for the brushed metal texture, adding noise will enhance the realism. Noise can simulate the slight imperfections and graininess that you might find on actual metal surfaces. To do this, create a new layer above your brush-stroked texture.
Select Filter > Noise > Add Noise. Set the amount of noise to a relatively low value, around 3-5%, and make sure the "Gaussian" and "Monochromatic" options are selected. This adds a subtle grainy effect to the texture, which gives the brushed metal appearance a more authentic finish. Adjust the opacity of this layer if the effect appears too strong.
Adding Reflective Highlights
One of the defining characteristics of brushed metal is its reflective quality, and this can be simulated by adding highlights. Create a new layer above your texture layers and use the Brush Tool to paint light, soft strokes along the top edge of your metal texture. Choose a very light gray or white color, and apply the highlights sparingly.
You can use a soft, low-opacity brush to gradually build up the highlights until they blend seamlessly with the texture. The key is to avoid overdoing it—subtlety is essential to achieving a realistic brushed metal look.
To make the highlights more convincing, you can also adjust the layer’s blending mode to "Soft Light" or "Overlay." These modes will make the highlights blend more naturally with the underlying texture and gradient, further enhancing the realism of the metal surface.
Final Adjustments and Refinements
Once you've created the brushed metal texture, it's important to refine and tweak it to ensure it looks as realistic as possible. You may need to adjust the contrast, brightness, or saturation to get the right balance between light and shadow. Using the Levels or Curves adjustment layers can help fine-tune the tonal values and make the metal texture stand out more.
If you feel the texture needs more depth, consider duplicating your brushed metal layer and applying a slight blur (Filter > Blur > Gaussian Blur) to create a softer, more diffused effect. You can then mask out areas of the blur where you want more detail or contrast, giving the texture more variation and interest.
Saving and Using Your Brushed Metal Texture
Once you're satisfied with your brushed metal texture, it’s time to save your work. Since textures are often used across different projects, it’s best to save the texture in a high-quality format such as JPEG or PNG for easy use in other designs. To do this, simply go to File > Save As and choose your preferred format.
If you plan to use the brushed metal texture in 3D models or other design software, saving it as a PSD file with all the layers intact will allow you to make adjustments later without losing any of your work. This makes the texture reusable for future projects, saving time and effort.
Creating a brushed metal texture in Photoshop requires a blend of several techniques, including gradients, brush strokes, noise, and reflective highlights. With the right approach, you can easily achieve a realistic and professional-looking metal texture that adds depth and sophistication to your designs. By experimenting with different brushes and settings, you can customize the texture to fit the unique needs of your project. Now that you’ve learned how to create a brushed metal texture, you can apply it to various design applications. For those looking to take their design work further, don't forget to explore a variety of 3D models and textures available for download on the Relebook website.
FAQ
Can I create a brushed metal texture in Photoshop without using a gradient?
Yes, you can achieve a brushed metal look without gradients by using different brushes, textures, and layer styles. However, the gradient method helps achieve a smooth transition of color, which is key to the appearance of brushed metal.
How can I adjust the direction of the brush strokes to create different effects?
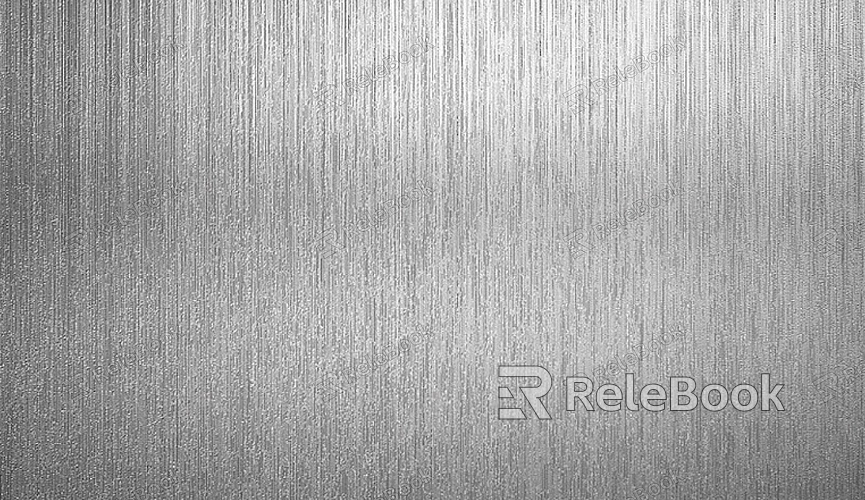
You can modify the direction of the brush strokes to simulate different types of metal finishes. Horizontal strokes create a classic brushed metal effect, but angled or vertical strokes can replicate more varied textures, such as those found in industrial metal surfaces.
What if the brushed metal texture looks too flat?
To add more depth, try adding more contrast with the Levels or Curve adjustments. Additionally, using the Dodge and Burn tools can help enhance highlights and shadows, making the texture appear more three-dimensional.
How can I make the brushed metal look more like stainless steel?
To replicate stainless steel, consider using a lighter color palette and more subtle noise. Stainless steel tends to have a more polished, reflective surface, so focus on achieving a smoother gradient and minimal grain.
Can I use the brushed metal texture for 3D design?
Yes, brushed metal textures are commonly used in 3D design. Just ensure the texture is high resolution and that it aligns well with the materials and lighting in your 3D environment.

