How to build furniture based from sketchup 3d model
In modern furniture design and manufacturing, 3D modeling technology has become an indispensable tool. Using SketchUp for furniture modeling allows designers and manufacturers to accurately visualize and adjust designs before production, saving time and costs while better meeting client needs. This article will explain how to utilize 3D models in SketchUp to build furniture, including key steps in the modeling process, tips on tool usage, and common problem-solving methods.
Why Choose SketchUp for Furniture Modeling
Among various 3D modeling software, SketchUp is renowned for its user-friendly interface, intuitive design, and powerful features. For furniture designers, SketchUp’s simplicity enables quick generation of the desired models and easy adjustments. Whether it's a table, chair, cabinet, or more complex furniture designs, SketchUp can handle it.
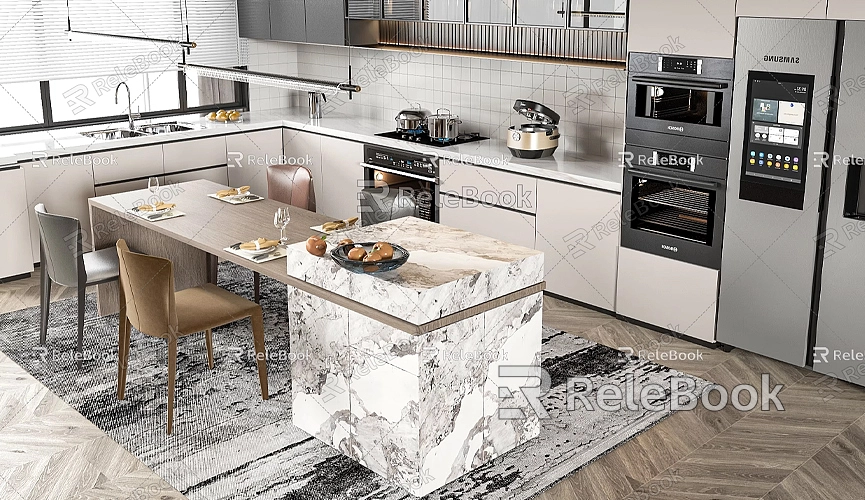
Importantly, SketchUp has a vast resource library from which users can download ready-made 3D models and modify them as needed. This is a significant advantage for those who need to complete furniture designs quickly.
Starting Furniture Construction: Using SketchUp 3D Models
To build furniture in SketchUp, you first need to understand the basic modeling process and tool usage. Let’s go through the steps of constructing furniture from scratch in SketchUp.
Drawing Basic Shapes
The first step in creating furniture in SketchUp is to draw the basic geometric shapes. Whether you want to design a table or a cabinet, you should start by defining the overall outline. For example, if you’re designing a simple coffee table, you can use the "Rectangle" tool to outline the tabletop on the ground, then use the "Push/Pull" tool to extrude it to the desired thickness.
Adding Details and Structure
After drawing the basic shapes, you can start adding more details. For a table, continue using the "Rectangle" tool to outline the positions of the legs, then use the "Push/Pull" tool to extend them to the appropriate height. Similarly, for a cabinet, you can detail the framework by drawing the positions of internal shelves to create different storage spaces.
The "Offset" tool in SketchUp is also very handy for quickly creating borders and detailed sections. For instance, if you want to add an edge to the tabletop, you can use the "Offset" tool to generate an inward line along the edge, then use the "Push/Pull" tool to elevate that section slightly, creating an edge structure.
Using Components and Groups
To improve modeling efficiency and facilitate future modifications, it's crucial to use components and groups in SketchUp. When you create a part of the furniture, like a table leg, you can make it a component. This way, if you need to change the design of one leg, modifying that component will automatically update all other leg components.
Importing Ready-Made 3D Models
Sometimes designing furniture from scratch can be time-consuming. In these cases, you can utilize existing models from the SketchUp resource library or download models from other platforms and import them into SketchUp for modification. This not only saves time but also allows for personalized adjustments based on existing designs to create unique furniture.
If you need high-quality 3D textures and HDRI for your models and virtual scenes, you can download them for free from [https://textures.relebook.com](https://textures.relebook.com). For exquisite 3D models, visit [https://3dmodels.relebook.com](https://3dmodels.relebook.com). Relebook offers a wealth of high-quality 3D resources that can enrich your designs and enhance their realism.
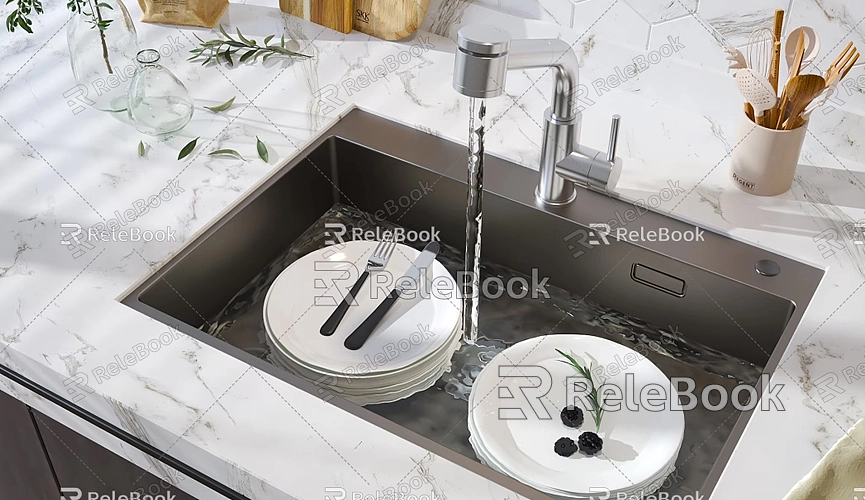
Applying Materials and Textures
Once you have constructed the basic shapes of the furniture, you can add materials and textures. SketchUp includes several common materials, such as wood, metal, and glass, which you can use as needed. Suitable materials significantly enhance the realism of the model.
Customizing Materials
If the built-in materials don't meet your needs, you can import custom textures to create unique materials for your furniture. For example, you can upload an image of the wood texture you want into SketchUp and apply it to the furniture's surface, adjusting the size and orientation of the texture to make the model look more realistic.
Additionally, if you want your furniture model to perform well under different lighting conditions, consider using HDRI (High Dynamic Range Imaging) as a lighting background. HDRI not only provides more realistic lighting and shadow effects but also simulates different times of day and weather, enhancing the visual experience.
Exporting and Applying Furniture Models
After completing the modeling and material application in SketchUp, you can export the model for use in other scenes. SketchUp supports exporting in various file formats, such as OBJ, FBX, and STL, making it easy to import the model into other 3D software for rendering or printing.
Rendering Models
If you want to showcase higher-quality results, you can export the model to professional rendering software, such as V-Ray, Lumion, or Blender. These programs help create more realistic lighting, shadows, and material effects, giving your furniture design a stronger visual impact.
Common Issues and Solutions
While building furniture models in SketchUp, you might encounter some issues, such as:
- Model distortion or incorrect scaling: This often occurs when importing external models, likely due to incorrect scaling settings. You can manually adjust using the "Scale" tool to ensure the model sizes are accurate.
- Material texture mismatches: When applying custom materials, you may find that the texture direction is incorrect or the size is inappropriate. Use the "Material Adjustment" tool to rearrange and scale the material, ensuring the texture displays correctly.
- Overly complex models: Sometimes, excessive detail can lead to large file sizes. It's advisable to use components and groups effectively while simplifying less important parts to maintain model performance.
Tips for Efficient Modeling
Efficient modeling in SketchUp involves not only mastering tools and features but also applying some handy tips. For instance, when designing furniture, sketching a rough floor plan on paper first can help you better understand spatial layout before modeling in SketchUp.
Additionally, utilizing keyboard shortcuts can significantly enhance efficiency. For example, the "B" key selects the "Brush" tool, "S" is for "Scale," and "P" is for "Push/Pull." These shortcuts can be customized in the settings based on your preferences for smoother operation.
Building furniture models in SketchUp helps designers quickly iterate and modify designs during the early stages, allowing for easy adjustments and reuse, making the design process more efficient. Throughout the modeling process—from drawing basic shapes to adjusting details, applying materials, and final exporting—patience and attention to detail are essential.
If you need high-quality 3D textures and HDRI for your models and virtual scenes, visit [https://textures.relebook.com](https://textures.relebook.com). For exquisite 3D models, check out [https://3dmodels.relebook.com](https://3dmodels.relebook.com). Relebook provides a wealth of premium 3D resources that can significantly enhance your design quality, making your furniture models more realistic and professional. We hope this article aids anyone learning to use SketchUp for furniture design.
