How to Create a Road Texture in 3D Max
Whether it's the city streets in a game scene, highways in a virtual landscape, or neighborhood roads in architectural visualization, realistic road textures significantly enhance the overall visual appeal and immersive quality of your project. As one of the most popular tools for modeling and rendering, 3D Max offers a wide range of functionalities to help designers create detailed, lifelike road textures. This guide outlines the steps and techniques to efficiently create high-quality road designs.

1. Define the Road Design Requirements and Build a Base Model
Before diving into texture creation, it’s crucial to understand the project's needs and establish a foundational model.
Analyze Road Type and Details
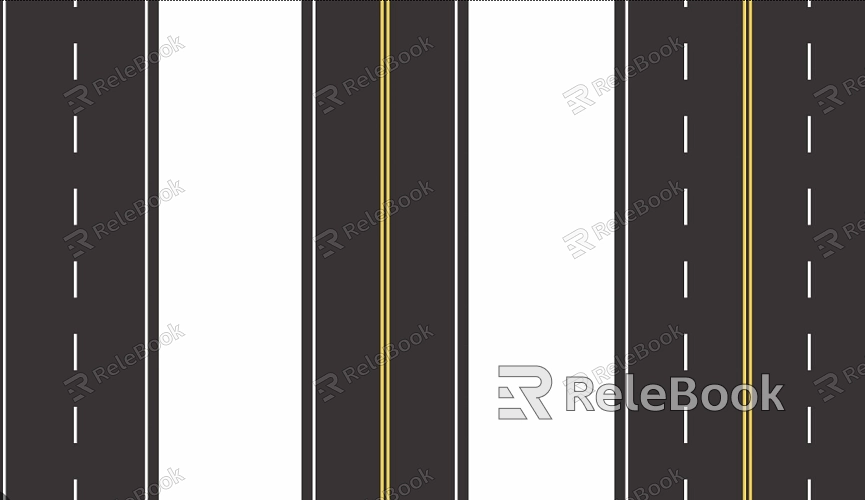
Different scenarios require unique road characteristics. For instance, urban streets often feature asphalt surfaces, markings, and tire marks, while highways may emphasize boundary lines and concrete textures. Understanding these requirements helps in planning texture details effectively.
Create the Base Model
Use the Spline tool in 3D Max to draw the road path. Then, apply Extrude or Sweep modifiers to generate the 3D road geometry. Adjust the curve and width to suit your design, ensuring the model is ready for accurate texture mapping.
2. Source and Prepare High-Resolution Textures
The quality of your road textures directly impacts realism. Focus on acquiring detailed surface textures and markings.
Obtain High-Quality Resources
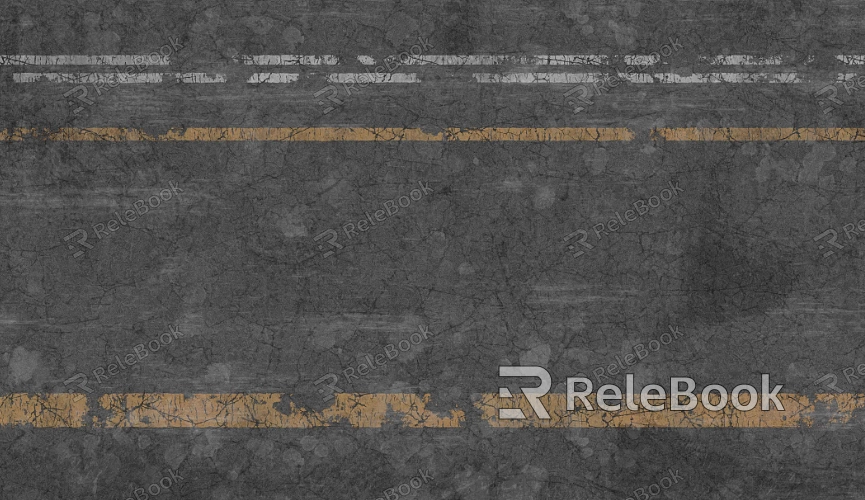
Download high-resolution textures from platforms like Relebook, including seamless asphalt, cracks, or tire mark patterns. Seamless textures prevent visible repetition when applied to the model.
Separate Texture Elements
Use software like Photoshop to edit and separate texture components such as the road surface, markings, and edges. This ensures clear and customizable texture layers.
3. Apply UV Mapping for Texture Placement
Accurate UV mapping ensures that textures align perfectly with the model.
Unwrap the UVs
Apply the Unwrap UVW modifier in 3D Max to lay out the road's UV map. This prevents texture stretching or distortion, especially on curved sections.
Align Key Features
Position textures like center lines, markings, or cracks to match the corresponding areas on the model. Fine-tune the scale and rotation for added precision.
4. Enhance Realism with Detail Layers
Small details can elevate the overall believability of the road texture.
Overlay Additional Details
In the material editor, use multi-layered textures to add features like cracks, dirt, or rain streaks on top of the base asphalt texture. This enhances depth and complexity.
Adjust Reflection and Roughness
Tweak the material properties to match the road’s condition. For instance, wet roads should have higher reflection values, while older asphalt may require less shine and more roughness.

5. Simulate Natural Edge Transitions
Realistic roads often include subtle transitions at their edges, such as grassy patches, gravel, or damaged borders.
Blend Materials
Use Blend Material in 3D Max to transition between the road texture and edge materials. Add masks, such as gradient maps, to control the blend and ensure smooth transitions.
Refine Edge Details
Adjust texture proportions and contrast to make transitions appear natural. For example, cracks on the road can extend seamlessly into the gravel at its edge.
6. Optimize Lighting and Environmental Effects
Lighting and reflections play a vital role in emphasizing the texture's details.
Fine-Tune Light Sources
Set up lighting using systems like V-Ray or Arnold to illuminate the road appropriately. In a nighttime scene, add streetlights to reflect off the road surface for a realistic effect.
Apply HDRI Maps
Use HDRI maps for environmental lighting and reflections. Options like morning, dusk, or rainy day HDRI maps can introduce dynamic lighting to enrich the road’s appearance.
7. Utilize Rendering Tools for Polished Results
The right rendering settings ensure that your road textures appear detailed and professional.
Render in High Resolution
Set a high resolution in your renderer to capture texture details clearly. Adjust anti-aliasing settings to avoid blurred edges.
Enable Global Illumination
Activate Global Illumination (GI) to create realistic light interactions. For example, light reflecting off the road can brighten nearby surfaces, enhancing overall realism.
8. Review and Refine the Texture
After applying the textures, inspect the final output and make necessary adjustments.
Preview the Texture in Real-Time
Use real-time rendering features to evaluate the texture’s performance. Look for issues like stretching, repetition, or misalignment.
Fix Problematic Areas
Adjust UV mapping or re-edit textures as needed. For example, correct the position of markings or refine edge transitions for a polished result.
By following these steps, designers can create detailed and lifelike road textures in 3D Max, elevating the quality and professionalism of their projects. If you’re looking for high-quality texture resources or 3D models to streamline your workflow, Relebook is an excellent platform to explore. Download premium assets and integrate them into your projects to boost both efficiency and creativity.

