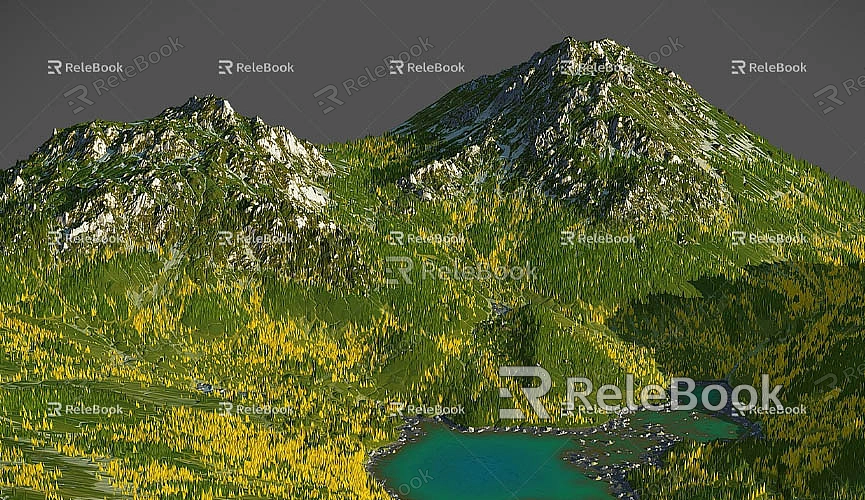
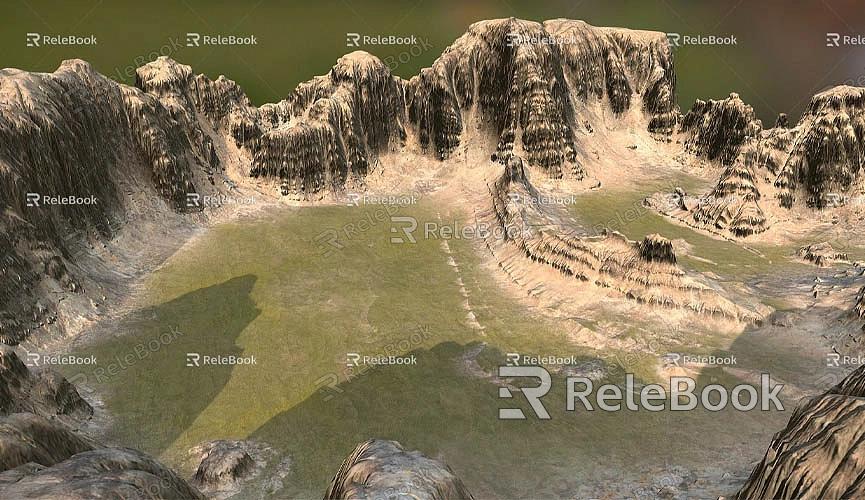
How to Make a Terrain Model in SketchUp
In fields such as architectural design, landscape architecture, and urban planning, terrain models are a crucial component. Whether simulating natural landscapes or considering the relationship between terrain and buildings in a project, terrain models help designers make more accurate and rational decisions. For designers using SketchUp, creating a terrain model can not only provide better visual results but also assist in more precise analysis and planning.
The Role and Importance of Terrain Models
Terrain models are typically used to represent the undulations, height differences, and natural features of the ground. In SketchUp, terrain models can showcase geographic elements such as mountains, hills, rivers, roads, and other natural or man-made features. These models also help designers analyze how these geographic elements impact building design. For instance, in landscape architecture, terrain models can help designers visualize planting areas, sunlight direction, and wind flow. In architectural design, terrain models assist in evaluating the relationship between the building and its surrounding environment, helping to determine whether the layout and structure of a building are compatible with the terrain.

How to Create a Terrain Model
SketchUp offers several methods and tools for creating terrain models. Designers can choose different modeling techniques based on the specific requirements of their projects. Below are some common methods for creating terrain models, each suitable for different needs and conditions.
Importing Elevation Data to Create Terrain
If you already have elevation data for a specific area, SketchUp provides an easy-to-use import feature that allows you to convert this data into a 3D terrain model. Elevation data typically comes in the form of contour maps or digital elevation models (DEM), which contain information about the topography of the region. By importing this data, you can skip the process of creating terrain from scratch.
You can easily obtain this elevation data from platforms such as Google Earth. The integration between SketchUp and Google Earth makes it simple to import terrain data directly from Google Earth. When importing, you can select a region and bring in its terrain data. SketchUp will automatically generate 3D terrain surfaces based on this data, and you can further adjust the terrain’s details or subdivision levels as needed.
In addition to Google Earth, other sources of elevation data include LIDAR data, satellite imagery, and geographic information provided by local governments or planning agencies. These data not only allow you to obtain accurate terrain information but also provide a realistic foundation for your project.
Manually Creating a Terrain Model
If you don’t have existing terrain data or if you need to create a completely custom terrain, manually drawing the terrain is also a very effective method. In SketchUp, designers can use a variety of modeling tools to manually draw and shape the terrain step by step.
First, you can draw a rectangle or polygon in SketchUp to serve as the base for the terrain. Then, use the Push/Pull Tool to modify the faces and gradually form an undulating ground shape. During this process, you can use the Move Tool to fine-tune the height of different areas, simulating natural terrain features like mountains and hills.
For more complex terrain modeling, SketchUp offers Sandbox Tools. These tools allow you to create more detailed and accurate terrain models. For example, the Sandbox Tools enable you to create smooth transitions between different elevations by drawing control points, generating natural curves between them. These tools also offer features like smoothing and cutting, which allow for quick creation of realistic, detailed terrain.

Using Plugins to Enhance Modeling Efficiency
Many plugins in SketchUp can help you create and edit terrain models more efficiently. For example, the Placemaker plugin can help you retrieve terrain data from online resources like Google Maps and import it directly into SketchUp. This plugin not only provides high-accuracy terrain data but can also include buildings, roads, and other geographic features, allowing you to quickly build an entire environment.
Another useful plugin is Artisan, which focuses on fine-tuning terrain details, especially when working with complex terrain. With Artisan, you can easily make precise adjustments to the terrain, simulating more intricate natural landscapes such as mountains, valleys, and lakes.
For designers who need high-level control over terrain, the Vertex Tools plugin is also extremely useful. This tool allows you to control the relationships between points and faces, making it easy to adjust and refine terrain details for greater modeling accuracy and flexibility.
Custom Textures and Materials
Once your terrain model is created, adding appropriate textures and materials is a crucial step. Suitable textures not only make the terrain look more realistic but also add visual detail to the model. In SketchUp, you can apply various materials to your terrain models, such as grass, soil, rock, and more.
High-quality textures can enrich the appearance of terrain models. When selecting textures, consider the real-world environment. For example, a park in an urban area might require grass textures, while mountainous regions might call for rock or soil textures. The resolution of textures is also important—higher-resolution textures provide finer details, especially when rendering.
Relebook offers a large selection of 3D textures and HDRI materials. If you need additional resources for creating virtual scenes, Relebook provides free, high-quality textures and HDRI assets. Using these resources, you can easily add fine details to your terrain models, enhancing the overall effect.
Rendering and Visualization
After creating the terrain model, the next steps typically involve rendering and visualization. Rendering aims to enhance the realism of the terrain model through light and shadow effects, material details, and more. Many rendering plugins, such as V-Ray and Enscape, integrate seamlessly with SketchUp to help you achieve higher-quality rendering results.
By adjusting lighting, shadows, reflections, and other rendering settings, you can make the terrain model more vivid and realistically showcase how it interacts with the surrounding environment. This is particularly helpful when presenting design concepts or evaluating project feasibility.
Using SketchUp to create terrain models not only allows you to accurately simulate natural geographical environments but also helps you with subsequent architectural design, landscape architecture, or urban planning work. Whether through importing elevation data, manually creating terrain, or using plugin tools, SketchUp provides a range of modeling options. During the modeling process, selecting and applying textures properly, along with detailed rendering, can further enhance the terrain model’s effect.
If you need high-quality 3D textures and HDRI materials for your modeling and virtual scenes, you can download them for free from [Relebook Texture Library](https://textures.relebook.com/). For beautiful 3D models, visit [Relebook 3D Model Library](https://3dmodels.relebook.com/), where Relebook offers a wealth of high-quality 3D resources.
By continuously experimenting with different modeling methods and tools, you can create more accurate and realistic terrain models in SketchUp, opening up more possibilities for your design work.

