How to Add Texture to Hair in 3D Modeling?
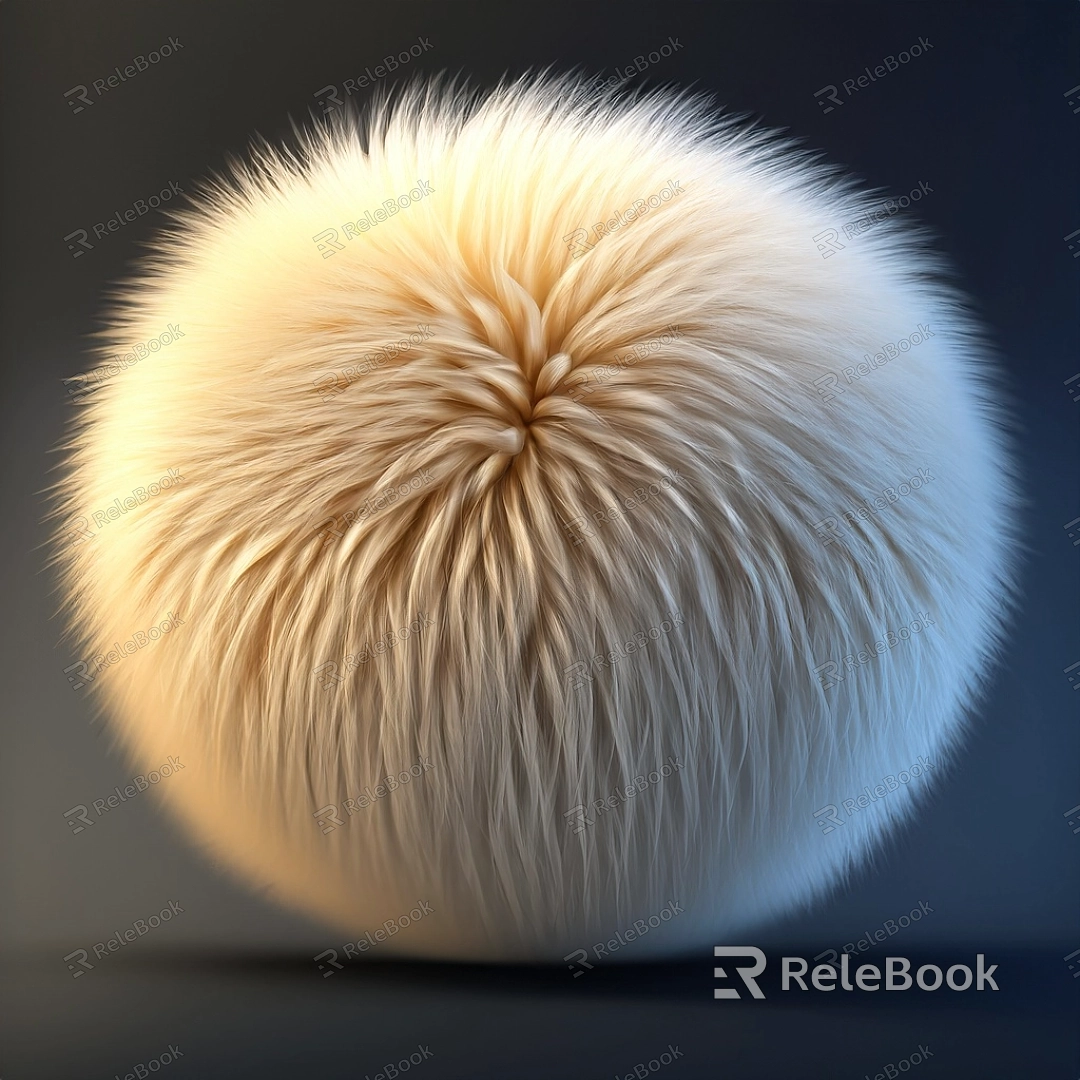
Adding texture to hair in 3D modeling can enhance the realism and detail of hair models. By following these steps, you can achieve a more lifelike and visually appealing result.
Step 1: Prepare the Hair Model:
Firstly, you will need a 3D hair model. You can create one using professional 3D modeling software such as Maya or Blender, or use an existing hair model.
Step 2: Create a Texture Map:
Before applying texture to the hair, you need to create a texture map. A texture map is an image file that contains the hair texture. You can use image editing software like Photoshop to create the texture map. In the texture map, you can paint the hair color, shine, and details.If you need it, I recommend downloading 3D textures from Relebook. There is no better choice than this.

Step 3: UV Unwrap:
Before applying the texture to the hair model, you need to perform UV unwrapping. UV unwrapping is the process of flattening the 3D model’s surface into a 2D plane, allowing the texture map to be applied to the model. When unwrapping the hair model, ensure that each strand of hair has enough space to display the texture.
Step 4: Apply the Texture Map:
Once the UV unwrapping is complete, you can apply the texture map to the hair model. In the 3D modeling software, select the surface of the hair model and load the texture map into the texture channel. Make sure to correctly map the texture map to the UV coordinates of the hair model.
Step 5: Adjust Texture Parameters:
Depending on your requirements, you can adjust the texture parameters to change the appearance of the hair. These parameters may include color, shine, transparency, and more. By adjusting these parameters, you can make the hair look more realistic and natural.
Step 6: Render and Preview:
After completing the texture setup, you can use a renderer to preview the appearance of the hair model in the 3D modeling software. With the renderer, you can see how the hair model looks under different lighting conditions and make necessary adjustments and optimizations.
Adding texture to hair in 3D modeling is an important step to achieve realistic and visually appealing hair models. By preparing the hair model, creating a texture map, performing UV unwrapping, applying the texture map, adjusting texture parameters, and rendering and previewing, you can successfully add texture to hair and enhance the detail and realism of your 3D scenes.

