How to Export Texture Maps from Blender?
Prepare Your Model and Textures
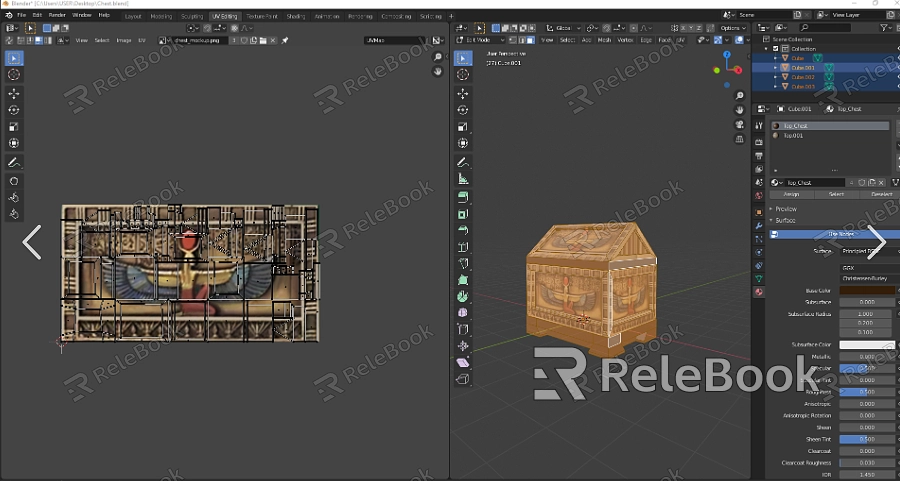
Before exporting, ensure that your model is properly UV unwrapped and textured. UV unwrapping is the process of mapping a 3D model's surface to a 2D plane so that the texture can be accurately applied.
- Open Blender and load your project.
- Select your model in the 3D Viewport.
- Ensure the texture is correctly assigned to the material slot in the Material Properties tab.
Check the UV Map
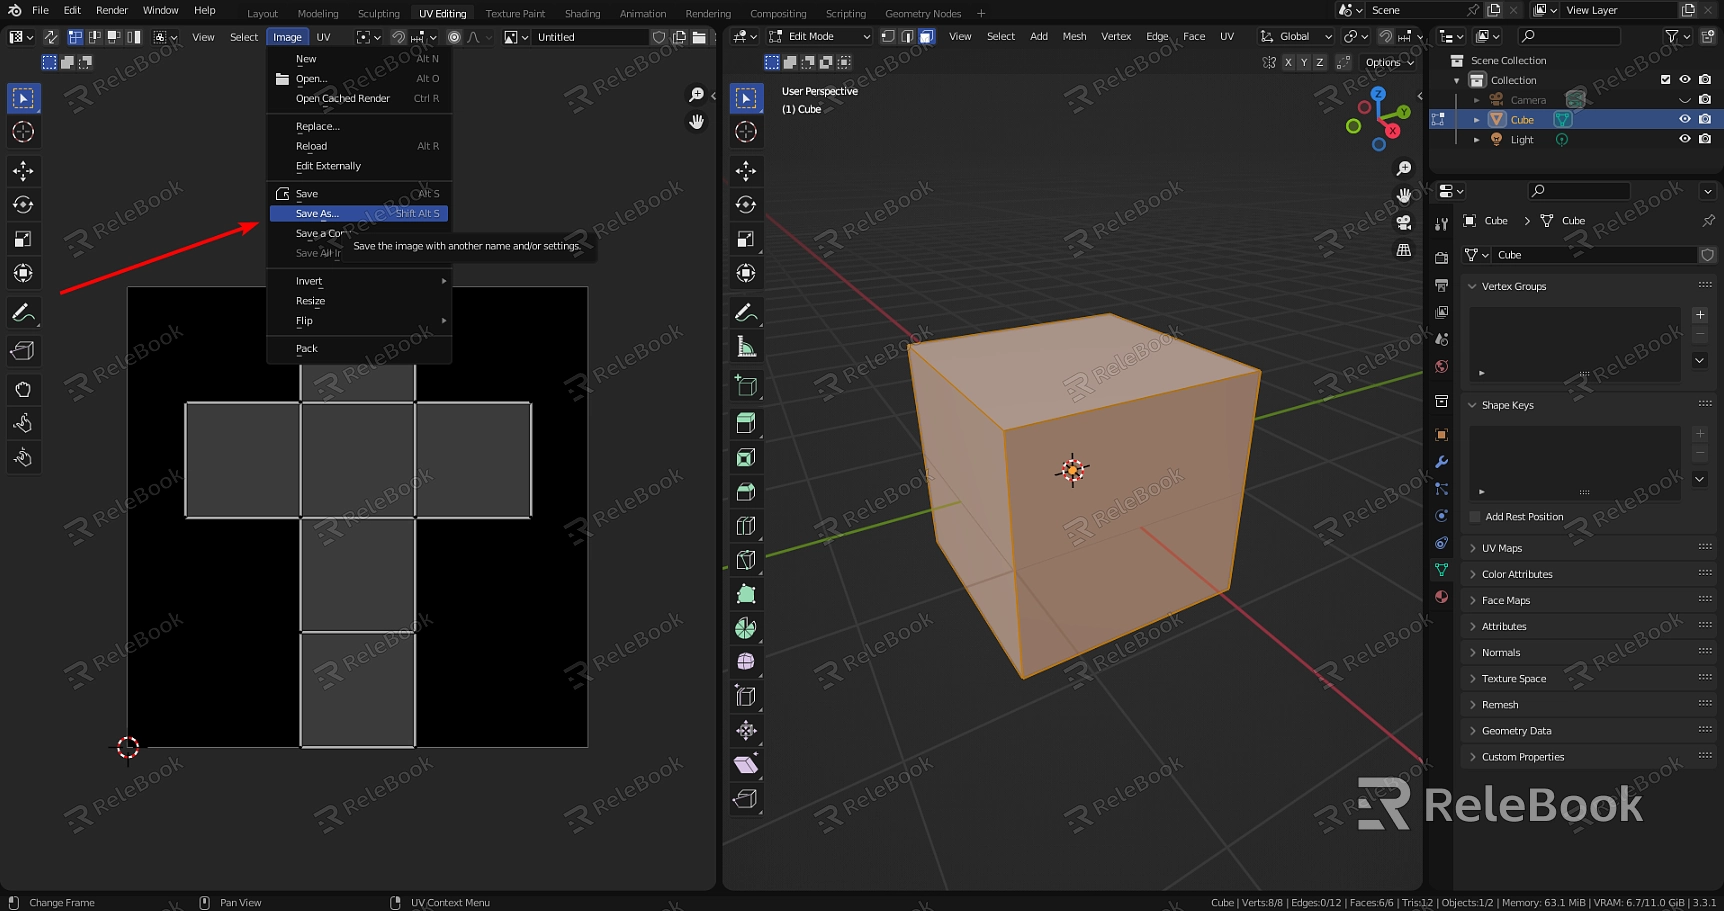
To verify the UV map, go to the UV/Image Editor:
- Select your model.
- Click the "UV Editing" workspace at the top right or press Ctrl+Tab and select "UV Editing".
- Here, you can see the UV map and verify that it aligns correctly with your textures.
Export Textures
Blender does not directly export texture maps as separate image files; instead, it exports the model with texture coordinates (UV maps) and materials. The texture images themselves need to be saved separately.
- Save your Blender file for future reference.
- Locate the texture images in your file system. These are usually the files you imported or created and assigned to your materials.
- Copy or move these texture images to the folder where you want to save your exported resources.
Export the Model with UV Maps
Although Blender does not export textures as separate files, you can export the model in a format that supports UV maps and materials (such as .fbx, .obj, or .glTF).
- Select your model in the 3D Viewport.
- Go to File > Export > Wavefront (.obj) or choose another supported format.
- In the export settings, ensure "Selected Objects" is checked if you only want to export the selected model.
- Under "Materials" and "Textures," ensure the relevant options are checked to include material and texture paths in the export.
- Click "Export" and choose where to save the file.
That’s it! Now you know the steps to export texture maps from Blender. If you need high-quality texture maps and 3D model assets, visit Relebook’s website for a wide range of resources to choose from!
FAQ
How do I export texture maps from Blender?
Blender does not export texture maps as image files directly. Instead, it exports the model with UV maps and material definitions, and you must save the texture images separately.
How do I extract textures from a Blender model?
Extracting textures from a Blender model involves saving the texture images you used in the model. Blender does not have a built-in feature to automatically extract textures; you need to manually save the images from your file system.
How do I export UV maps for texturing in Blender?
You do not export UV maps separately from Blender. Instead, UV maps are part of the model data and are embedded in the model's geometry when you export in a format that supports UV coordinates (such as .obj or .fbx).
How do I export an OBJ with textures from Blender?
To export an OBJ with textures from Blender, follow the instructions in "Step 4: Export the Model with UV Maps," selecting the OBJ format. Ensure the export settings include materials and texture paths. Then, manually copy the texture images to the same directory as the exported OBJ file or update the texture paths in the OBJ file to point to the correct location.
