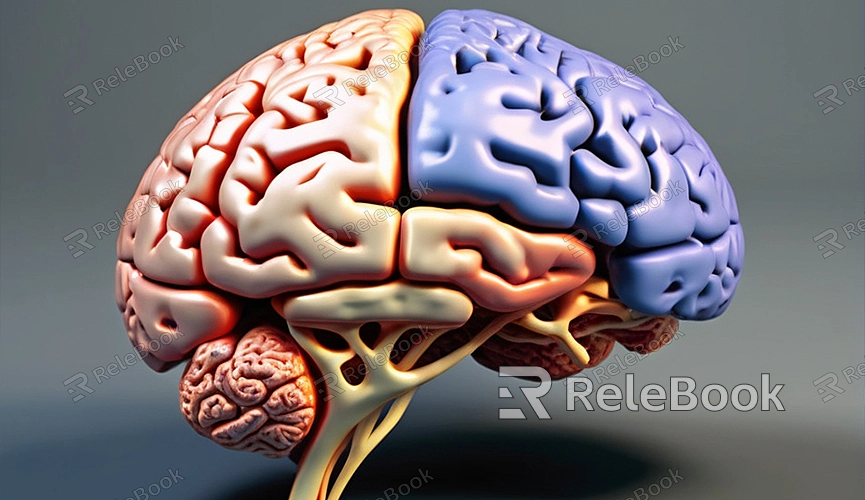
How to Make a 3D Brain Model Out of Clay
Creating a 3D brain model out of clay is an engaging and challenging project suitable for educational, artistic, or scientific purposes. Crafting such a model not only helps you better understand the structure of the brain but also enhances your hands-on skills. This article will guide you through the steps to make a 3D brain model using clay and other materials.
Materials Needed
First, gather the basic materials and tools:
1. Clay: Choose a clay suitable for sculpting and modeling, such as polymer clay or air-dry clay.
2. Tools: Sculpting knives, fine brushes, carving tools, and rolling pins to help shape and detail the model.
3. Reference Material: Obtain anatomical diagrams or 3D models of the brain to serve as a reference and help accurately shape the brain's structure.
4. Decorative Materials: If needed, use different colors of clay or paint to highlight different areas of the brain.

Steps to Create the Model
1. Planning and Designing
Before starting, plan the structure of the brain. Find 3D models or anatomical diagrams online to understand the various parts of the brain. Draw a sketch of the brain, marking the hemispheres, brainstem, and cerebellum. This step provides a clear blueprint for your clay model.
2. Creating the Brain Hemispheres
1. Prepare the Clay: Take a sufficient amount of clay, knead it until smooth, and divide it into two parts, one for each hemisphere.
2. Shaping: Form the clay into two roughly spherical shapes for the brain's hemispheres. Use your fingers and tools to gradually shape the hemispheres into the brain's form.
3. Detailing: Use sculpting knives and brushes to carve the brain's folds and grooves, making it more realistic.
3. Creating the Brainstem and Cerebellum
1. Brainstem: Sculpt a thin cylindrical piece of clay and attach it to the bottom of the two hemispheres. Ensure the brainstem fits naturally with the hemispheres.
2. Cerebellum: Sculpt a smaller hemisphere and place it at the back and bottom of the brain, representing the cerebellum. Ensure it connects smoothly with the brainstem and hemispheres.
4. Detail Sculpting
1. Texture: Use fine sculpting tools to add intricate textures to the brain model, such as gyri and sulci.
2. Smoothing: Gently smooth the surface of the clay with a damp brush or your fingertips to remove any unwanted marks and ensure an even finish.
5. Coloring and Decoration
1. Painting: If desired, paint the model to add color. Different colors can be used to distinguish various brain regions.
2. Marking: Use different colors of clay or paint to highlight major brain areas, such as the cerebral cortex and ventricular system.
6. Curing and Preserving
1. Curing: Depending on the type of clay, follow the instructions to cure the model. For air-dry clay, place the model in a well-ventilated area to dry. For polymer clay, bake it in an oven according to the instructions.
2. Preserving: After curing, you can apply a coat of varnish to protect the model from drying out or losing color.
Tips and Suggestions
1. Reference Materials: Continuously refer to real brain images throughout the process to accurately recreate the brain's structure.
2. Tool Use: Use specialized sculpting tools for detailed parts to achieve finer results.
3. Multiple Revisions: Don’t be afraid to revise and adjust your model. Repeated sculpting and refining will help improve the model's accuracy.
Making a clay brain model is an interesting and challenging project that can help you deeply understand the brain's structure and function. If you need high-quality 3D textures and HDRIs or want to download 3D models for creating scenes, you can find them on Relebook. Download the textures and 3D models, and import them into your project for enhanced realism and detail.

