How to Add an HDR Texture to the Environment in Blender?
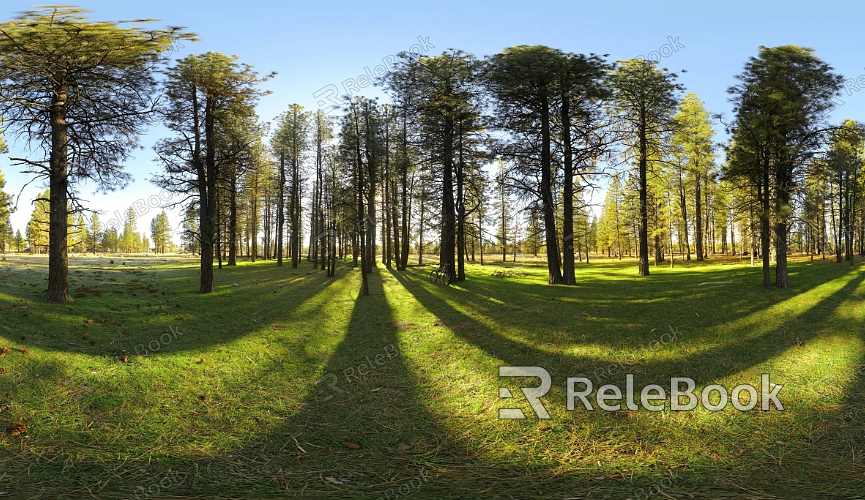
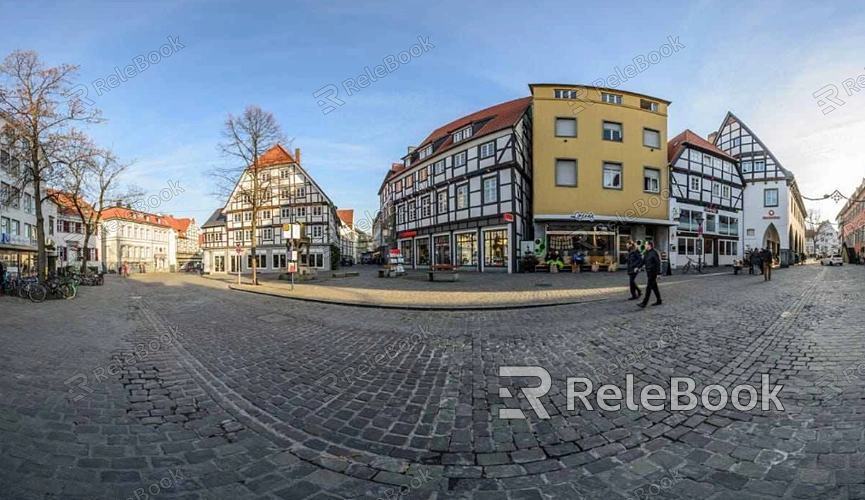
HDR textures are a powerful tool for significantly enhancing the realism of a scene, commonly used for creating lifelike lighting and environmental reflections. This is especially important when designing outdoor scenes or objects requiring precise reflections. These texture files are widely used in popular 3D software like Blender, 3ds Max, and Cinema 4D. In this article, we will walk you through the process of adding an HDR texture to the environment in Blender, equipping you with the skills to elevate the quality of your work.

1. Preparing and Importing HDR Textures
The first step to using HDR textures in Blender is selecting a suitable HDR file. High-quality HDR files can be downloaded from the internet, ensuring the resolution is high enough to meet the needs of your scene. When importing the HDR file, make sure it is in a compatible format, such as .hdr or .exr.
Open Blender and switch to the “Shading” workspace, then move to the “World” settings.
In the “Shader Editor,” click on the “Add” menu and select the “Environment Texture” node under “Texture.”
Click the “Open” button to locate and import your chosen HDR file. At this point, the HDR texture has been successfully added to your scene.
2. Setting Up HDR Texture Mapping
After importing the HDR file, the next step is to configure its mapping to ensure the texture correctly covers the entire environment sphere.
In the “Shader Editor,” connect the “Environment Texture” node to the “Color” input of the “Background” node.
If you need to adjust the orientation of the HDR texture, you can add a “Mapping” node and connect it to the “Vector” input of the “Environment Texture” node. By adjusting the rotation and scale parameters, you can control how the texture is displayed in the environment.
3. Adjusting the Intensity and Tone of the HDR Texture
HDR textures can not only provide realistic lighting effects but can also enhance the visual impact by adjusting their intensity and tone.
Use the “Strength” parameter in the “Background” node to tweak the intensity of the HDR lighting. If your scene appears too bright or too dark, this parameter allows for fine-tuning.
To modify the tone, add a “Color Ramp” node in the “Shader Editor” and connect it to the “Color” output of the “Environment Texture” node. Adjusting the gradient in the “Color Ramp” node lets you control the color balance of the HDR texture.
4. Optimizing HDR Textures for Specific Scenes
Depending on the requirements of your scene, you can optimize the HDR texture to achieve better visual effects. For instance, when working on indoor scenes, you might need to mask or blend multiple HDR textures to manage the influence of light sources.
In the “Shader Editor,” add a “Mix Shader” node to blend multiple “Environment Texture” nodes. By adjusting the mixing ratio, you can combine different lighting effects.
To control the HDR texture's impact on specific areas, you can use a “Mask” node or “Light Path” node to limit the light's effect to certain objects or regions.

5. Using Real-Time Preview for HDR Textures
Blender offers a real-time preview feature, allowing you to see the effect of your HDR texture adjustments immediately. This is particularly useful for refining details.
Switch to the “Rendered” view mode to see the HDR texture’s effect in real-time within the viewport. Rotating the scene perspective gives you a comprehensive view of the texture's impact on the entire environment.
If the lighting effects are not as desired, return to the “Shader Editor” to continue adjusting parameters until you achieve the perfect result.
6. Rendering and Output Settings
Once you’re satisfied with the HDR texture setup and its preview, the final step is rendering and output.
In Blender, open the “Render Properties” panel and select an appropriate render engine, such as Cycles or Eevee.
Adjust the render quality, sample count, and other settings according to the complexity of your scene to ensure high-quality output.
Finally, click “Render Image” or “Render Animation” to begin rendering, and save the results in your preferred file format.
By following the steps outlined in this article, you now have a solid understanding of how to add an HDR texture to the environment in Blender. This technique not only enhances the quality of your renders but also adds a greater sense of realism to your projects. If you're looking for high-quality HDR image resources, 3D textures, SketchUp models, or 3ds Max models to create stunning virtual scenes, Relebook offers a wealth of options to help you achieve outstanding visual results in your projects.

