How to Create 3D Models for Jewelry?
The allure of jewelry design lies in its unique beauty and individuality. With the advancement of technology, 3D modeling has become an essential tool in jewelry design. Using 3D software, designers can create stunning jewelry models in a virtual space. This method not only improves design efficiency but also reduces material waste. This article will explore the steps and techniques for creating 3D jewelry models, helping you master this skill.

Choose the Right Software
Before you begin creating a 3D model, it’s essential to select suitable software. There are many professional 3D modeling programs available, such as Rhino, Blender, and SolidWorks. Each software has its features and is suited to different design styles. For jewelry design, Rhino is widely favored due to its powerful curve-handling capabilities and user-friendly interface.
Learn the Basics
Regardless of the software you choose, learning the basics is crucial. You can improve your skills through online tutorials, books, or courses. Understanding fundamental concepts of 3D modeling, such as modeling, sculpting, and rendering, will help you get started more quickly. Additionally, mastering basic principles of jewelry design, like proportion, symmetry, and detail handling, is very important.
Create Preliminary Sketches
Before diving into the software, it’s advisable to draw preliminary sketches of your jewelry on paper. This can help clarify your thoughts and define your design direction. The sketches should include different perspectives to serve as references during the modeling process. Your initial sketches can be simple shapes or complex designs; the key is that they reflect your design concept.

Build the Basic Shape
Once you open the 3D software, you can start creating the basic shape. Based on your sketches, select the appropriate tools to create basic geometric forms. Typically, you start with simple cubes, cylinders, or spheres, then gradually refine them. It’s essential to maintain smooth and accurate lines when establishing the basic shape, as this will lay a solid foundation for the subsequent detailing.
Add Details
After completing the basic shape, you can begin adding details. This includes the jewelry's texture, embedded gemstones, and other decorative elements. Using sculpture tools, you can make finer adjustments and carve the model, adding depth. During this process, pay attention to the symmetry and proportion of the details to ensure overall aesthetic harmony.
Apply Materials and Textures
Once the shape and details of the model are complete, the next step is to apply materials and textures. Different materials will affect the jewelry's appearance and feel. For instance, the luster of metals and the transparency of gemstones need to be achieved through appropriate settings. Most software offers a library of materials, allowing you to choose ones that suit your design and make necessary adjustments.
Render the Model
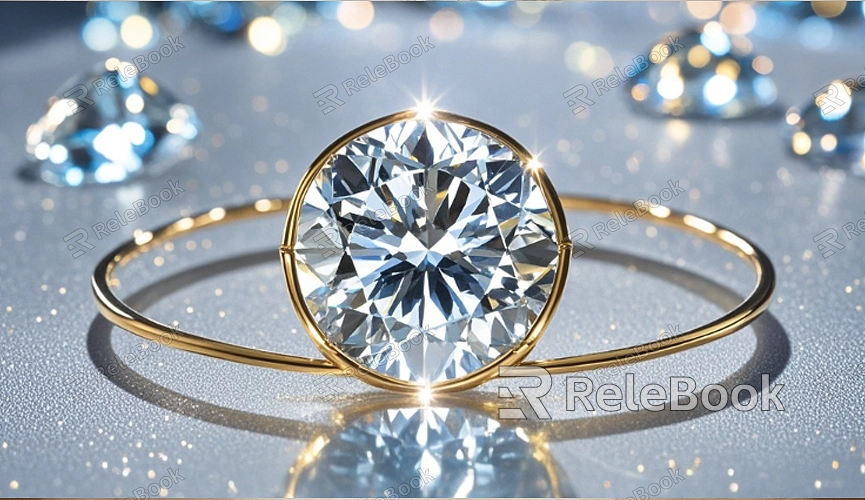
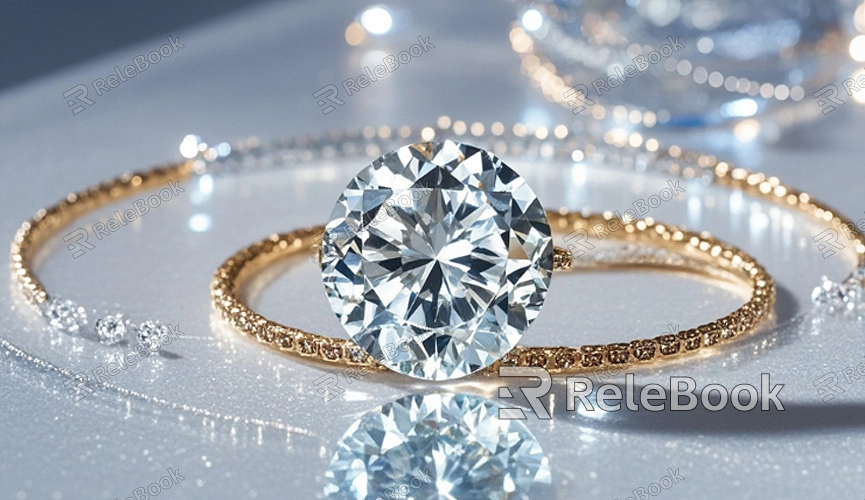
After completing the materials and textures, the final step is rendering the model. Rendering is the process of converting a 3D model into a 2D image, allowing you to see the final effect more intuitively. By setting up lighting, camera angles, and backgrounds, you can render your model to obtain high-quality images of the jewelry. The quality of rendering directly impacts the presentation of your work, so it’s worth taking the time to adjust.
Export and Print
Once rendering is complete, you can export the model in various formats. Common formats include STL, OBJ, and FBX, which can be used for 3D printing or other purposes. If you plan to do 3D printing, ensure that the model is complete and seamless to avoid issues during printing.
Learn and Improve
Creating 3D models for jewelry is not an overnight process. Through continuous practice and learning, you'll find your design skills gradually improving. Participate in design competitions or online communities to exchange experiences and receive feedback, helping you grow faster. Additionally, staying updated on industry trends and new technologies is also essential for skill enhancement.
Practice Projects
To solidify what you've learned, it's advisable to choose small practice projects. These could be simple rings, earrings, or necklaces, allowing you to exercise your design and modeling abilities. As you gain experience, you can gradually take on more complex designs, elevating your creative skills.
From choosing software to rendering models, every step requires attention to detail and patience. Through ongoing learning and practice, you'll be able to craft exquisite jewelry pieces. If you want to access more resources, you can download 3D models and textures from the Relebook website to support your design journey.
FAQ
How long does it take to learn to create 3D jewelry models?
The learning time varies by individual; it usually takes a few weeks to a few months, depending on how often you practice and the software you use.
Which software is best for beginners?
Rhino and Blender are both excellent options for beginners due to their user-friendly interfaces and abundant tutorials.
How do I choose suitable materials and textures?
When selecting materials, base your choices on the jewelry’s style and design needs. Experimentation will help you find the materials that best fit your design.
What should I keep in mind when 3D printing jewelry models?
Ensure that the model is free of holes or incomplete sections to avoid printing failures. Additionally, choose appropriate materials and printing techniques.
Are there websites where I can download 3D models and textures?
The Relebook website offers a wide range of downloadable 3D models and textures, suitable for jewelry designers.

