How to add textures to curved model sketchup
Adding textures to a model in SketchUp is an essential step to make it look more realistic, but applying textures to curved models can be a challenging process. Unlike flat surfaces, curved models require more precision to ensure the textures are evenly distributed and appear natural. Whether you're designing curved architectural walls, intricate furniture, or automotive models, understanding how to add appropriate textures to curved models in SketchUp can make your work stand out.
This article provides a detailed guide on how to apply textures to curved models in SketchUp, address common issues, and share practical tips to help you master this technique. If you want to make your curved models look more realistic and refined, this guide will be invaluable.
Why Is Texturing Curved Models Important?
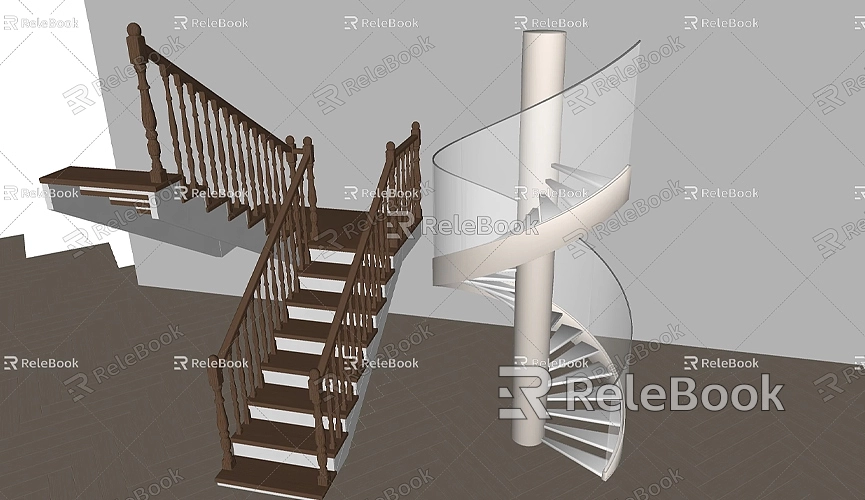
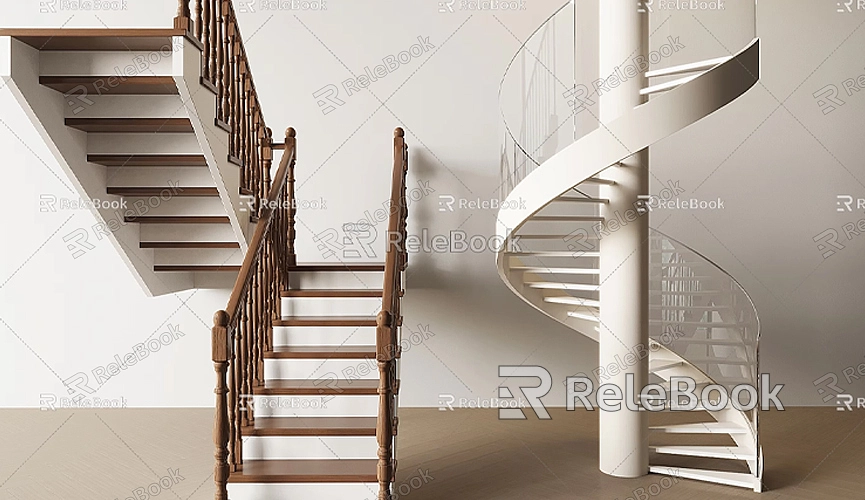
In 3D modeling, curved models often exhibit more visual complexity. From domes in architecture, curved furniture designs, to the sleek lines of cars, curves bring a modern aesthetic and design appeal. However, curved models are generally more difficult to work with, especially when it comes to texturing. Properly applied textures can help simulate real-world materials and appearances. For instance, imagine applying a brick texture to a cylindrical building or adding wood grain to a curved chair—natural transitions and the direction of the textures significantly affect the final result.
Therefore, learning how to texture curved models in SketchUp will not only enhance the visual appeal of your models but also add a level of realism to your designs.
Basic Steps for Texturing Curved Models
Applying textures to curved models in SketchUp requires more skills than for flat surfaces, but it is entirely achievable. With some basic tools and features, you can easily add suitable textures to your models. Here are the key steps:
Choose the Right Texture
First, you need to select a texture that suits your curved model. The resolution and quality of the texture are particularly important on curved surfaces. Curved surfaces can magnify any flaws in the texture, so try to use high-quality textures to ensure they appear smooth when applied. You can use SketchUp’s built-in texture library or import custom high-quality textures.
If you need many high-quality 3D textures and HDRI for creating models and virtual scenes, you can download them for free from [https://textures.relebook.com/](https://textures.relebook.com/). If you need detailed 3D models, visit [https://3dmodels.relebook.com/](https://3dmodels.relebook.com/) where Relebook offers a vast collection of premium 3D resources.
Applying Textures to Curved Surfaces
In SketchUp, the “Paint Bucket” tool is the primary method for adding textures to surfaces. For flat surfaces, you can simply click and select a surface to apply the texture. However, when dealing with curves, it gets a bit more complex. Here’s a common method:
1. Select the Model Surface: Use the “Select” tool to click on the curved area you want to texture. If the surface is complex, you might need to select it in segments.
2. Apply the Material: Open the “Materials” panel, choose an appropriate material, or import a custom texture file and apply it to the selected surface. Since it’s a curved surface, you may find that the texture doesn’t evenly cover the area, or it might appear stretched or distorted.
3. Adjust Texture Orientation: To fix uneven textures, right-click on the model’s surface, select “Texture,” and then click “Position.” You can manually adjust the texture’s position and orientation to ensure it aligns properly on the curved surface.
Using Projected Textures
SketchUp also has a useful feature called projected textures, which is particularly helpful for dealing with complex curves. When you use projected textures, the texture is cast from a fixed plane onto the curved surface, similar to how light would shine across it. This approach can help avoid excessive stretching of the texture on the curve.
1. Choose a Projection Plane: First, apply your desired texture to a flat plane that is adjacent to or can logically "project" onto the curved surface.
2. Enable Projected Textures: Right-click the textured plane and select “Projected Texture.” Then, select the curved area where you want to apply the texture. SketchUp will automatically “project” the texture from the plane onto the curve, making this method especially useful for columns, domes, and other intricate shapes.
Adjusting UV Mapping
In some cases, especially when dealing with very complex or irregular curves, manually adjusting the UV mapping might be necessary. UV mapping is the process of translating a 2D texture onto a 3D model. While SketchUp does not have advanced UV mapping features, you can use plugins or export the model to other software that supports UV editing.
How to Solve Texture Distortion Problems
One of the biggest challenges with curved models is preventing texture distortion. On curved surfaces, especially at bends or sharp angles, textures might appear stretched, twisted, or uneven. Here are some tips to tackle these issues:
Segment Texturing
If the curved surface is too complex or large, applying the texture to the entire surface at once may lead to distortion. In this case, divide the curved area into smaller sections and apply the texture to each segment separately. This will give you better control over the direction and spread of the texture, reducing the risk of stretching.
Use the SketchUV Plugin
While SketchUp’s built-in tools are sufficient for most scenarios, plugins can make handling more complex curves easier. SketchUV is a powerful plugin designed specifically for managing texture mapping on complex models. With this plugin, you can more accurately adjust UV coordinates, ensuring even texture distribution on curved surfaces.
Opt for Seamless Textures
Seamless textures are images that can repeat without visible borders or seams. Using seamless textures can minimize visible flaws when tiling textures across curved models. This is particularly useful for cylindrical objects, arched walls, and other scenarios where smooth, continuous texturing is necessary.
Optimizing the Texture Effect on Curved Surfaces
Besides ensuring that the texture is applied correctly on the curve, optimizing the texture’s appearance is key. Here are some tips for making the textures look more natural and realistic:
Choose the Right Type of Texture for the Curve
Different types of textures are suited for different curved surfaces. For smoother curves, like glass or metal surfaces, textures with highlights and reflective properties will make them look more realistic. For rougher surfaces, like brick or stone, the texture’s detail and grain will be more critical.
Adjust Texture Brightness and Contrast
In SketchUp, materials are not just textures; they also involve brightness, contrast, and transparency settings. Adjusting these parameters can make the textures look more realistic on curved surfaces. For example, reducing brightness can simulate shadow effects, while increasing contrast can bring out more detail.
Add Light and Shadow Effects to Enhance Textures
Lighting plays a crucial role in how textures appear on curved surfaces. By using SketchUp’s “Shadows” tool, you can simulate the effect of light at different times and angles. This not only adds realism but also highlights the texture’s contours, making the model appear more dynamic.
Adding textures to curved models in SketchUp can be challenging, but by using the right methods and techniques, you can ensure the textures are applied evenly and naturally. Whether utilizing built-in tools or using plugins for more complex tasks, understanding how textures spread and can be adjusted on curves will elevate your designs.
If you need many high-quality 3D textures and HDRI for creating models and virtual scenes, you can download them for free from [https://textures.relebook.com/](https://textures.relebook.com/). If you need detailed 3D models, visit [https://3dmodels.relebook.com/](https://3dmodels.relebook.com/) where Relebook offers a vast collection of premium 3D resources.
With these resources and tips, you can not only add textures to curved models but also make them look more professional and realistic. Hopefully, this article helps you navigate your design journey in SketchUp with more ease and expertise.
