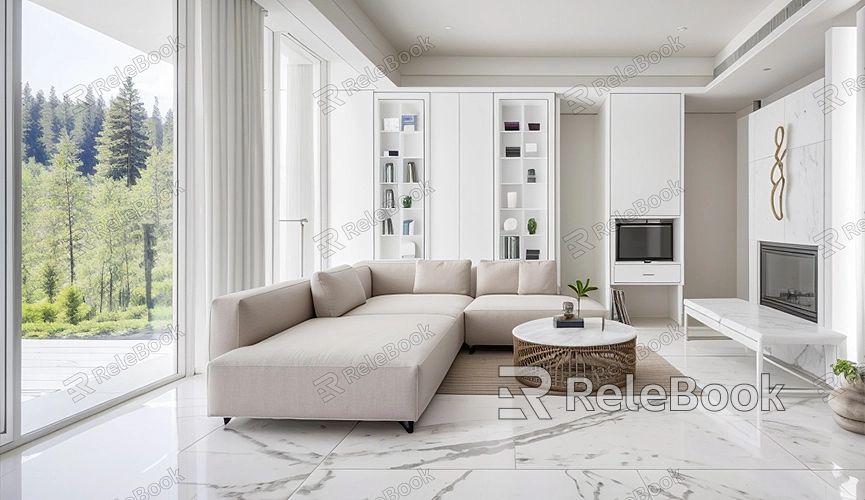
3dsmax how to 3d model a house
3ds Max is a powerful software for 3D modeling and rendering, widely used in architectural visualization, game development, and animation. Learning how to create a house model in 3ds Max can help you master both the basic functionalities and advanced techniques of this software. This article will provide a detailed guide on using 3ds Max for house 3D modeling, along with practical tips to help you create impressive architectural models.
Step 1: Preparation
Before starting the modeling process, gather reference materials. You can find floor plans, elevations, and detailed photos of the house online. These references will assist in accurately recreating the structure and details of the house.

Step 2: Creating Basic Structures
1. Launch 3ds Max: Open 3ds Max and start a new project.
2. Create Foundation: Use the "Box" tool to create the foundation of the house. Navigate to the "Create" panel, select "Standard Primitives" -> "Box," and draw a rectangle in the viewport to set the foundation's height.
3. Add Walls: Continue using the "Box" tool to create walls. Adjust the length, height, and thickness of each wall based on the dimensions from your reference drawings. Ensure consistent wall heights for correct proportions and structure.
4. Insert Doors and Windows: Use the "Boolean" tool to cut openings for doors and windows in the walls. First, create the basic shapes of doors and windows using the "Box" tool. Then, select the wall, apply the "Boolean" modifier, choose the "Subtract" operation mode, and subtract the door or window shape from the wall.
Step 3: Adding Details
1. Refine Walls: Use the "Editable Poly" or "Editable Mesh" tools to refine the walls. Add details such as columns, decorative trim, and other architectural elements.
2. Create Roof: Use the "Box" tool to create the basic shape of the roof. Then, use the "Editable Poly" tool to edit and adjust the slope and shape of the roof. Add details like eaves and roof tiles.
3. Include Interior Structures: For a detailed house model, continue adding interior walls, floors, ceilings, etc. Use the same methods to create these elements and adjust their sizes and positions based on the reference drawings.
Step 4: Applying Materials and Textures
1. Select Materials: In the "Material Editor," choose appropriate materials and apply them to different parts of the model. Select different materials to simulate the textures of walls, floors, roofs, etc.
2. Apply Textures: Apply high-quality textures to the model's surfaces to enhance realism. If you need high-quality 3D textures, HDRI, or downloadable 3D models during your modeling and virtual scene creation, Relebook offers downloads where you can directly import textures and 3D models into your projects.
3. Adjust UV Mapping: Use the "UVW Map" modifier to adjust the texture mapping to ensure correct texture display on the model's surfaces.
Step 5: Adding Lighting and Rendering
1. Set Up Lighting: Add light sources to the scene to simulate natural and artificial lighting. Use "Standard" or "Photometric" lights and adjust their position, intensity, and color.
2. Rendering Settings: In the "Render Setup" panel, select an appropriate rendering engine (such as Arnold or V-Ray) and adjust rendering parameters. Set the resolution, sampling rate, and rendering time for high-quality render results.
3. Render Output: Click the "Render" button to start rendering your house model. After rendering completes, save the results as image files or animation files for further processing or presentation.
Step 6: Model Optimization
1. Reduce Polygon Count: Maintain model details while minimizing polygon count to improve rendering efficiency. Use the "Optimize" modifier or manually adjust model details.
2. Use Proxy Objects: For complex scenes, use proxy objects (such as V-Ray Proxy) to convert high-detail models into low-detail proxy objects, reducing memory usage and rendering time.
Step 7: Post-Processing
After rendering, use image editing software (such as Photoshop or GIMP) for post-processing. Adjust colors, brightness, contrast, etc., to further enhance image quality.
By following this guide, you should now have a clear understanding of how to create a house model in 3ds Max. From creating basic structures and adding details to applying materials, textures, lighting, and rendering, each step determines the final quality of your model. Whether you need high-quality 3D textures, HDRI, or downloadable 3D models, Relebook offers resources to enhance your 3ds Max projects. Use these techniques to achieve better results in your 3ds Max creative process.

