How to Use Sky Texture HDR in Blender
In 3D software like Blender, sky texture HDRs are particularly popular because they bring a more natural and refined lighting effect to scenes, especially in outdoor environments. Designers often need to add a sky background when rendering outdoor scenes while ensuring that the lighting in the scene accurately reflects the sky's characteristics. This article will provide a step-by-step guide on how to use sky texture HDR in Blender, helping you quickly master this technique.
1. Setting Up Blender’s Render Engine
Before you can use an HDR sky texture in Blender, you first need to confirm that your render engine settings are correct. Blender offers multiple render engines, but the two most common for HDR rendering are Cycles and Eevee.
Cycles: A physically accurate render engine that fully utilizes the high dynamic range of HDR images, providing more precise lighting effects.
Eevee: Although it’s a screen space-based engine, Eevee also supports HDR textures. It’s ideal for designers who need quick render results without sacrificing too much quality.
You can select the appropriate render engine by going to the render properties panel in the top-right corner of Blender.
2. Importing the HDR File
The next critical step is importing the HDR file. HDR files usually come in .hdr or .exr formats, representing high dynamic range images that contain rich lighting and color data.
After opening Blender, go to the World Settings and click the small dot next to the color option, selecting Environment Texture. From there, choose your HDR file. Blender will automatically load and apply it to the environment, making both the sky background and the light in the scene reflect the characteristics of the HDR image.
3. Adjusting HDR Brightness and Exposure
Once the HDR file is loaded, you can fine-tune the lighting intensity by adjusting the brightness and exposure settings.
In the World Settings, you’ll find the Strength option, which allows you to adjust the brightness of the HDR sky texture. If your scene appears too dark or too bright, you can easily resolve this by increasing or decreasing the value.
For finer control, you can also adjust the Exposure to balance the lighting across the scene. This step is especially useful when simulating different times of day or dramatic lighting conditions.
4. Advanced Control with Background Nodes
To gain more control over the HDR texture, you can use Blender’s node system. This offers advanced users the ability to customize the HDR sky texture in greater detail.
Open the Shader Editor and switch to the World tab. You’ll see the default Environment Texture node. Here, you can add additional nodes like color correction, blending, or rotation nodes to adjust the appearance of the HDR sky texture. For instance, by adding a Mapping node, you can rotate the HDR texture to change the direction of the light source.
5. Combining Physical Sky with HDR
In some cases, you may want to use both Blender’s physical sky and an HDR texture to create more complex lighting setups.
You can use the HDR sky texture as a light source while employing Blender’s built-in physical sky system for the foreground. This combination allows you to simulate realistic lighting from the HDR while still benefiting from the customizable features of the physical sky, enhancing both the detail and realism of your render.
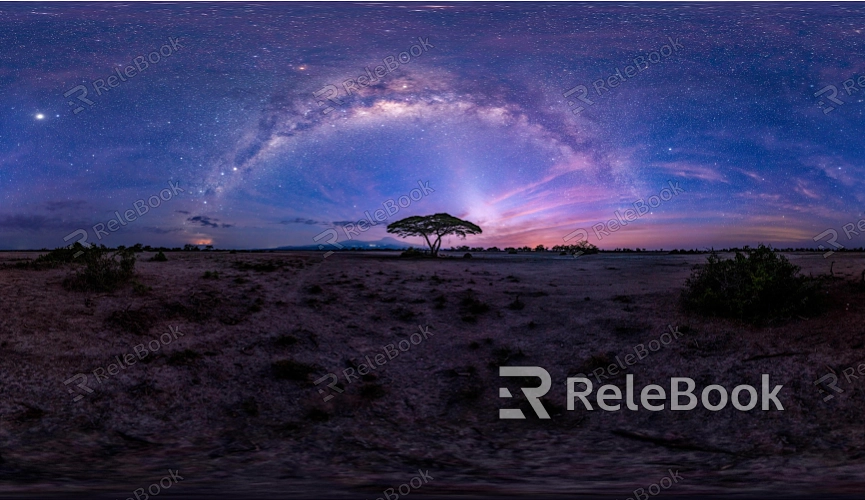
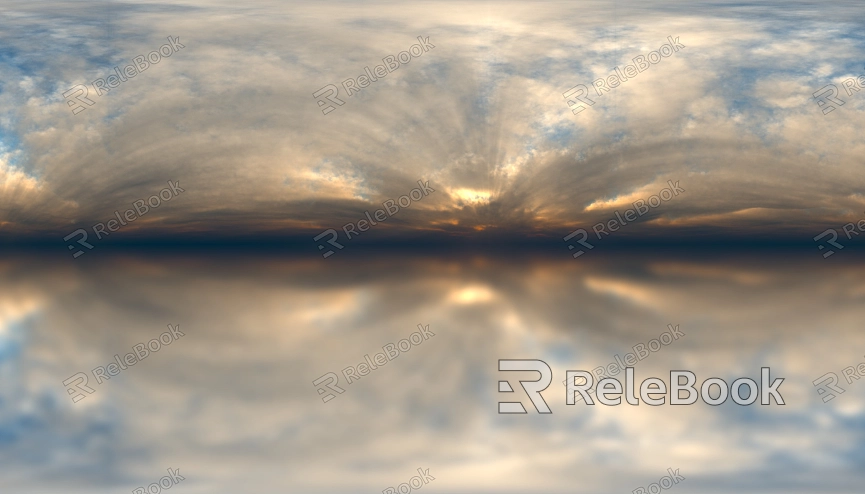
6. Choosing the Right HDR for Specific Scenes
Different HDR textures are suited to different types of scenes. Designers often select HDR textures based on the specific requirements of their scene, such as:
Clear Sky: For bright, open outdoor scenes.
Overcast: Perfect for soft lighting effects during sunset or indoors with diffused light.
Night Scenes: For rendering environments illuminated by moonlight or city lights.
Selecting the appropriate HDR file can significantly improve the realism and lighting quality of your render.
7. Real-time Preview and Adjustments
Once the HDR sky texture is set, you can use Blender’s real-time preview feature to observe lighting changes in your scene.
By switching to Rendered Preview Mode, you can make adjustments to the HDR’s brightness, angle, and intensity in real-time, ensuring that the final render meets your expectations.
8. Enhancing Shadows and Reflections with HDRI Maps
To further refine the lighting in your scene, you can use HDRI maps to enhance shadows and reflections. HDRI maps provide not only a background but also act as environmental lighting, contributing to softer shadows and more realistic reflections.
Enable Ambient Lighting in the render settings and tweak the reflection intensity using the HDRI map. This will make the surfaces of your models appear more realistic.
9. Exporting and Sharing High-Quality Renders
After making all necessary adjustments, proceed with the final render and export the image. Blender supports various export formats, including PNG and EXR.
For preserving the high dynamic lighting data from your HDR, it’s recommended to export in EXR format. This will retain more detail, making it easier to edit in post-production.
By adding an HDR sky texture in Blender, designers can significantly enhance the lighting in their scenes, bringing greater realism and refinement to their projects. With the steps outlined above, you can quickly learn how to effectively use HDR files in Blender, adjusting lighting, backgrounds, and other elements to create stunning renders.
If you're frequently working on outdoor scenes or complex lighting setups, HDR is an indispensable tool in your workflow. For high-quality HDR images, 3D textures, or SketchUp and 3ds Max models, Relebook is an excellent resource. Downloading textures and models from Relebook and importing them into 3D Max can significantly elevate the quality of your work.
